There's nothing easier then learning how to grow garlic at home in your very own backyard. I'm huge supporter of eating local and growing your own food whenever you can, and garlic is one of the easiest vegetables you can grow when first starting your own vegetable garden.
Garlic is even easier to grow then tomatoes or cucumbers! Plus you get a little bonus crop half way through the growing season, (garlic scapes) which can be used right from the garden before the garlic itself is ready.
A Few Things To Know About Garlic
Before you start growing your own garlic, there are a few things to consider.
"What type of garlic you want to grow? "(yes there are two main kinds), "What kind of flavor do I want in my garlic to have?" "How much space do I need to allocate to it?" and "How long do I want to store it for?"
Lets start with some basics
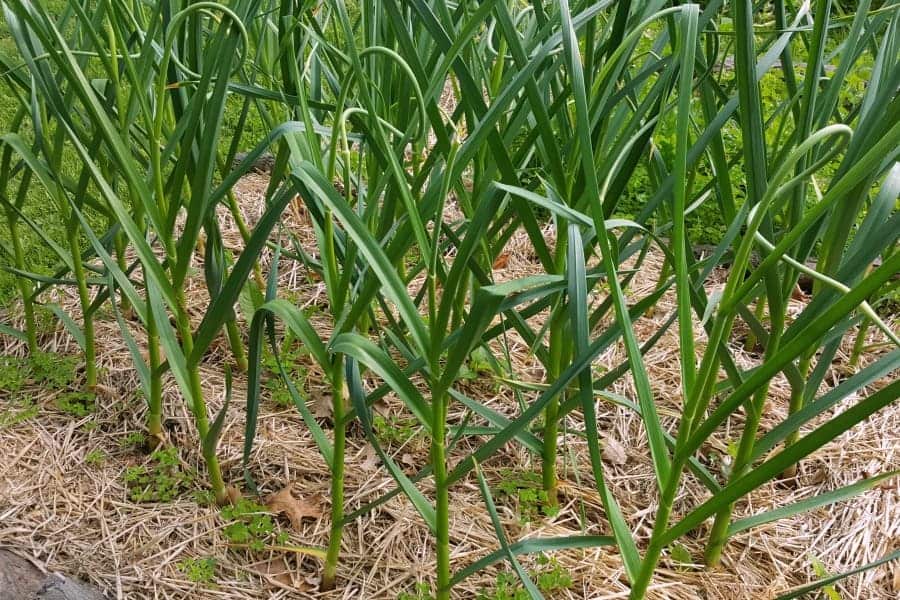
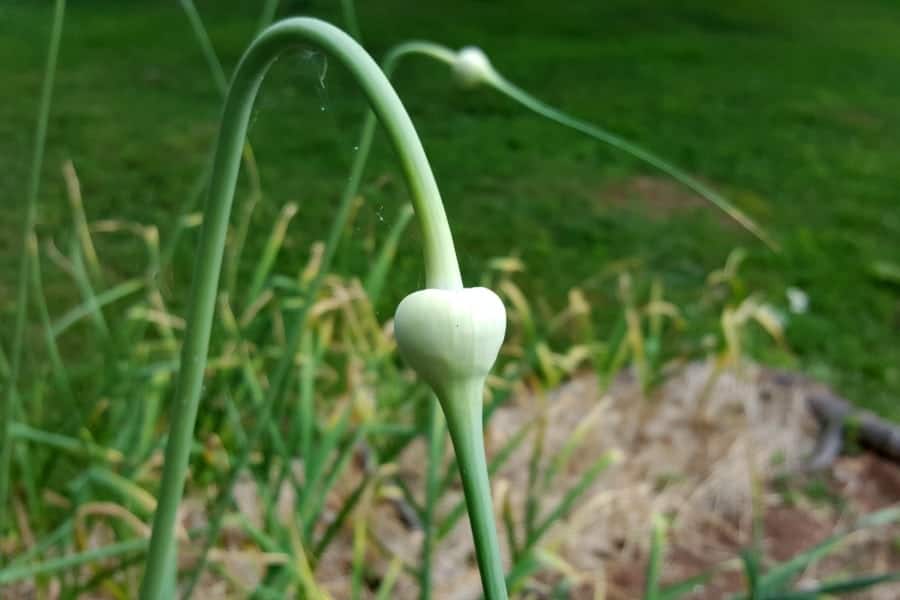
Garlic is a bulb vegetable, very similar to onions. It grows underground and puts up a large leafy green stalk from which a smaller flower stem (the garlic scape), eventually sprouts. Typically only hardneck garlic will produce a flower stalk or scape. Other types of bulb vegetables include green onions, garlic chives, and regular chives.
While there are numerous different varieties of garlic such as Rocambole, Purple Stripe, and Music, there are two main species of garlic:
- Hard neck Garlic
- Soft neck Garlic,
Hardneck Garlic
As the name suggests, the stem of hardneck garlic is hard, and varieties such as Rocambole and Purple Stripe are popular hardneck varieties. Hardneck garlic is well suited to cooler climates, will easily overwinter up to zone 4a, and is a prized addition to any backyard vegetable garden. Hardneck garlic generally produces fewer cloves per bulb, between 6 and 12 regularly shaped cloves. The cloves grow in a single ring around the center stalk.
Hardneck garlic takes longer to fully mature then softneck garlic, and as such is generally planted in the late Fall (and is sometimes called Fall garlic). It is then heavily mulched to protect it from winter snow and ice.
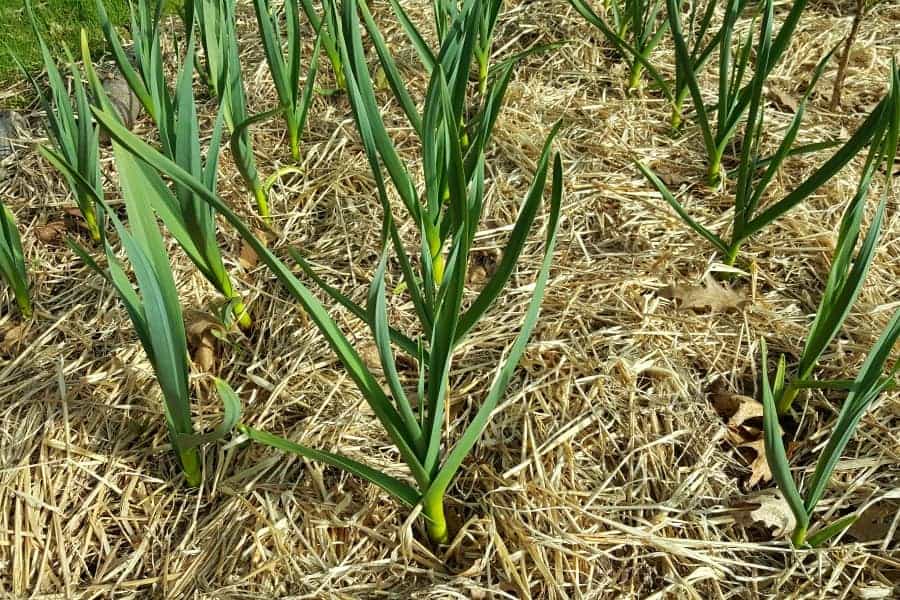
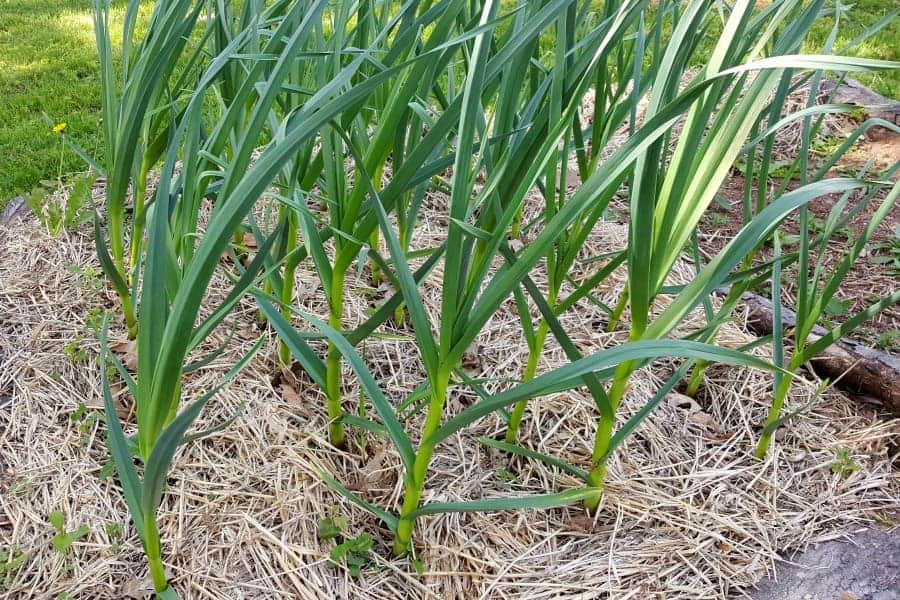
In Spring, once the ground warms up, little garlic shoots will start to push up through the mulch and quickly grow to be between 3 and 5 feet in height.
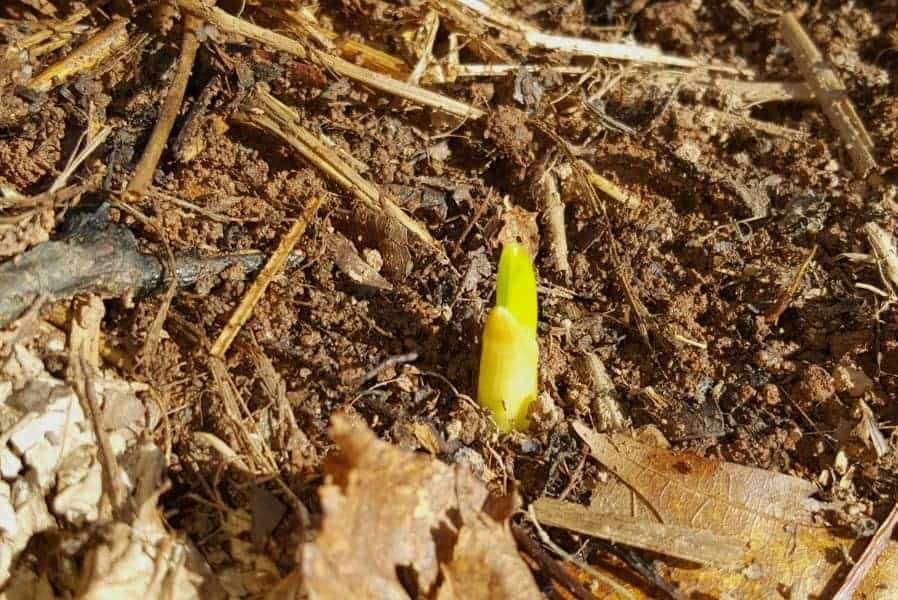
"If your garlic sprouts in the Fall before the snow comes, that's OK! Just give it some extra mulch as protection!"- Chef Markus Mueller
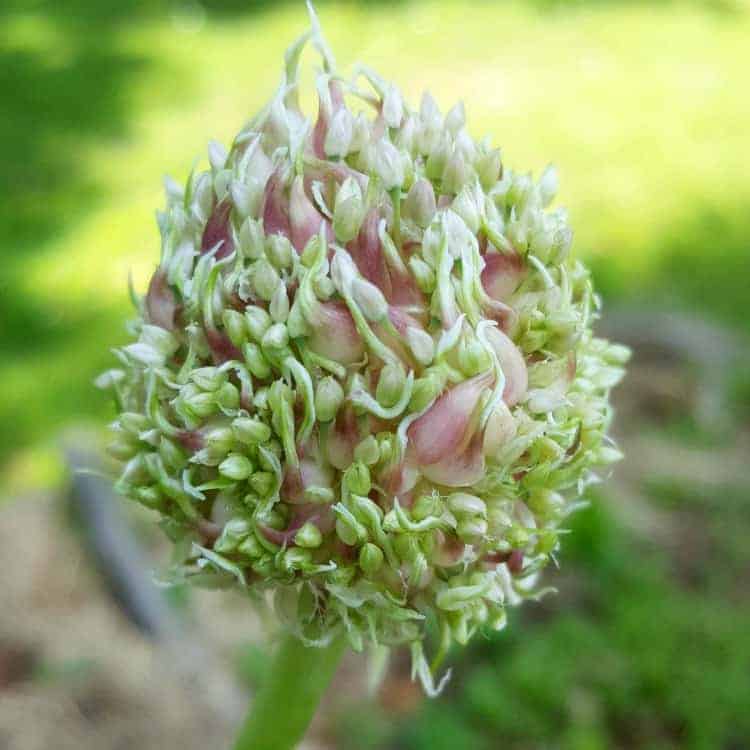
As mentioned above hardneck garlic also differs from softneck garlic, in that it will grow a hard flower stem (or garlic scape) that will eventually produce seeds or bulbiles which can be replanted.
These seeds usually take between 2 and 3 growing seasons before producing a fully mature garlic bulb. It can be a fun project growing your own garlic from seed though but it takes patience! Because it takes so long, planting cloves is the recommended route if you want a quick garlic harvest.
Softneck Garlic
Softneck garlic, as the name suggests, has a softer more pliable stem then hardneck garlic. Also called Spring Garlic, softneck varieties are usually planted early in the Spring as soon as the ground is workable, and will mature that same growing season.
Better suited to growing in milder temperatures, softneck garlic usually produces bulbs with between 8 to 20 irregular shaped cloves clustered in multiple rings. The larger amount of cloves is likely due to the lack of producing a flowering stalk. Covered with a white papery skin, softneck garlic stores very well and is what you will usually find sold in grocery stores.
Differences in taste
Besides the visual and biological differences of hard and soft neck garlic , the two also have differing flavors.
Softneck garlic tends to be much milder in taste with a softer texture then hardneck garlic. Hardneck garlic on the other hand has a much more robust flavor, and can be quite spicy. This makes hardneck garlic ideal for roasting, as the cloves are larger, hold up better under the heat and don't just turn to mush.
Growing Your Own Garlic
Choosing which species of garlic to grow is ultimately up to you , but your growing conditions and eventual culinary use will all play a role in the decision.
So lets get to it! How do you actually grow garlic at home? Pick up some garlic at your local garden center which is meant for growing. While you could simply get some garlic at the grocery store, purchasing garlic locally ensures you plant a variety that will do well in your location. You can likely choose between various varieties as well! Veseys Seeds is my go to garlic supplier, and I usually order a few varieties online every year!
Choosing the right location
Pick a sunny location that will receive a good 6 to 8 hours of solid sunlight in the summer. Any less and your garlic will struggle to produce nice large bulbs. You'll also want to make sure that you plant the garlic in well fertilized soil. If you are just starting a vegetable garden, make sure to add plenty of compost to the soil before planting.
You'll also need enough room for your garlic plants to mature. Garlic cloves are generally planted six to eight inches apart in rows twelve inches apart. This allows for air circulation, and enough space for the stalks and bulbs to fully form.
I plant my garlic in a 4 x 6 foot prepared garden bed, and this produces enough to last me most of the year!
Planting the garlic
To plant your garlic, prepare a well fertilized garden bed. While you can grow only a handful of bulbs if you really wanted to, it really is more beneficial to plant at least 20 -30 cloves. This amount will generally get me through one year of eating/ cooking with homegrown garlic before I run out. By which point the next harvest is almost ready!
If planting softneck garlic, plant the cloves as soon as the soil is workable in the spring.
If planting hardneck garlic plant the cloves in late October / early November before the first frost. - Chef Markus Mueller
- Rake the garden bed flat, and using a stick or the end of your rake, poke holes 6 to 8 inches apart, two inches deep, in rows 12 inches apart. I stagger my rows slightly to be able to plant the garlic closer together.
- Drop one clove, fat end down, in each hole, and use the rake to gently fill the clove filled holes with soil.
- Water the bed once really well to kick start the garlic's germination. You want the root system to develop before the garlic goes dormant for the Winter.
- Cover the entire bed with 6 to 8 inches of mulch. If you planted in the Fall, the mulch will help protect the cloves from frost and sudden temperature changes. If you planted in Spring, the mulch will help retain moisture, and prevent weeds from taking over.
I prefer using straw as mulch because it works as a great insulator creating little air pockets that hold off the cold quite well. Lacking straw though, leaves raked of your lawn will do just as well. If you do use leaves as mulch to protect the garlic over winter, make sure to remove it in early spring as it gets wet and heavy, losing it's warmth trapping abilities.
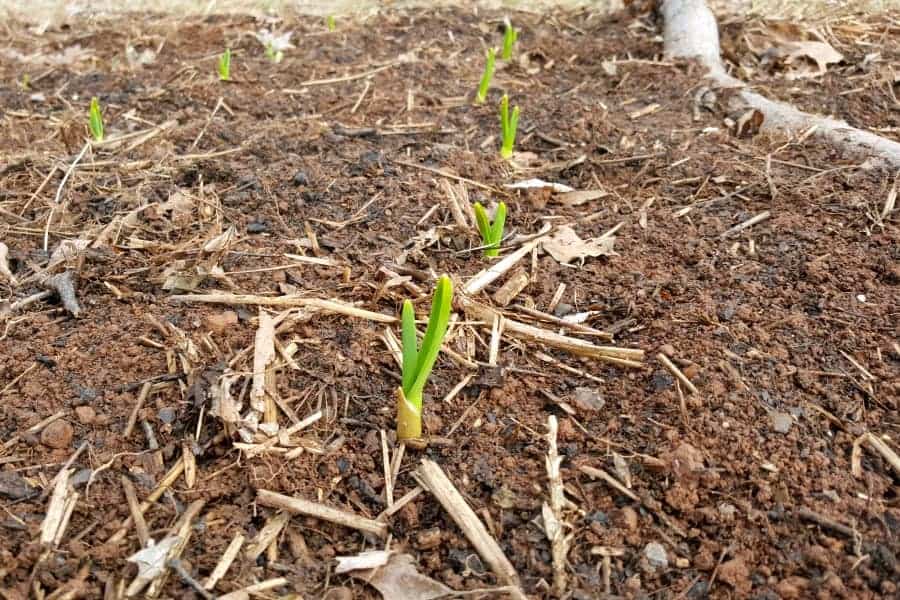
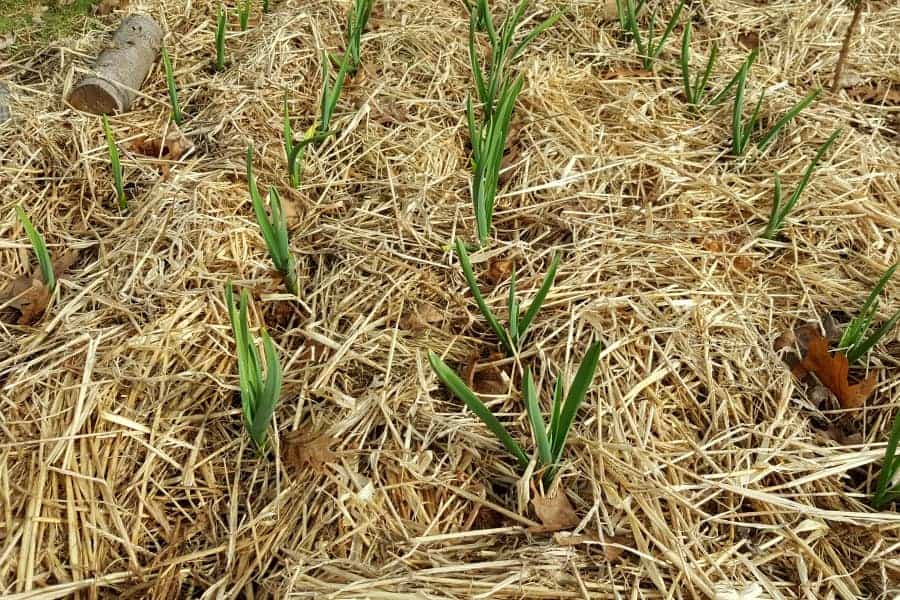
Once Spring hits you will see the garlic start to sprout as soon as the soil starts to become workable. You may be surprised just how early it will start to grow! If you are still experiencing below zero degree temperatures at night after the garlic sprouts, make sure the bed is covered with straw to protect the shoots. Don't worry they will push right through the straw as they grow!
Watering and fertilizing
Garlic doesn't require a lot of watering, which makes it an easy maintenance free vegetable to grow. Once the garlic cloves sprout, watering is not required as much as in the hot summer months, especially if you get a few good Spring rain storms. If the garlic patch is well mulched, it will also help to hold moisture in the soil reducing the need for supplemental watering. If you live in a very hot location, water the garlic bed to keep it from completely drying out.
To test if watering isbrequired, stick a finger in the soil. If the soil is completely dry one inch below the soil surface it's time to water the garlic. I usually water my garlic bed once every two weeks in really hot weather, less if it has rained a lot. I will also add a liquid seaweed based fertilizer once half way through the growing season to help boost growth.
Towards the end of June, middle of July I stop watering the garlic to let the bulbs develop. Ideally you don't want to water the garlic a full 2 weeks before harvesting. This is a bit of a judgement game, and can be difficult as a beginner. But don't worry, even if you do water the garlic right before it's not the end of the world!
Garlic Scapes
Sometime in June, if you are growing hard neck garlic, you will start to see the garlic plants putting out a flower stalk. A little bonus to growing your own garlic , these garlic scapes are edible and can be used as green onions or garlic in any recipe!
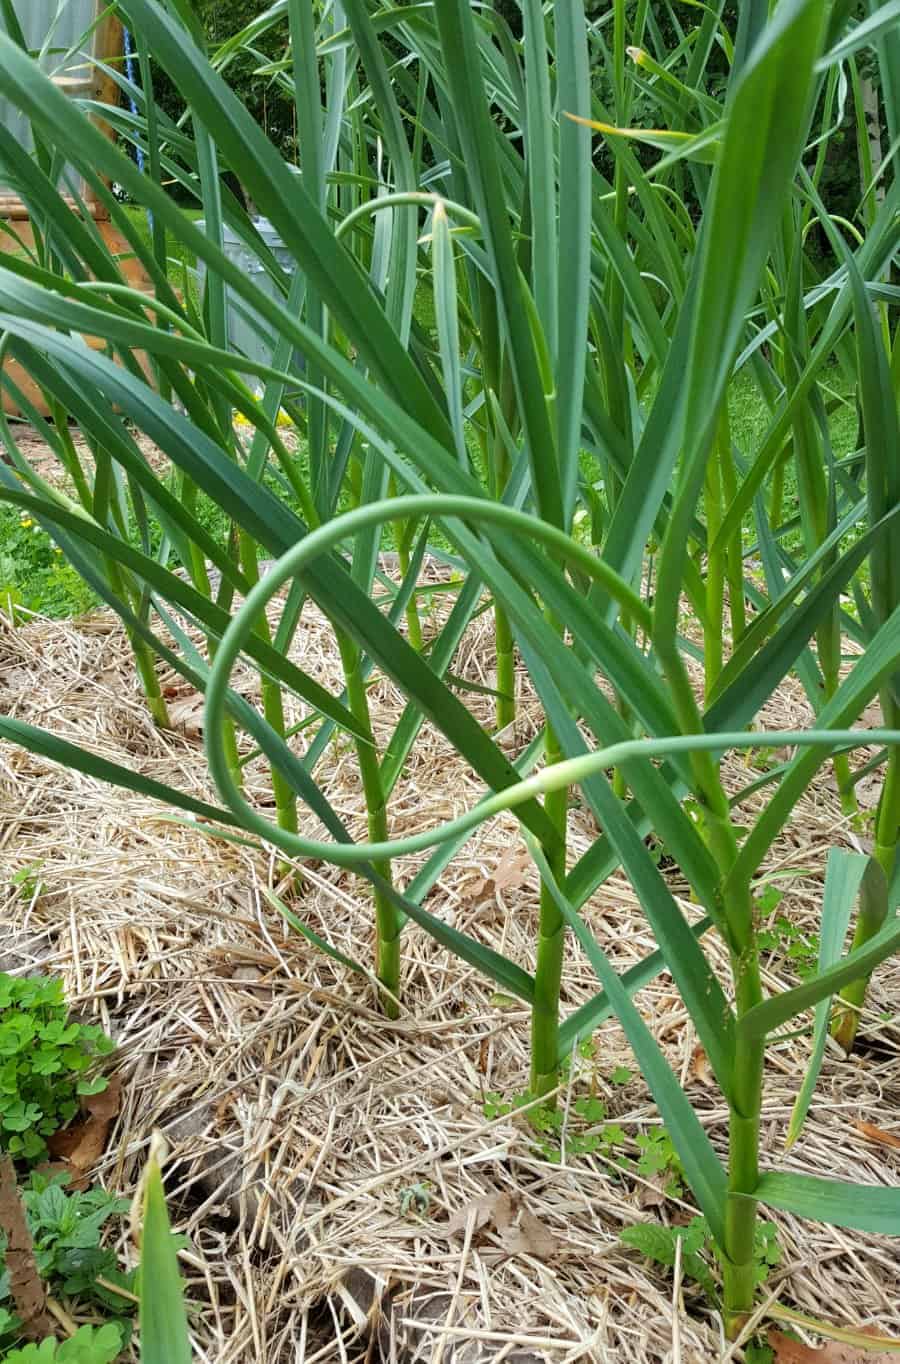
By removing the garlic scape, the garlic doesn't put any energy into producing a flower, and instead sends that energy into the bulb, creating a nice large head of garlic!
Learn more about how to harvest and use your garlic scapes!
Harvesting Garlic
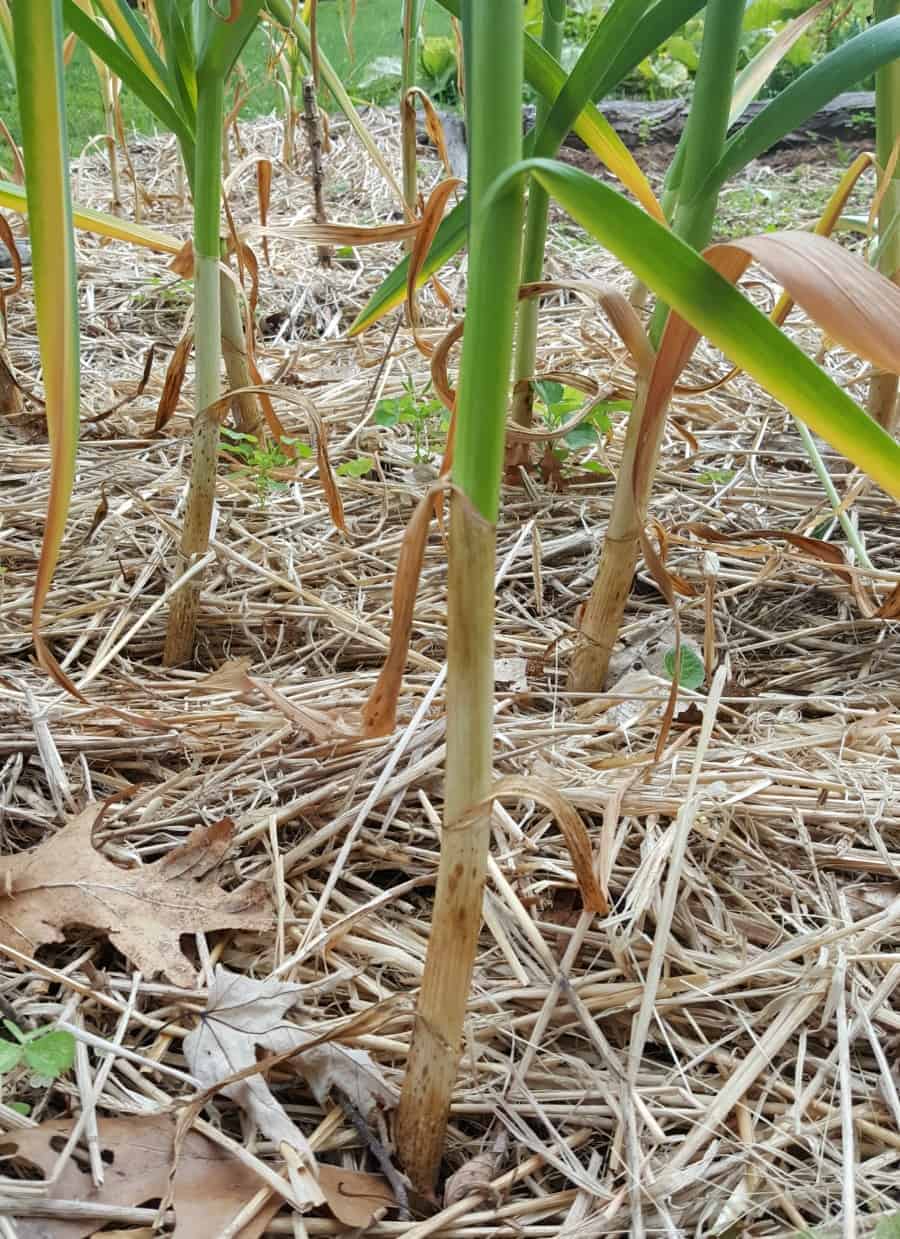
In middle to late August you will see the lower most set of leaves start to turn yellow and dry up. This indicates the plant has reached maturity and is starting to store all its energy in the bulb in preparation for winter. It also means it's almost time to start harvesting!
Wait until the third set of leaves start to yellow. On a dry cloudy day, carefully start to dig up the garlic bulbs. Don't just pull the garlic out as it will be quite firmly rooted and you may damage the bulb. You will want to use a spade or hand trowel to gently loosen the soil around it and dig up the garlic bulb.
Curing & Storing Garlic
Once all the garlic has been harvested, bunch the garlic together (green leafy stalk and all), and hang it in a dry shady spot in your garden, a dry basement, or cellar. You can also lay the garlic out on a table or rack of some sort. Let the garlic dry for about two weeks to help prepare the garlic for long term storage.
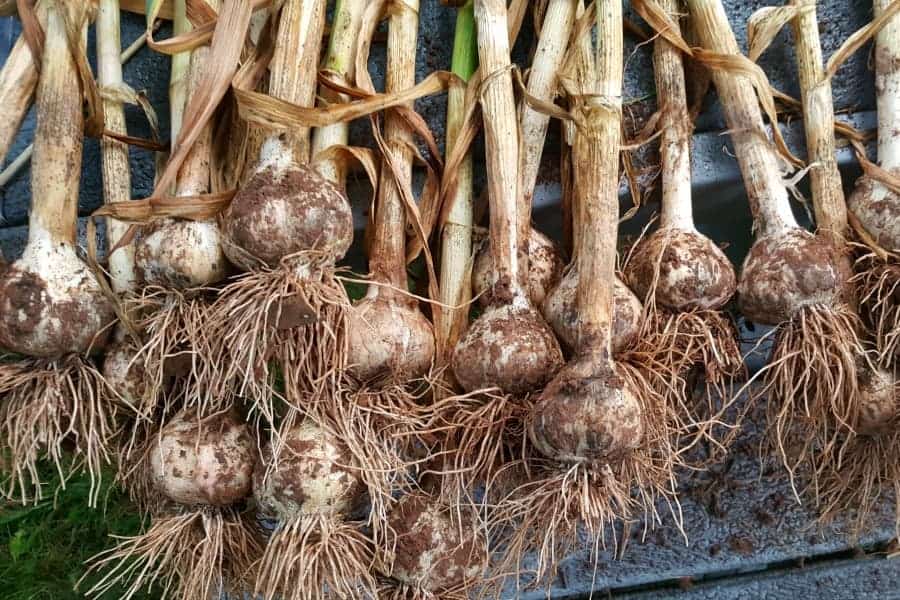
After the two weeks are up, it's time to clean the garlic for storage.
If you planted soft neck garlic you can braid the stems together before hanging them to create a rustic looking garlic braid! - Chef Markus Mueller
Cleaning Garlic
- Brush of any dried dirt with a clean rag or soft brush. Gently remove any loose papery bits of the outer skin.
- With a sharp knife or shears, trim the root bundle by cutting it off close to the base of the bulb. Use a brush to gently remove any remaining dirt around the roots.
- If you planted Soft neck garlic: braid the garlic stems together to create a garlic braid which can be hung for storage.
- Cut the cured bulb of garlic from the now dry stalk leaving about an inch above the bulb
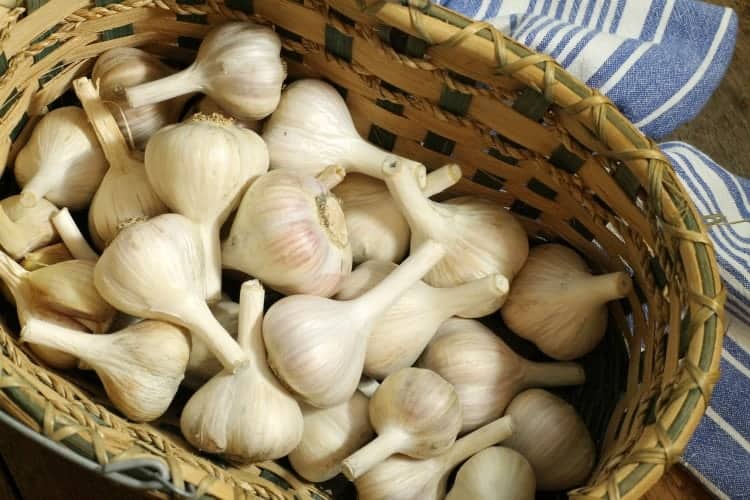
- Store the cleaned garlic bulbs in a dark, dry, and well ventilated area. I keep mine in a wicker basket for easy access!
Have you ever your own garlic or wanted to?? Comment & let me know what you thought of this guide. Tag me in your garden pictures on Facebook & Instagram: @earthfoodandfire . For more from scratch gardening tips and recipes follow me on Instagram & Pinterest

Mitch Reed
Thanks for the info, I plant hard neck in Wyoming in a raised bed with equal parts of compost, peat moss, vermiculite and my garden soil. But I didn’t put fertilizer. Should I sprinkle some granulated type on before covering with straw?
Chef Markus Mueller
Hi Mitch. If you've added plenty of compost you should be fine without fertilizer. Come late spring though you could consider applying a liquid fertilizer once when you are doing a regular watering, to add that extra nutrition and help the plants grow nice and large over the summer.
Peter jones
Living in Spain a little north of granada, we plant garlic about mid October. 10cms apart and 5 deep.
Ground is fairly light, and well cultivated, with plenty of compost.
Harvest time is from mid May to mid June, and usually produces fine results.
Leanne | Crumb Top Baking
Thanks for all this information Markus! I love garlic, so growing my own would be super gratifying! Based on your tips, I definitely think it's something I could do!
Chef Markus Mueller
Easily! Garlic is foolproof even for a 'brownthumb'!
Lily {Gastro Senses}
Really nice looking garlic! I’m also a huge supporter of eating local and growing your own food because the things that are being done to our food is worrying me more and more....bring on the garlic patch!
Chef Markus Mueller
Do you already grow some of your own food?
Diane Galambos
Very timely! I have such a shady garden - this project may be challenging...
Chef Markus Mueller
It can be a challenge growing in a shady garden for sure! Though I have found the garlic just takes longer to mature if grown in a not so sunny location!I would perhaps plant a handfull of cloves (maybe one row) and see how it goes!