Something I really wanted to post about this spring but haven't been able to do myself due to a shortage of maple trees on my property, is how to make maple syrup at home! Who doesn't love good maple syrup and the prices just seem to keep going up in the store!
Since the "sugar season" is fairly short and dependent on temperatures where you live, maple syrup can be a real hot commodity! This is why I asked my brother Benjamin to write this maple syrup DIY tutorial. He has been dabbling in making his own syrup at home for a few years now, and I must say that it is delicious! To find out how to make your own keep reading below!
This post contains affiliate links for which we may be compensated if a purchase is made through the links provided at no extra cost to you. For more information, please read our affiliate disclosure.
In today’s world of increasing food prices, and the ever increasing list of questionable ingredients and additives in our food, it is nice to be able to make, grow and forage for some of these foods ourselves.
Not only is it extremely satisfying to look back at what one has made after it’s all said and done, but it is also a more sustainable way to live one’s life, and in my opinion, there is an appreciation for the product you produce that otherwise would be completely overlooked.
Maple syrup is one of those products, and can easily be produced at home, as long as you have a few key items, and patience. It's a very simple, two-step process where essentially:
- you collect the sap from maple trees after tapping the trees
- and then boil it down to about 1/35th of what you originally started out with!
That's right, you need A LOT of sap to make maple syrup, but you'll be surprised at how easily the sap starts to flow from the trees!
Maple Sugaring - Some Basics
At the very least you have to make sure that you have maple trees on your property or near to where you live. Should it be on someone else’s property, make sure to ask for their permission to tap (be able to use) their trees. Sharing in the liquid gold you produce usually persuades people in my opinion!!!
Can you make syrup with the sap from other trees?
In theory yes, you can make syrup out of any kind of tree sap. The syrup is created by reducing the water content in the sap, leaving behind a sugar rich liquid. Of course trees who's sap has a higher sugar concentration (such as sugar maples) produce syrup easier then trees with a low sugar concentration.
Birch, Walnut, and Linden trees are just a few examples of tree's that can be tapped for their sap.
Marking Trees For Tapping
I usually flag or mark the trees I want to use in the previous fall when the trees still have all their leaves. This makes it easy to spot the maple trees in the late winter, and to evaluate a little bit how healthy they are and where some of their major roots lie (difficult to do when you have 3 feet of frozen snow on the ground).
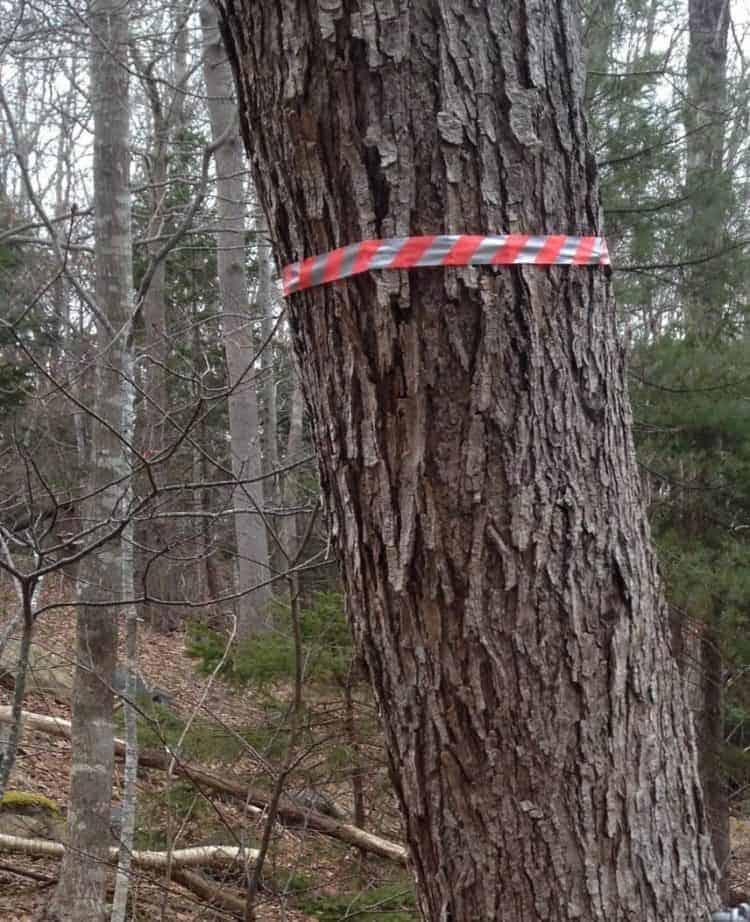
Pick trees with a diameter of 8-10 inches or larger. This ensures you are harvesting sap from a tree which can sustain it without damage, as well as provide you with enough sap required to make maple syrup.
Once you have done this, you can pretty much forget about the whole process and simply wait until the sap starts to run.
Maple sap is said to 'run' (start to flow through the trees), in early spring, when the temperatures start to hover between 23F(-5C) at night and 50F (10C) during the day. Living in Eastern Canada, sugaring season came early this year and caught me by surprise towards the end of February, but usually it has started around mid to end March.
Native Americans would mark the start of the sugaring season with the passing of the Spring equinox or the 'Sugar Maple Moon'.
Collecting Maple Sap
When you start to notice those temperatures rising, it's time to get out all your tools and items that you will need. The basic supplies you will need are:
- a 7/16” drill bit for a power drill or hand drill
- a hammer
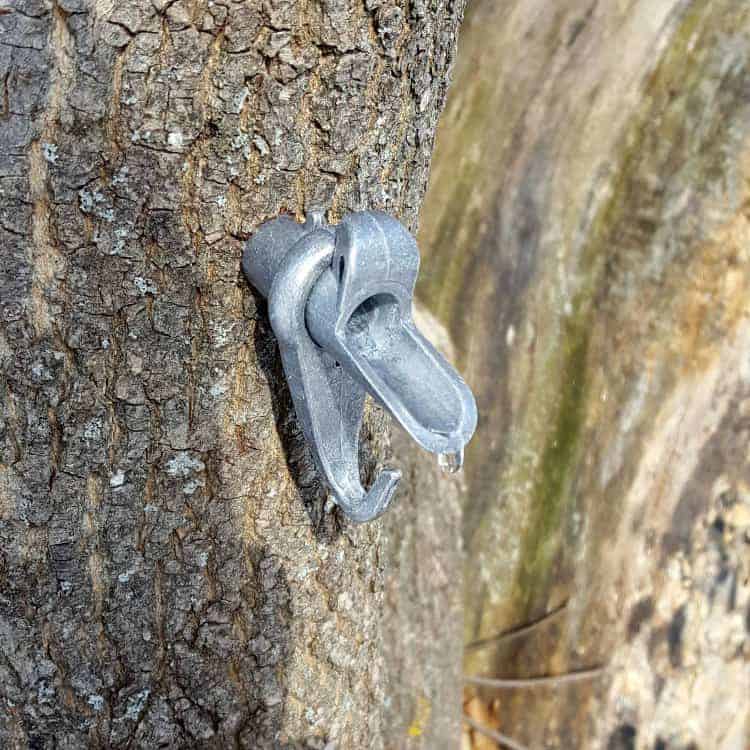
- Specially designed spout/tap(s) for this purpose
- containers (preferably food grade) to collect the sap
Tapping Your Maple Trees
Once you have got all the things you need, head off to your marked trees! You can drill one tap per tree trunk that has a diameter of 8-10 inches. For every additional 6 inches of trunk diameter, you can add another tap.
Make sure to keep the taps at least 4 to 6 inches apart. Drill the hole for the tap at a slight upward angle, 2 - 2 ½ inches deep, 2-3 feet above the ground and preferably on a south facing side of the tree. I find drilling the hole above a big root and not too high up the trunk helps to increase the flow of the sap.
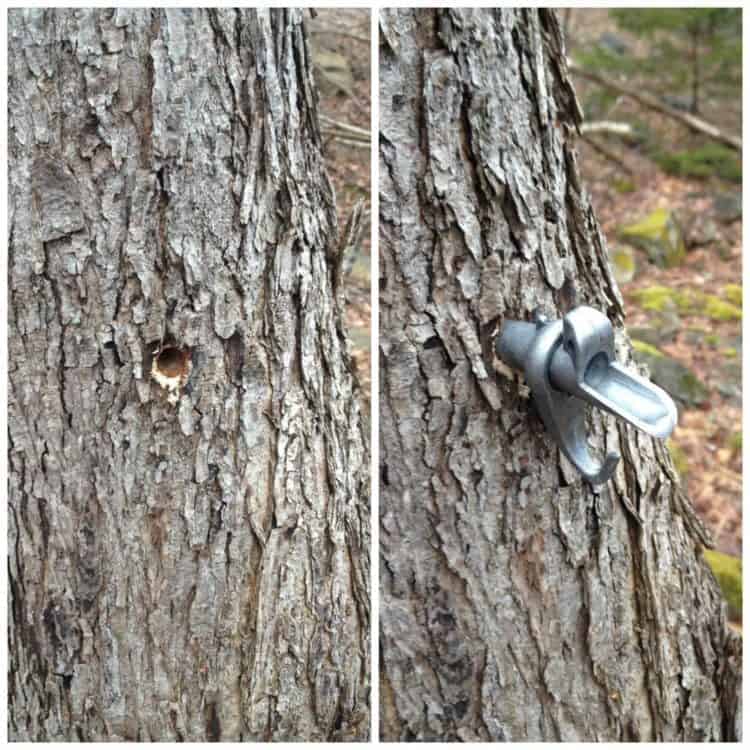
Once you have your hole drilled, take your spout/tap and tap it into the hole with the hammer. Be careful not to be too forceful, as you can crack/split the bark and surrounding wood, which can lead to a leaky tap.
When the tap is in place, hang your container off of it and wait for it to fill. Depending on the weather that day and when you tap your tree, you should have a full container by the end of the day if the sap is running well.
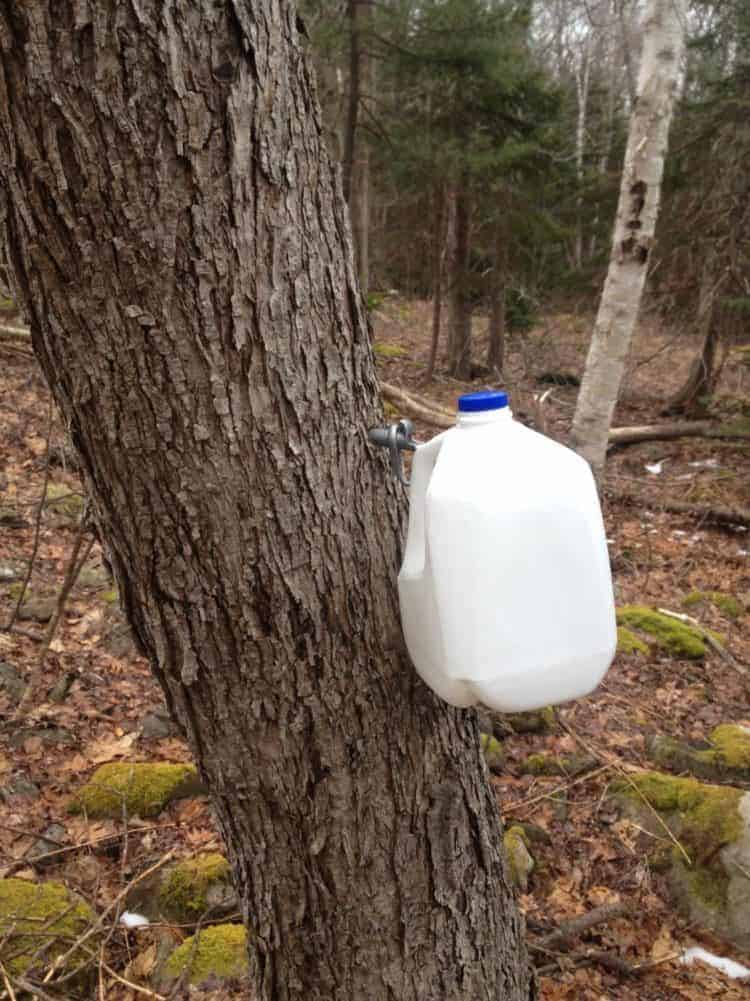
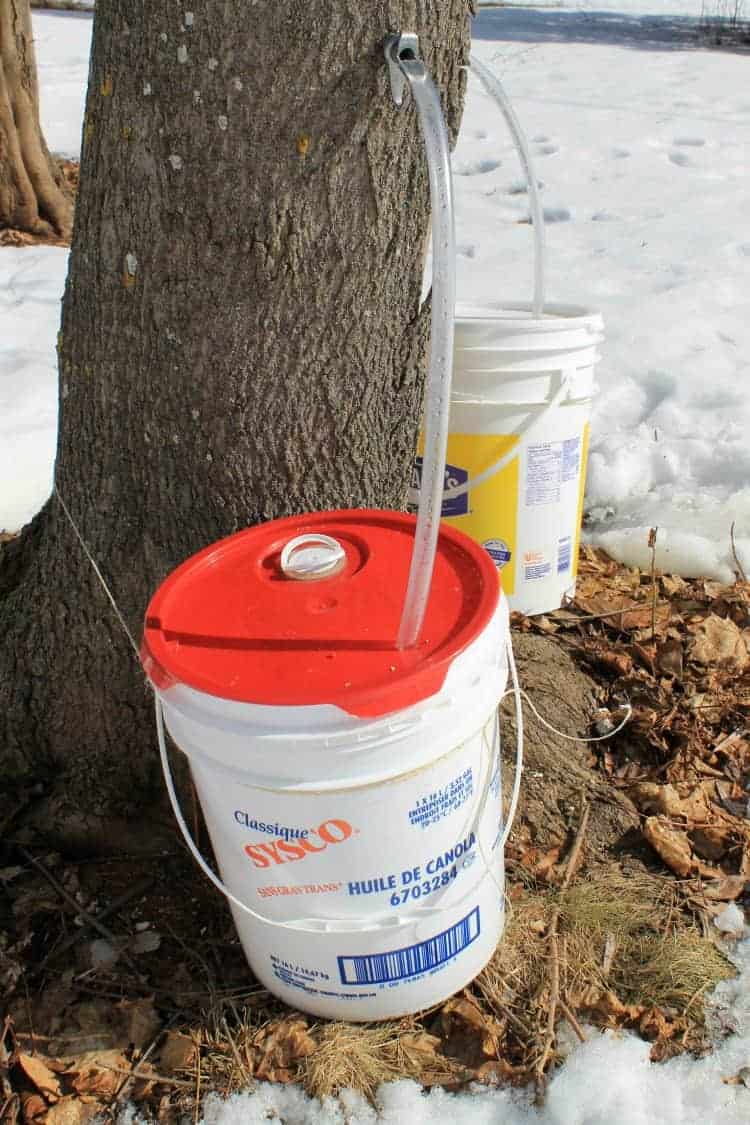
Depending on how many trees you have and plan on tapping, you could hang individual containers from each tap, hook the taps up to tubing (also called drop lines) that feed into large buckets, or purchase professional grade maple sap tubing that feeds the sap into one collection site downhill.
Make sure to store any sap you collect at fridge temperatures, as it can spoil otherwise. I kept mine in large buckets on the garage until I had enough to start boiling it down.
The Sugar Boil
Once you have around 35 liters sap you could start boiling it down, remember the ratio is around 1:35 so you would get around 1 liter end product from 35 liters of sap. Start collecting your sap from your full containers and start the boiling process with the following items.
- Large pots or pans for boiling
- heat source (an outdoor stove or hot plate are ideal)
- mesh skimmer
- thermometer (range up to 230F or 110C) or syrup hydrometer
- felt/cotton filter (Cheese Cloth is great but paper filters work alright too)
- sterilized containers for storing the syrup such as old maple syrup bottles or mason jars.
At the beginning of your boil, make a note of the temperature at which your sap starts to boil. This is important as you will know that the boiling is done when you have reached 7F or 4C above the original boiling point of your sap.
Depending on how much sap you plan on boiling down, you will need larger equipment or have to boil outside. If you have only one or two trees tapped, you can easily boil/evaporate your sap on the stove or on a camp stove inside.
Keep in mind that when boiling any large amount of liquid, a lot of moisture will be produced. So if you do this indoors, make sure to have adequate ventilation going otherwise, you will trap all the sticky moisture inside and on your walls!
If you have more trees tapped and are into serious production mode, I would strongly recommend boiling your sap outside in a homemade or professional evaporator. An evaporator is simply a pan with a large surface area that is traditionally heated from below with wood and usually has some kind of chimney to properly ventilate the fire. The larger the surface area the faster the sap will evaporate.
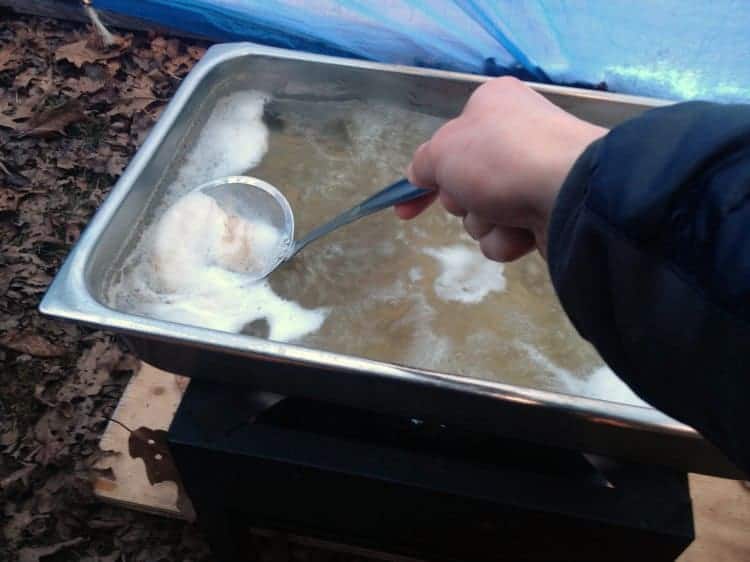
If you don't have a specially designed sap evaporator (and who does really!) you can easily use an outdoor propane cooker, or campfire and do it the old fashioned way. I used a small propane stove to boil down my sap.
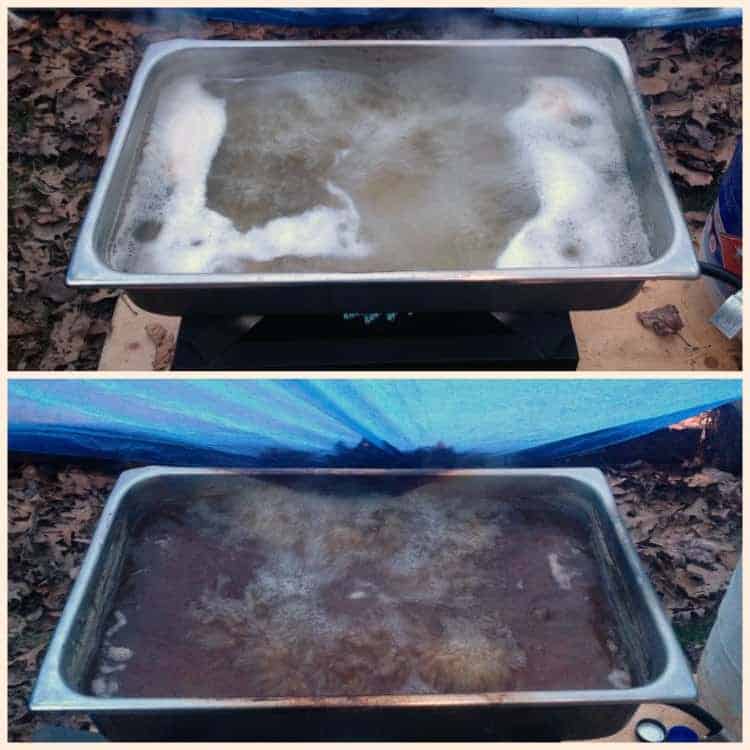
Keep the sap at a rolling boil, and as the sap continues to boil down, keep adding more sap to the pans. Make sure you keep at least 2 inches of syrup in your pot or pan so as not to burn your liquid. You'll see the sap slowly start to change color and become more amber toned.
Finishing & Filtering Your Maple Syrup
Towards the very end of your boil you may need to transfer the liquid to smaller pot to keep this 2 inch depth. The sap will start to turn amber/brown in color as you boil, indicating the sugar content is increasing and the water evaporating away.
Remember to skim off the foam that appears while you are boiling! This helps remove impurities and keeps the sap clearer. It can also prevent the sap from boiling over. If at any point during your boiling process, your sap starts to boil over, you can add a little drop of fat (I used olive oil) to the pan. You can also buy a specially made chemical additive that will prevent the syrup from boiling over. Take care not to add to much fat, so that you don’t change the flavor of the syrup.
When you have reached the magic number indicating your boiling is done(7 F or 4C above the starting boiling temperature), it's time to take your syrup off of the heat source, and filter the syrup through your felt, cotton or paper filter.
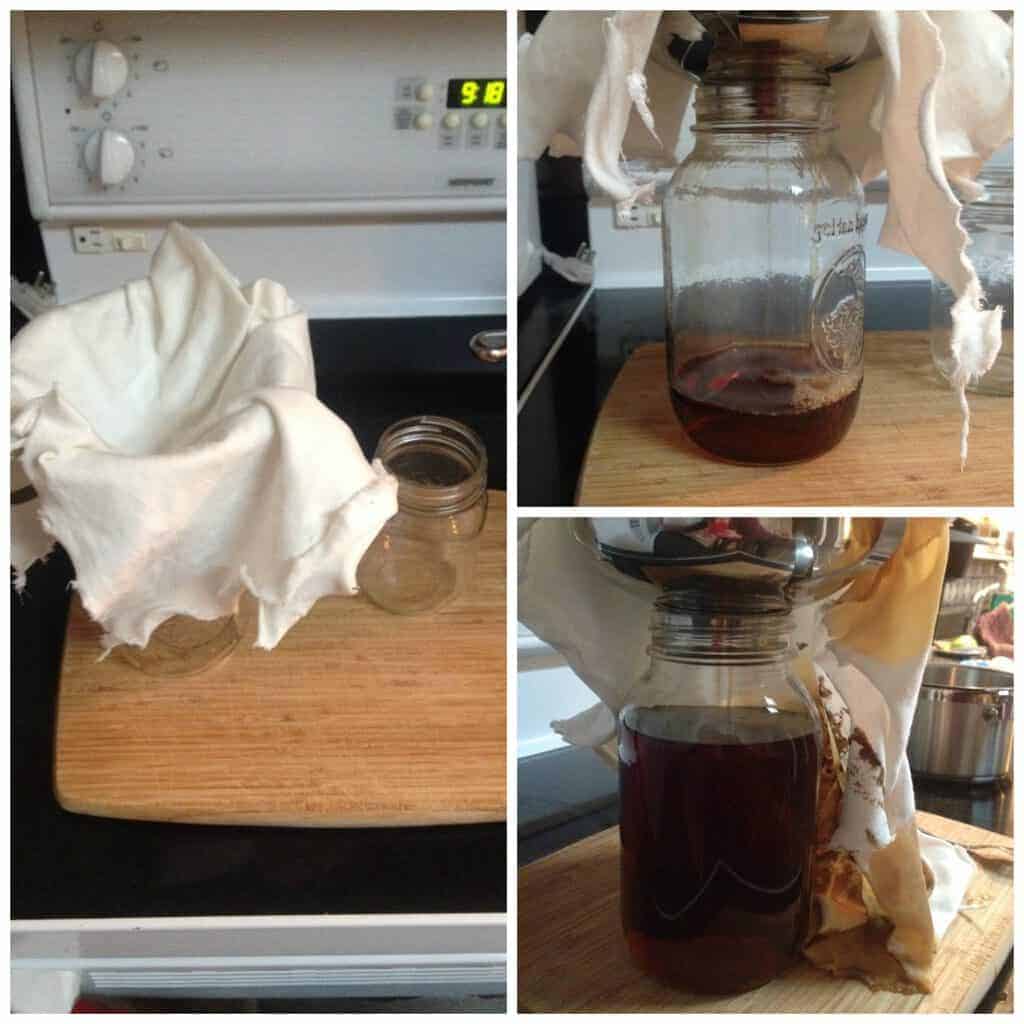
I filter my syrup at least twice because I find I get a clearer syrup that way, which also lasts longer on the shelf. Filtering the syrup helps in separating any particles that may have been missed while you are skimming the sap during the boiling process.
Sugarsand
Most importantly filtering removes the “sugarsand” that would otherwise settle at the bottom of your storage containers. Sugar sand is a mineral residue that settles out of the syrup as it sits and collects in the bottom of your bottle or jars. Just before the second filtration, I make sure I heat the syrup up to at least 180F (82C), and then filter the syrup right into the storage containers. I use old empty maple syrup containers or mason jars.
Once they are full I lay them on their side to make sure that the airspace at the top of the containers stays sterilized, this is not necessary with mason jars. Now you just sit back and wait for the containers to cool and marvel at your work. Don’t forget to lick off the remnants of the sticky, sweet goodness that remained in your pot or on your other utensils you may have used during the process!!!!!!!
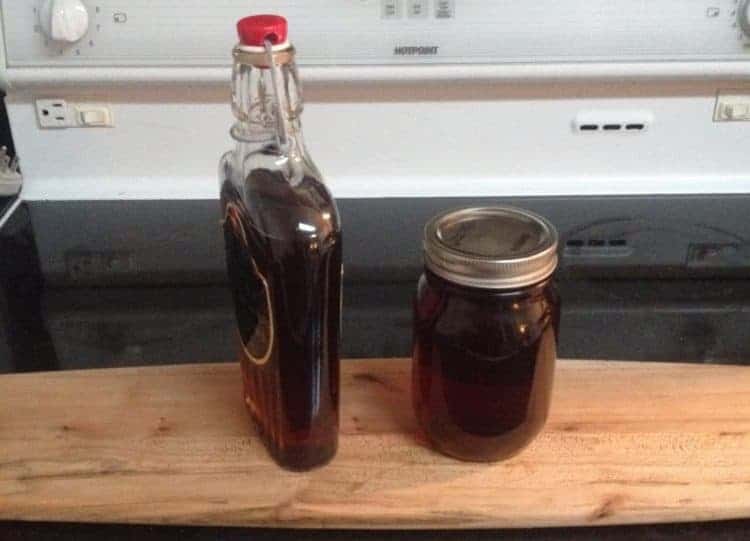
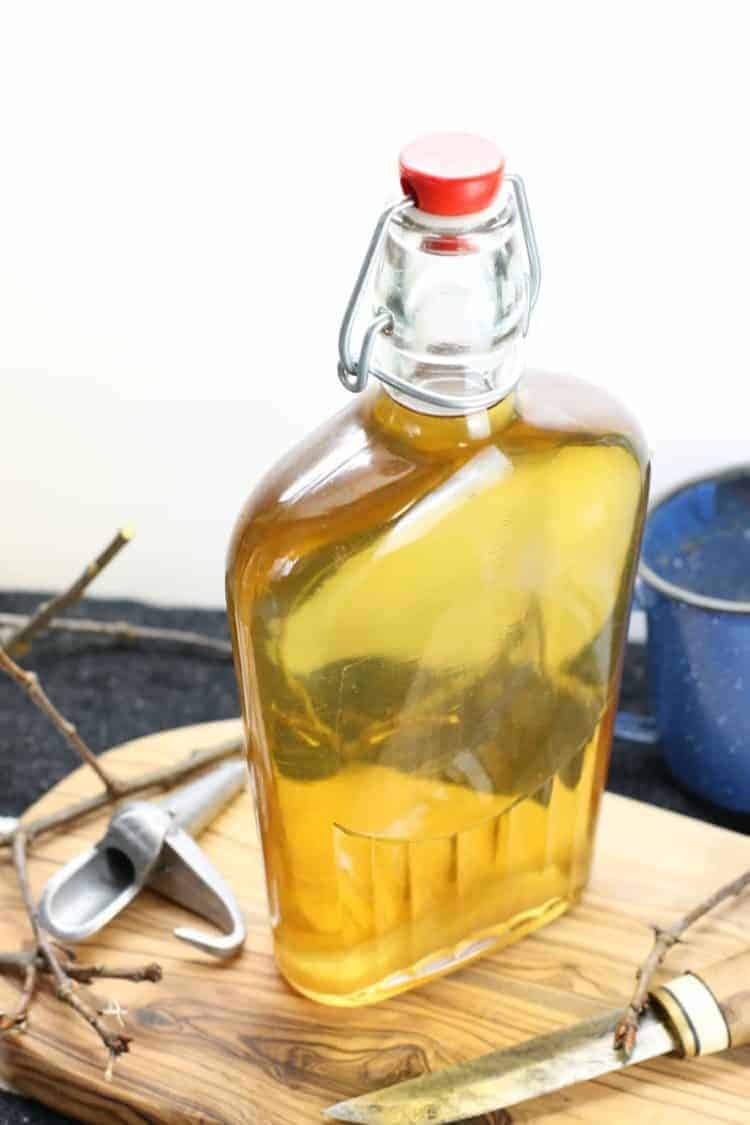
Note: It is worth knowing that sap collected during the early season will boil down to produce a very light golden almost see through syrup( such as in the picture at the top of this guide). This is due to the lower sugar content of the sap. As the season progresses, and more batches are boiled down the maple syrup will become darker and thicker as the trees produce more sap.
While I’m definitely not a professional sugarer or claim to be one, I have definitely had great success in making maple syrup at home for a couple years now using the process described above. My family and friends have not complained, and if that is any indication, it at least tells me I’m doing something right. I’m glad I am able to share this with you to help you get your own sugaring production off the ground and running!!! Enjoy!
Benjamin-Thorfinn Mueller
Benjamin-Thorfinn Mueller is an occasional freelance writer, toothmaker, backyard farmer, and overall outdoor enthusiast living in Nova Scotia, Canada, with his family and dog. Follow him on Twitter to see what else he is up to!

Comments
No Comments