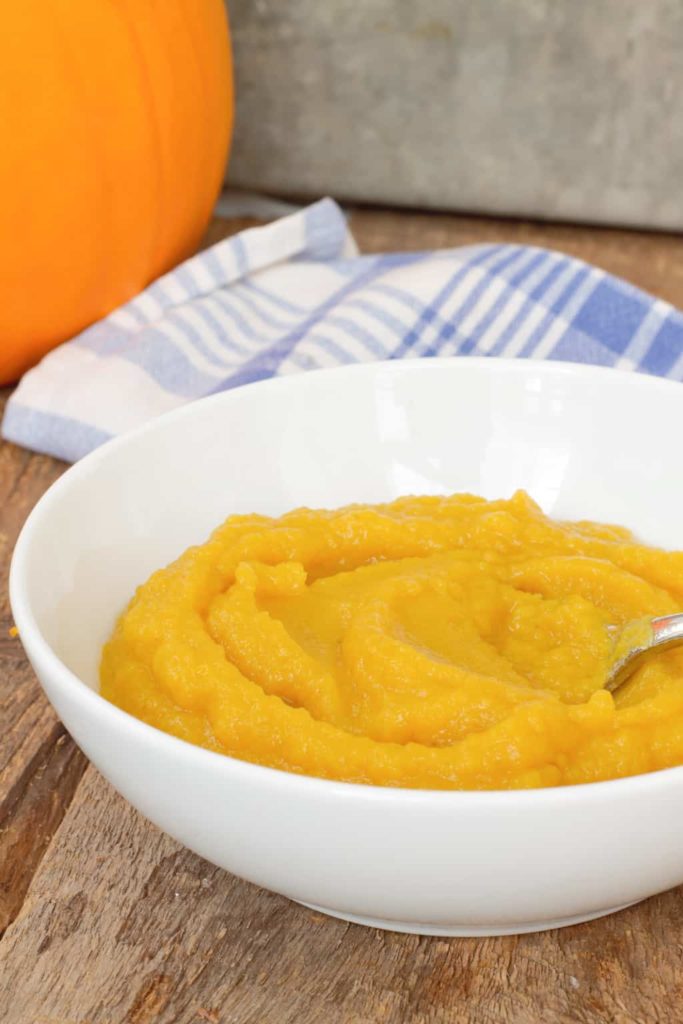
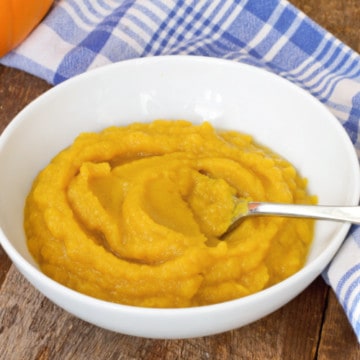
Whether you've grown your own pumpkins at home, or just want to cook good food 100% from scratch, homemade pumpkin puree is super easy to make.
It's nutritious, can be used in a wide range of recipes, and freezes very well making it a great way to preserve pumpkin for the coming winter months.
This post contains affiliate links for which we may be compensated if a purchase is made through the links provided at no extra cost to you. For more information, please read our affiliate disclosure.
Different Types Of Pumpkin
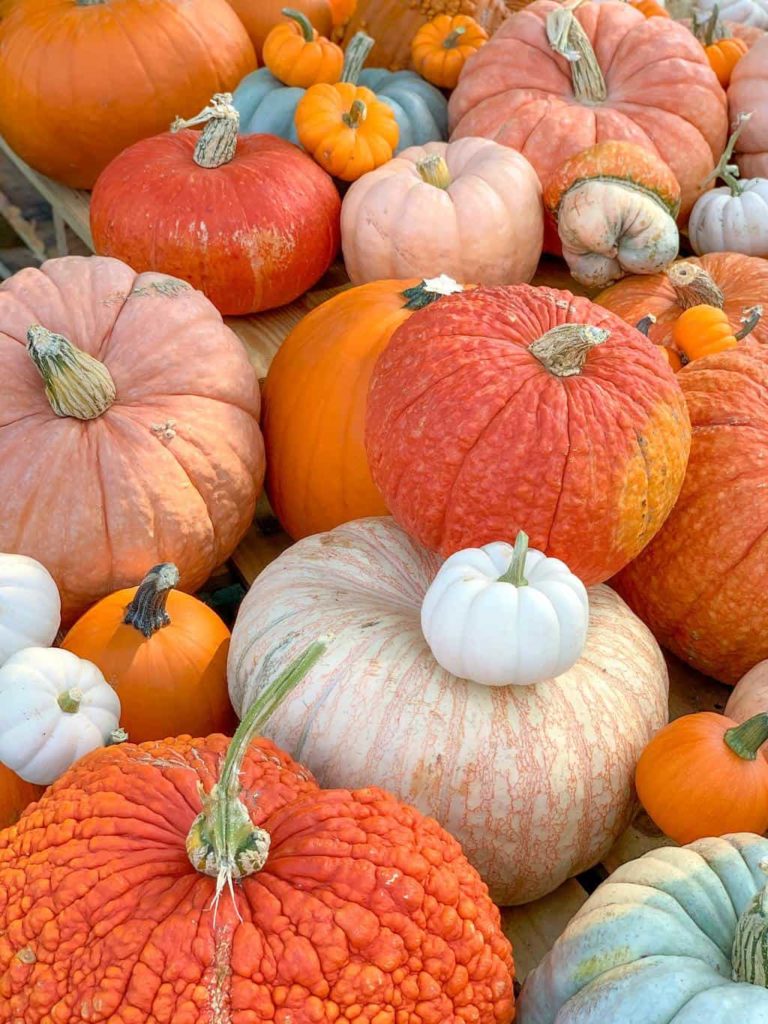
When it comes to pumpkins, choosing the 'best' variety for cooking or baking can be a bit of a personal choice. While you can, of course, turn your Halloween jack-o-lantern into pumpkin puree, the flesh tends to be quite watery and flavorless, especially when boiled.
It's better to go to your local farmers' market and search out a variety specifically meant for baking. Any pumpkin (or winter squash for that matter) can be turned into a puree using the method described below, so have fun and don't worry too much about what kind of pumpkin you are cooking!
Winter vs Summer Squash
There are two main types of squash: Winter Squash and Sumer Squash.
Winter squash tend to have thicker skin and are ideal for storing in a dry, cool pantry or cold storage area. They have a fairly long growing season and are usually planted in late May/ early June. Winter squash is harvested in the fall once the squash matures, about 60-110 days after planting depending on the variety.
Winter squash varieties include butternut squash, spaghetti squash, and acorn squash to name a few.
Summer squash has a much thinner skin than winter squash, is usually milder in flavor, and does not store as well as winter squash. Summer squash is also planted in early June (after all chance of frost has passed), but has a much shorter growing season, often maturing within 50-60 days after planting.
Summer squash varieties include green and yellow zucchini, patty pan squash, and crookneck squash.
Of course, there are many, many more varieties of squash than listed here and it is best to check out your local garden center or farmers market for information on locally available varieties best suited to your climate.
How To Make Homemade Pumpkin Puree
As mentioned above, making your own pumpkin puree from scratch is really very simple. All that you have to do is cook the pumpkin and then puree the cooked flesh. Easy-peasy!
Whether you decide to season the pumpkin puree with any spices or add sugar to it to make it sweeter is of course entirely up to you, but is best done when pureeing the final product.
Roasting vs Boiling
In order to cook the pumpkin flesh, there are two main options. You can roast or boil the pumpkin.
Roasting the pumpkin is my preferred way of cooking most winter squashes. Roasting or baking helps remove some of the moisture naturally present in the flesh and also intensifies the flavor by caramelizing some of the natural sugars in the pumpkin.
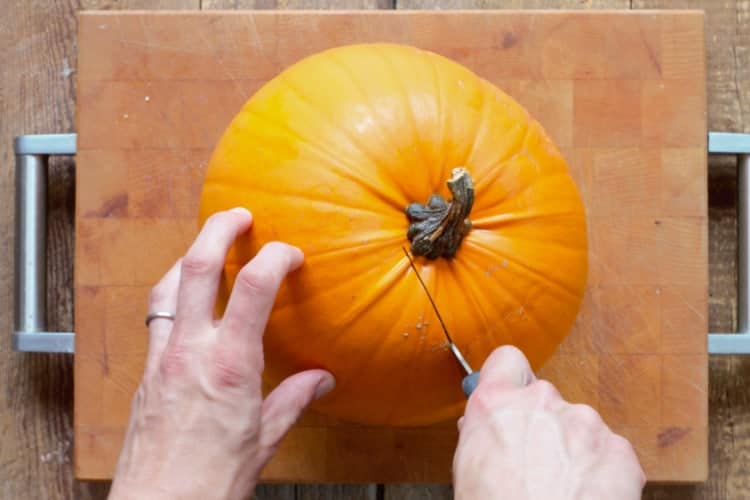
Roasting the pumpkin is also a little less work as you don't have to peel and cut the flesh first. You only need to cut the pumpkin in half and scoop out the seeds and stringy bits.
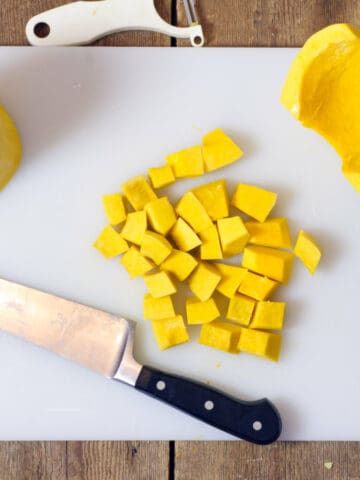
If you decide to boil the pumpkin you'll first need to peel and cut the pumpkin in order to easily get it into a pot as well as ensure it cooks evenly. Note that boiling or simmering pumpkin will increase its moisture content and can dilute the flavor.
Cooking pumpkin this way is best if you plan on using the cooked pumpkin in soups or stews where extra moisture won't be a problem.
Simple Pumpkin Puree Recipe
To make this recipe you'll need:
- 1 large pumpkin of your choice
- a large knife
- a sheet pan or baking tray
- a food processor or food mill
As you can see, you really don't need a whole lot to make your own pumpkin puree at home!
Instructions
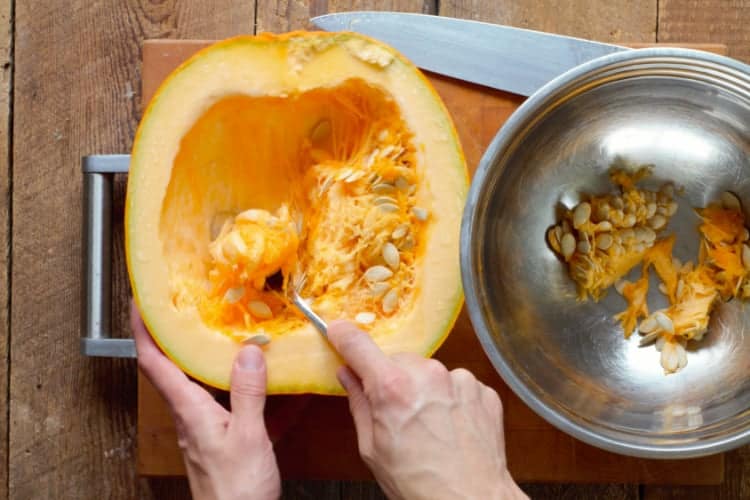
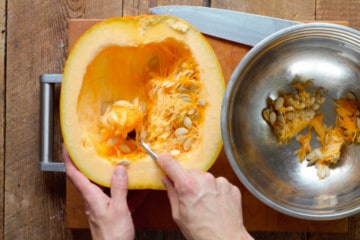
1. Start by pre-heating your oven to 375F. Cut the pumpkin in half with your chef's knife, and then remove all the seeds and stringy bits in the middle.
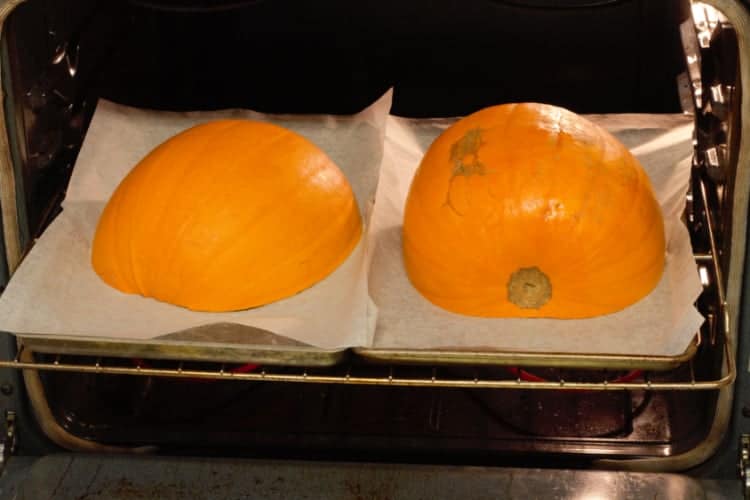
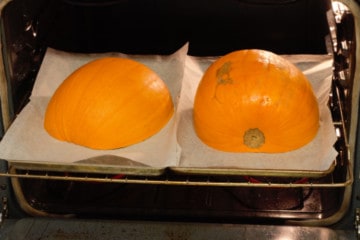
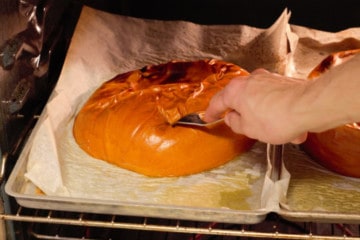
2. Place the pumpkin cut side down on the sheet tray, and roast in the oven for anywhere from 45 minutes to 2 hours, depending on the size of the pumpkin. You'll know the pumpkin is fully cooked when you can easily slide a knife through the skin and flesh of the pumpkin.
3. Once the pumpkin is fully cooked, remove it from the oven and let it cool. Remove any water that may have leached out of the pumpkin. If you find the pumpkin looks very wet, you can keep cooking it to roast it even further, just be careful not to burn the flesh!
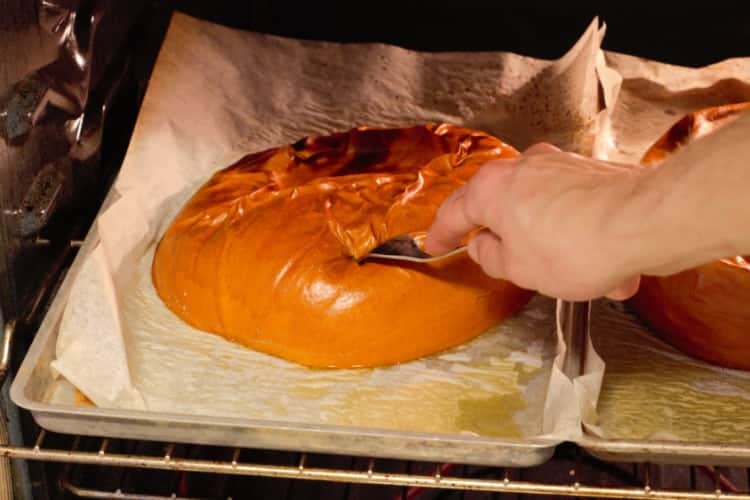
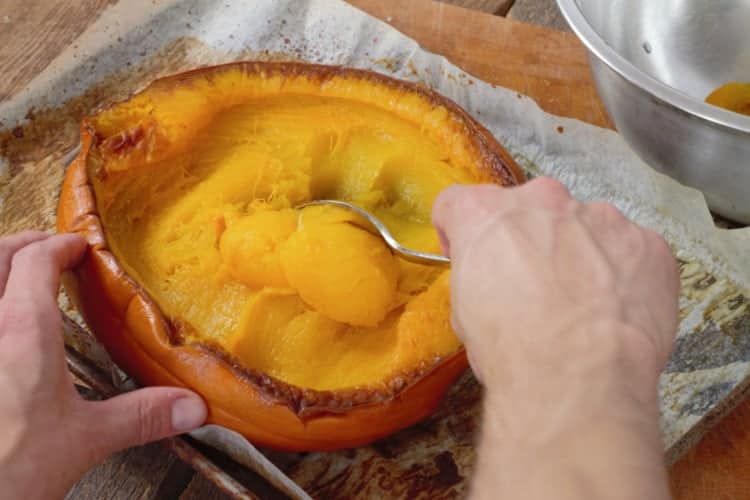
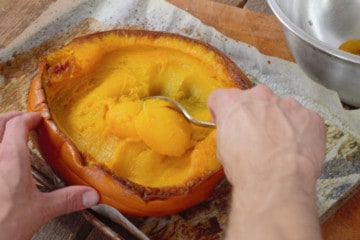
4. When cooled enough to safely handle without burning yourself, scoop the roasted pumpkin flesh from the skin with a spoon. It should fall right off and easily separate from the tough skin.

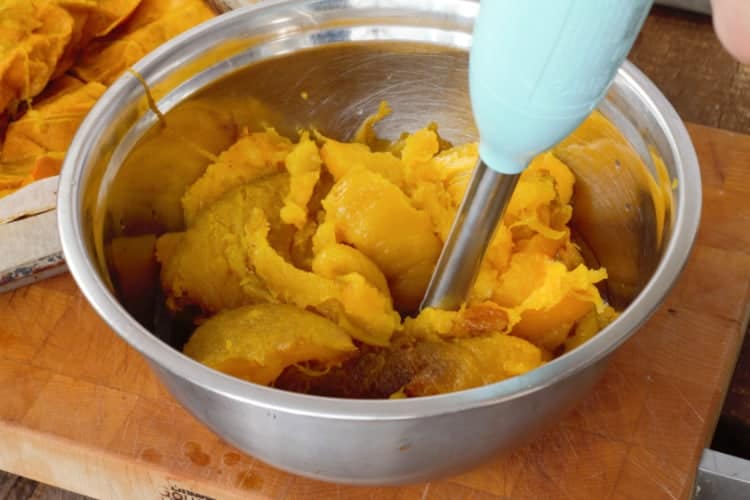
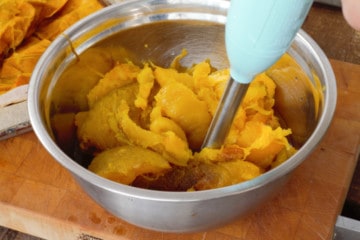
5. Place the cooked pumpkin flesh in a food processor or food mill, and process until smooth.
6. (Optional). If you like you can at this point season your pumpkin puree with spices, sugar, or even maple syrup to change its flavor slightly.
Using Your Home Made Pumpkin Puree In Various Recipes
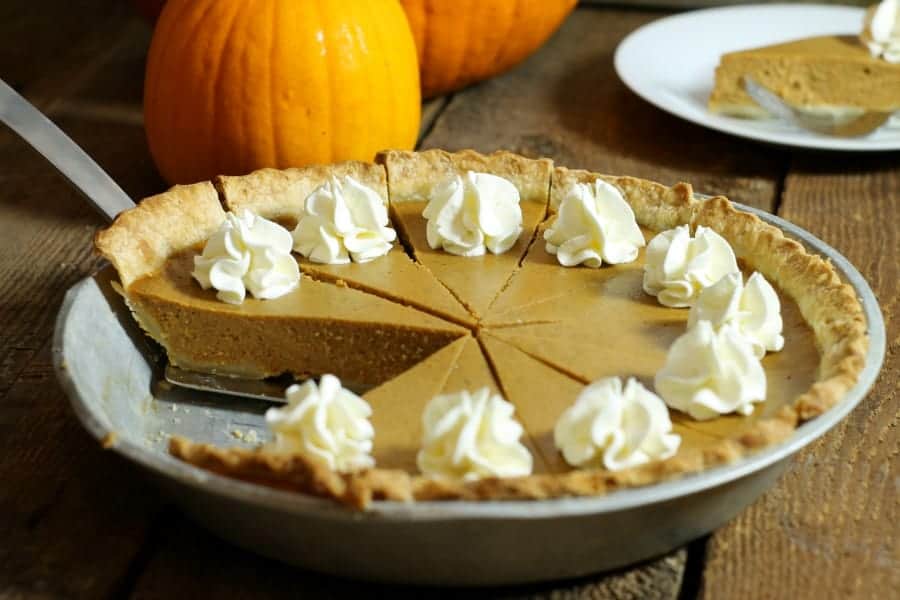
Now that you've successfully made your own pumpkin puree at home, you'll want to use it somehow! Use the puree as needed to make pumpkin pies, pumpkin muffins, ravioli filling, or even pumpkin ice cream!
Storing Home Made Pumpkin Puree
If you have any pumpkin puree left after using it in your baking or cooking you can store it in the refrigerator for 4-5 days.
You can also freeze the pumpkin puree in food-safe containers or bags for long term storage. Fully frozen, pumpkin puree can easily last 3-6 months in the freezer.
Why You Should Never Can Pumpkin Puree
While you may be tempted to can your pumpkin puree DON'T DO IT!
There are several reasons why you shouldn't can pumpkin puree, but the gist of it is that there are currently no safe ways to can pumpkin puree due to its texture and low acidity.
Even the National Center For Home Food Preservation strongly discourages this practice and instead advises canning raw pumpkin cubes in water instead.
Made the recipe? Comment & Rate it below, then take a picture and tag me on Facebook. For more from scratch recipes, follow me on Facebook & Pinterest.
Recipe
Homemade Pumpkin Puree
Ingredients
- 1 whole pumpkin
Instructions
- Start by pre-heating your oven to 375F. Cut the pumpkin in half with your chefs knife, and then remove all the seeds and stringy bits in the middle.
- Place the pumpkin cut side down on the sheet tray, and roast in the oven anywhere from 45 minutes to 2 hours, depending on the size of the pumpkin. The pumpkin is cooked when you can easily slide a knife into it.
- Once the pumpkin is fully cooked, remove it from the oven and let it cool. Remove any water that may have leached out of the pumpkin.
- When cooled enough to safely handle without burning yourself, scoop the roasted pumpkin flesh from the skin with a spoon. It should fall right of and easily separate from the tough skin.
- Place the cooked pumpkin flesh in a food processor or food mill, and process until smooth.
Optional
- If you like you can at this point season your pumpkin puree with spices, sugar, or even maple syrup to change its flavor slightly.
Notes
Nutrition
Nutrition info is auto-generated. This information is an estimate; if you are on a special diet, please use your own calculations.


Karen
I made the roasted pumpkin as you have done!
I rate your roasted pumpkin 100%!
My roasted pumpkin was perfect! Thank you.
Next is making your pumpkin pie and pumpkin muffins! Yum, yum!
Chef Markus Mueller
Thanks! Glad you enjoyed it!
Andrea Howe
Fresh pumpkin puree for pumpkin pies is the only way to go! Love your easy roasted method; i'm sure the pumpkin comes out so flavorful!