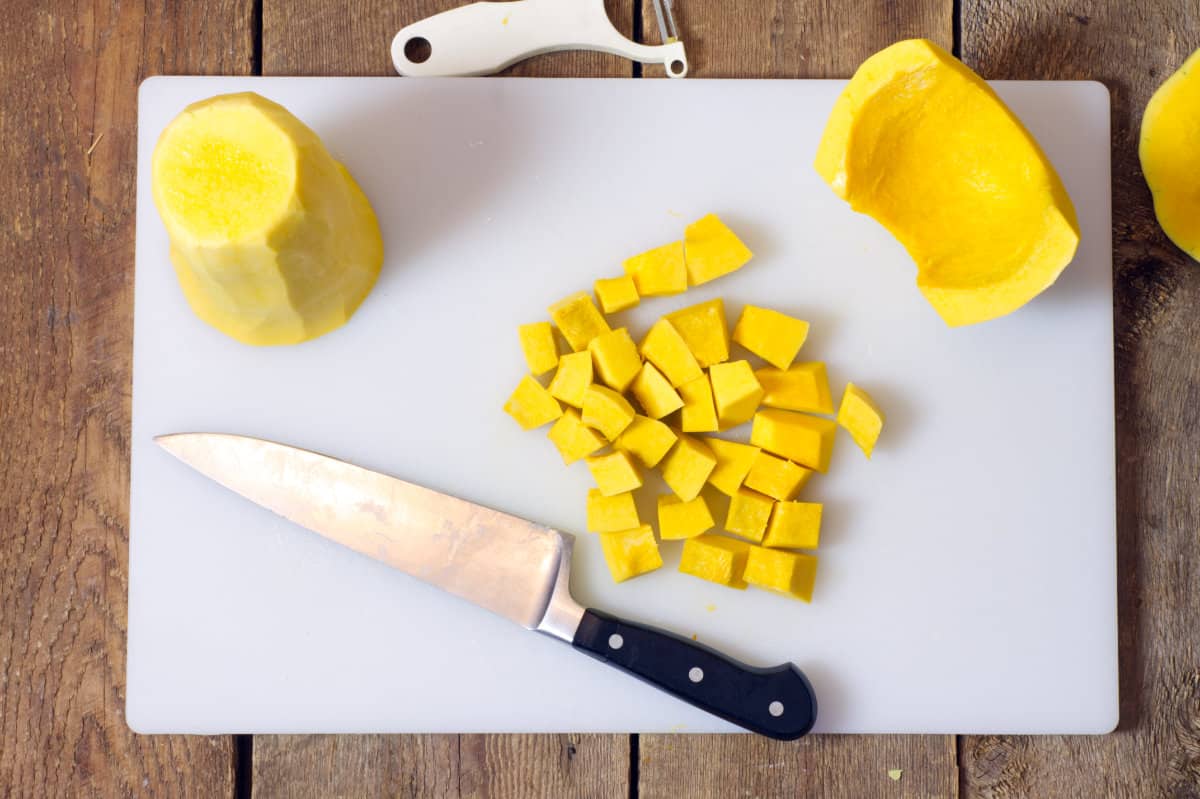
Learn how to easily cut and peel butternut squash for a variety of recipes with this simple cooking guide! Despite it's large size and tough skin, butternut squash is actually one of the easier squashes to prepare once it has been trimmed. Read on to learn more!
Jump to:
This post contains affiliate links for which we may be compensated if a purchase is made through the links provided at no extra cost to you. For more information, please read our affiliate disclosure.
Using The Proper Tools
As when you are cutting or preparing any vegetable in the kitchen using the proper tools is important.
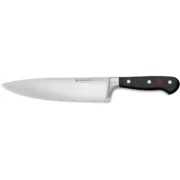
A sharp, good quality chefs knife is key in this case. Why?
For starters dull knives are more likely to slip, as you need to use more force to push a dull blade into whatever you are cutting. Sharp knives will more easily slice through vegetables, creating cleaner cuts, and a lower chance of the knife slipping.
You can learn more about chefs knives and their different uses in our kitchen basics guide.
The other tool you'll need for this guide is a good quality vegetable peeler. Swiss Y shaped peelers are the best, though a swivel blade peeler will work as well so long as it is sharp.
Selecting A Ripe Butternut Squash
Before we get to all the fun parts of this guide, you should know how to select a ripe butternut squash.
A ripe squash will be easier to cut then an unripe one, and will also taste better in your recipes!
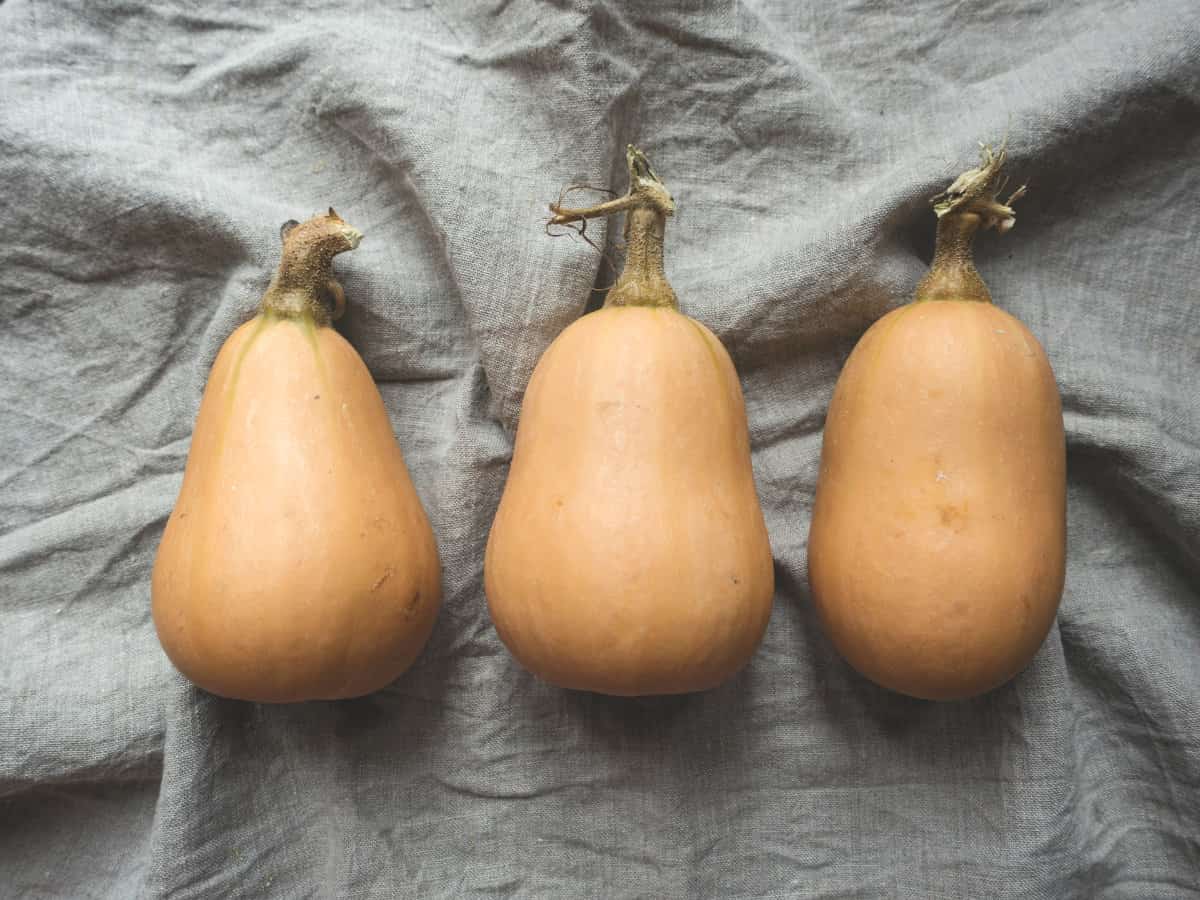
Choose a squash that has:
- no green patches - green patches can indicate unripe squash
- a rich beige skin & is matte in color - fully ripened butternut squash will have a dark beige skin and a matte color. The skin will be tough and hard to push a nail into.
- feels nice and heavy - fully ripe squash will feel heaver then they look for their size. Ripe squash have a richer flavor.
How to peel & cut butternut squash, step by step.
So lets get to it.
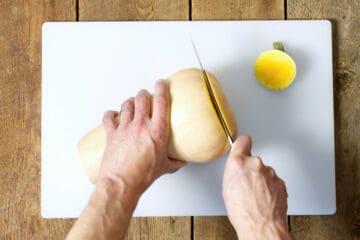
1. Begin by cutting off about a quarter of an inch from the bottom and top of the squash. This will give you a nice stable base to work from and will stop the squash from rolling around as you continue to cut and peel it.
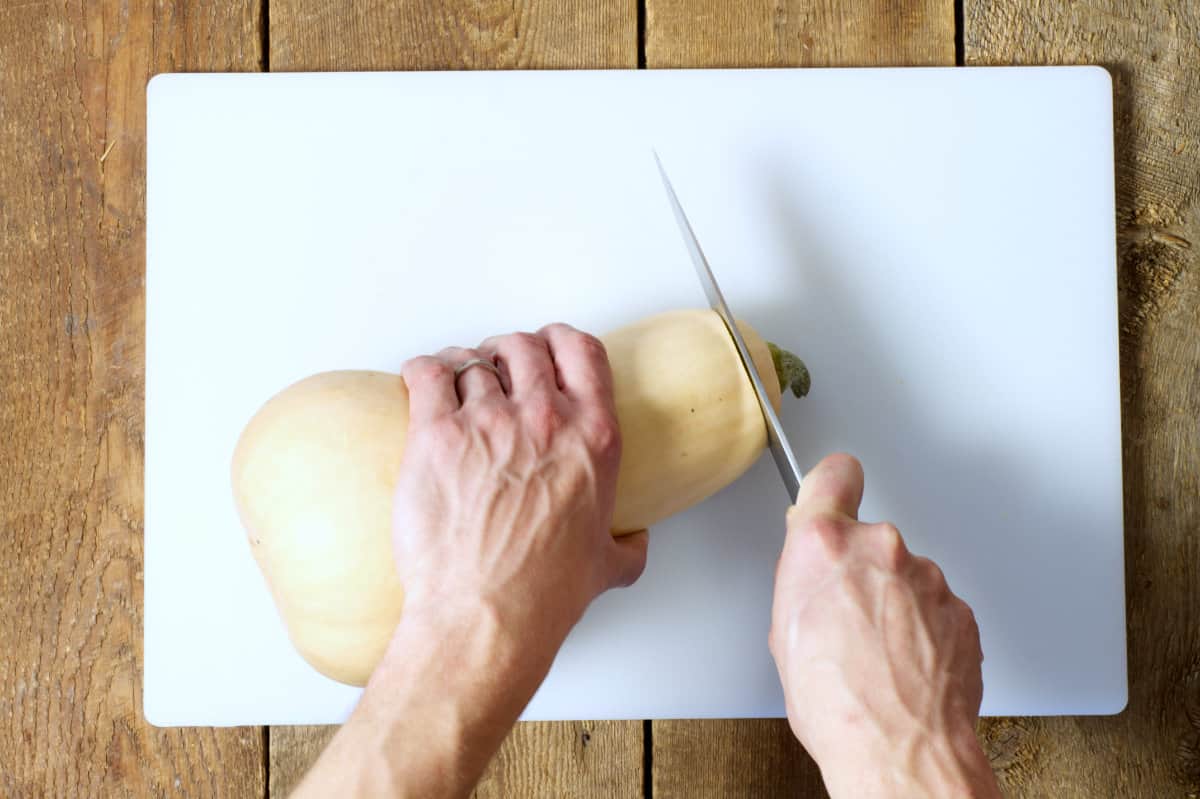
Trim the top end of the butter nut squash.
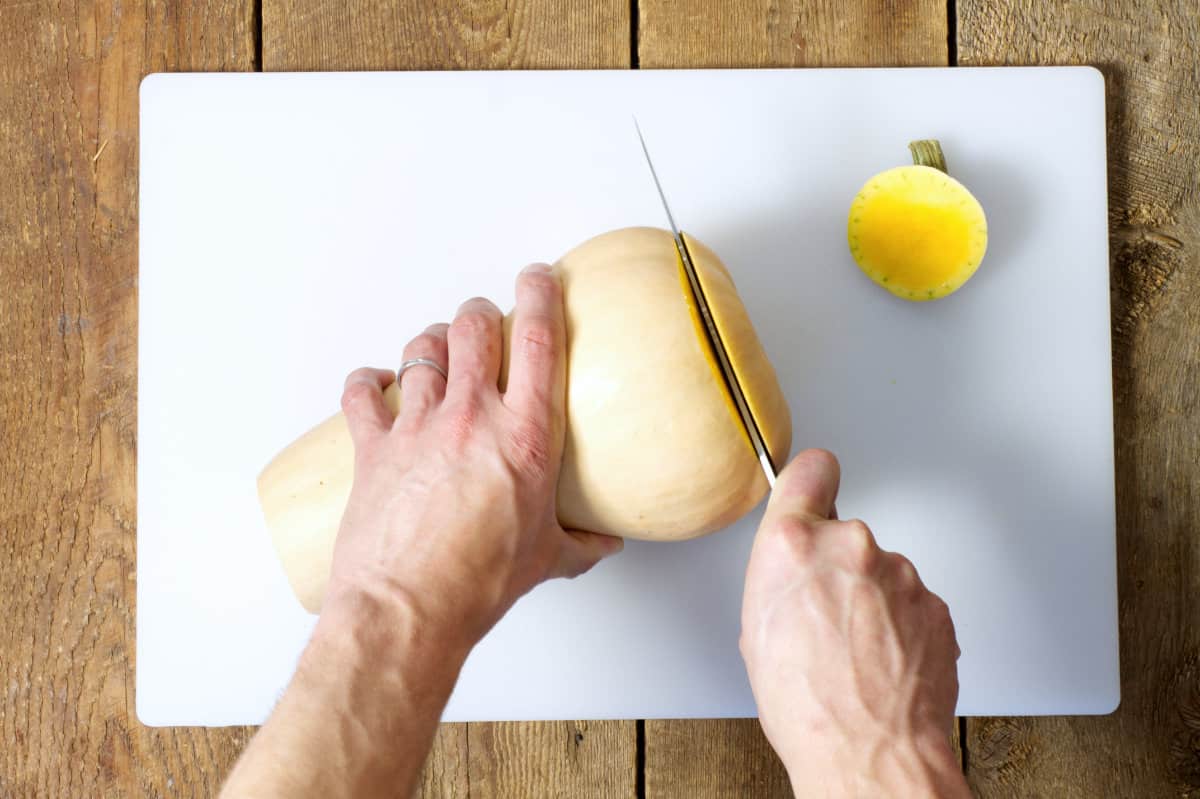
Then remove the bottom.
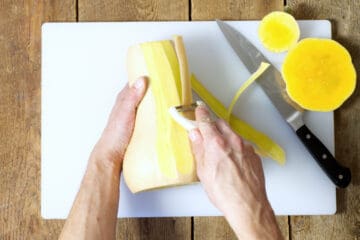
2. After the top and bottom have been removed, use your vegetable peeler to carefully remove the tough outer skin. If you have really good knife skills this can also be done with a sharp chefs knife.
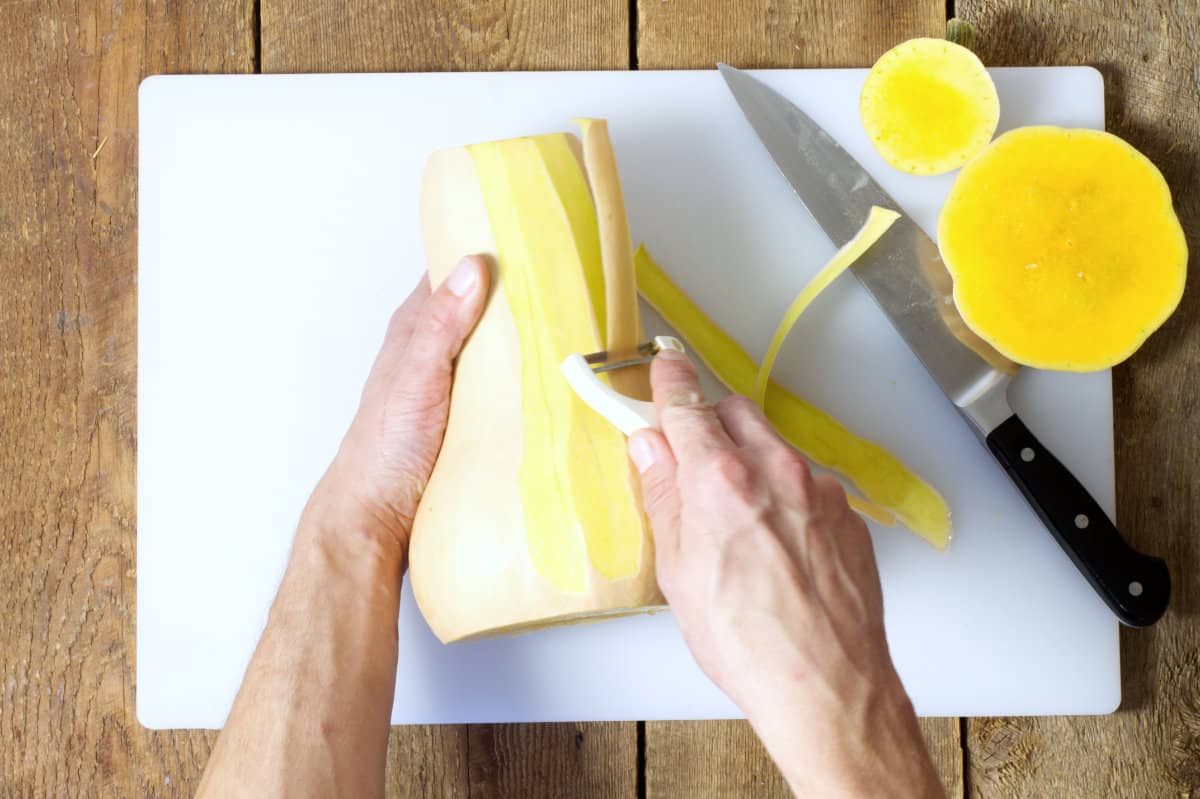
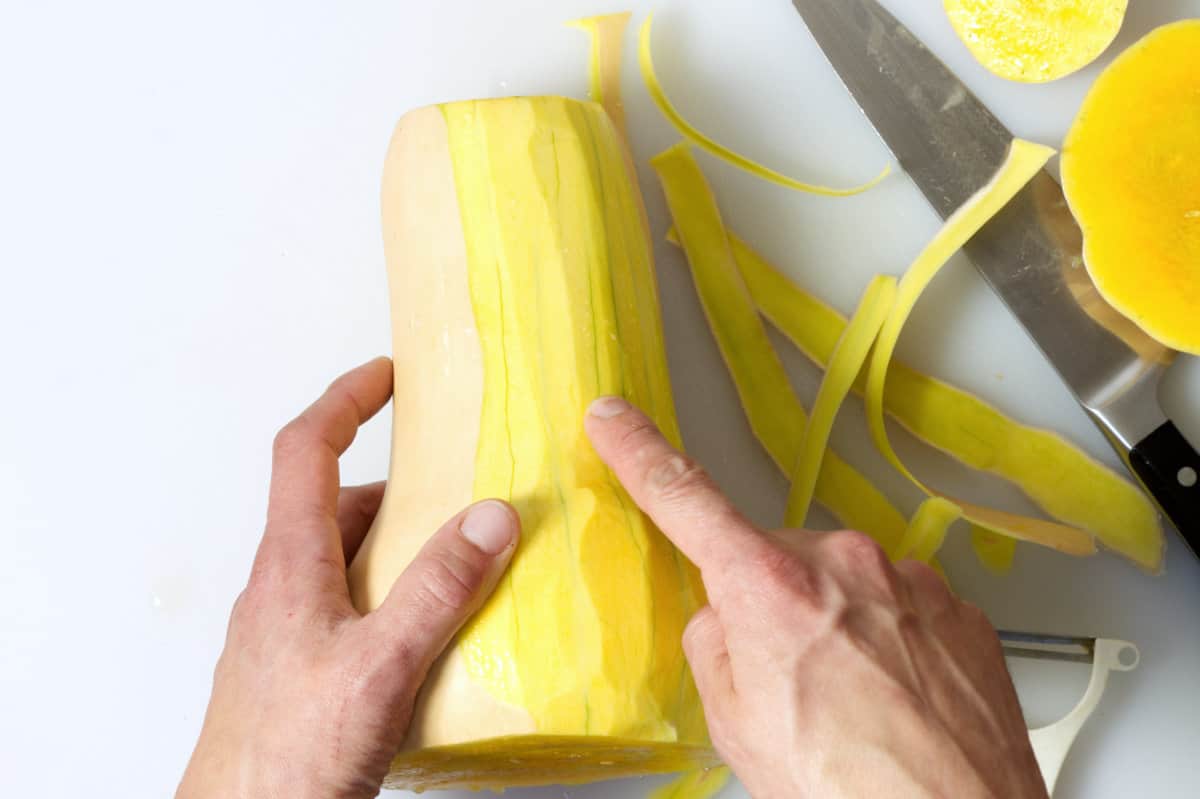
If using a peeler, note it may not remove all the peel at once.
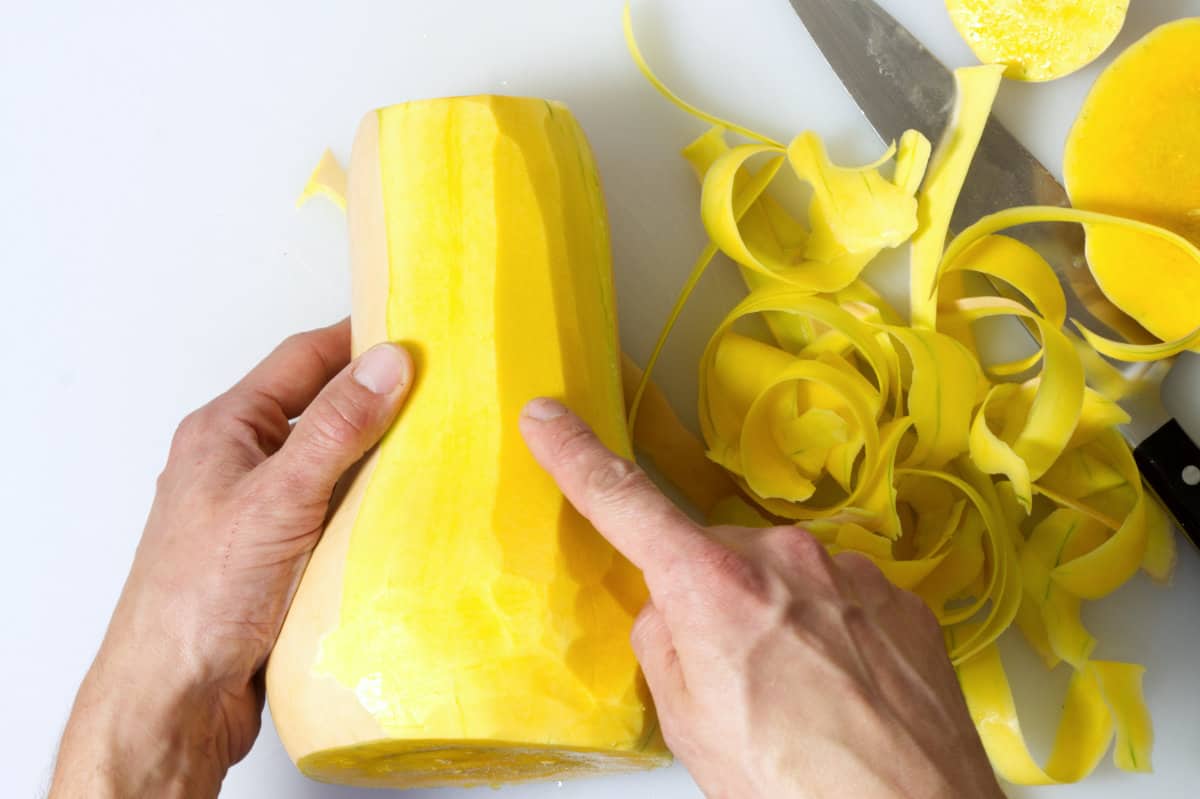
Peel the squash until green lines disappear and the orange squash flesh is visible.
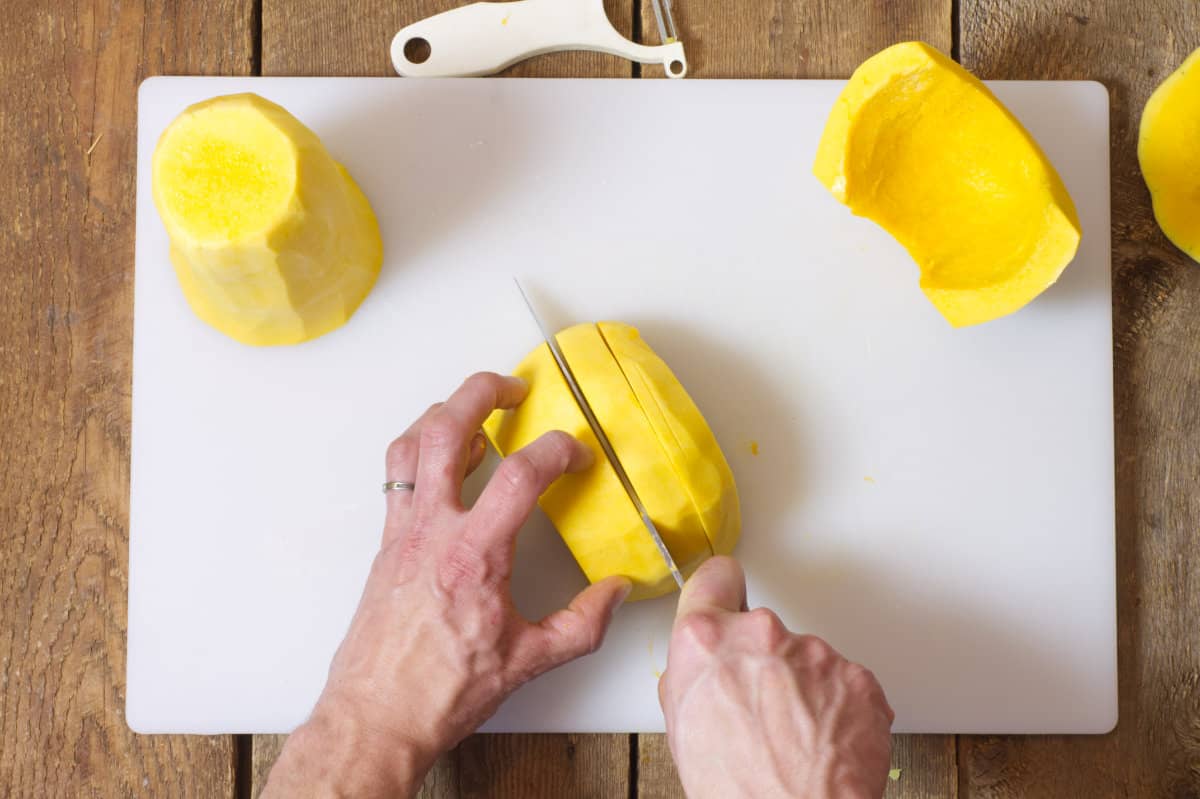
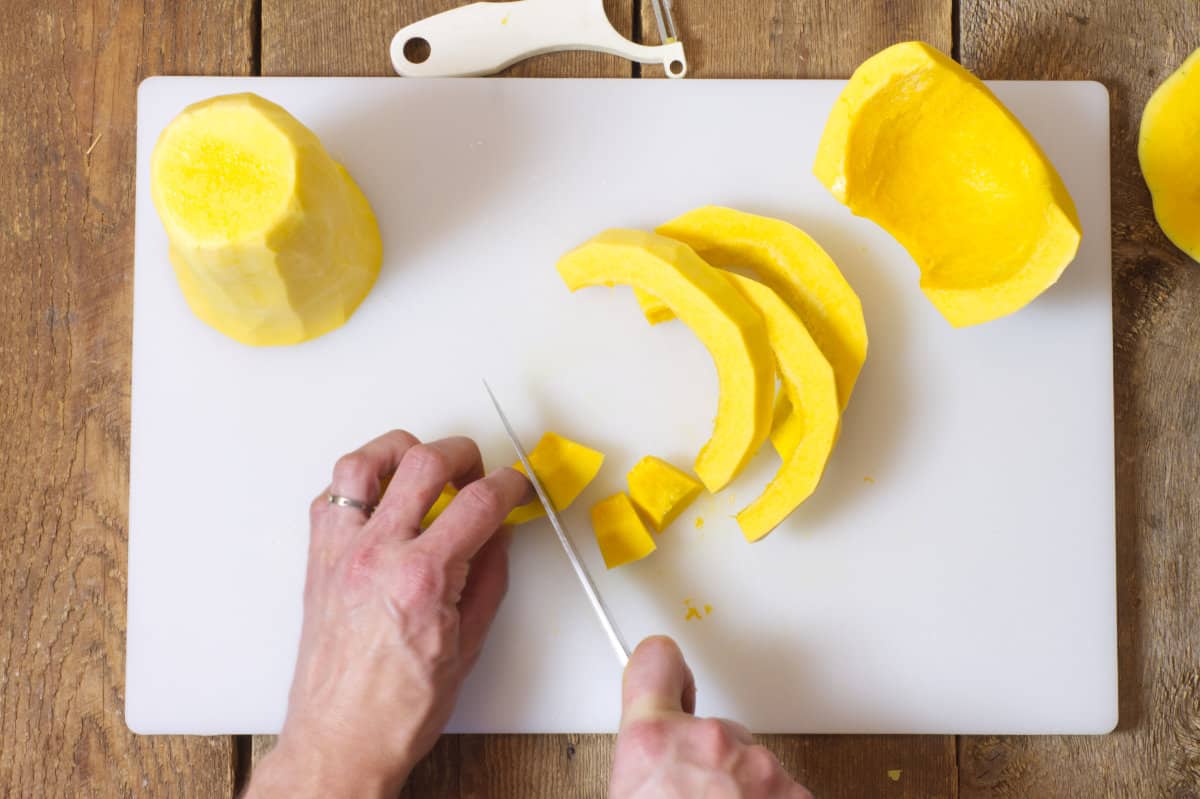
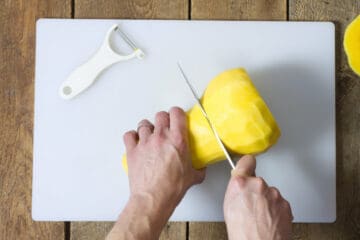
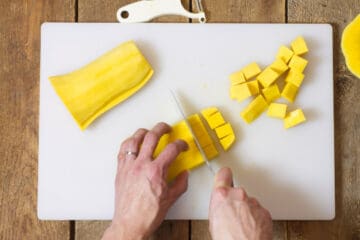
3. Once the squash has been peeled cut the top half of the squash from the bottom 'bulb' section. This top piece is solid squash and does not contain any seeds. It can now be easily cut into different cuts like strips, cubes, a julienne, or whatever you like.
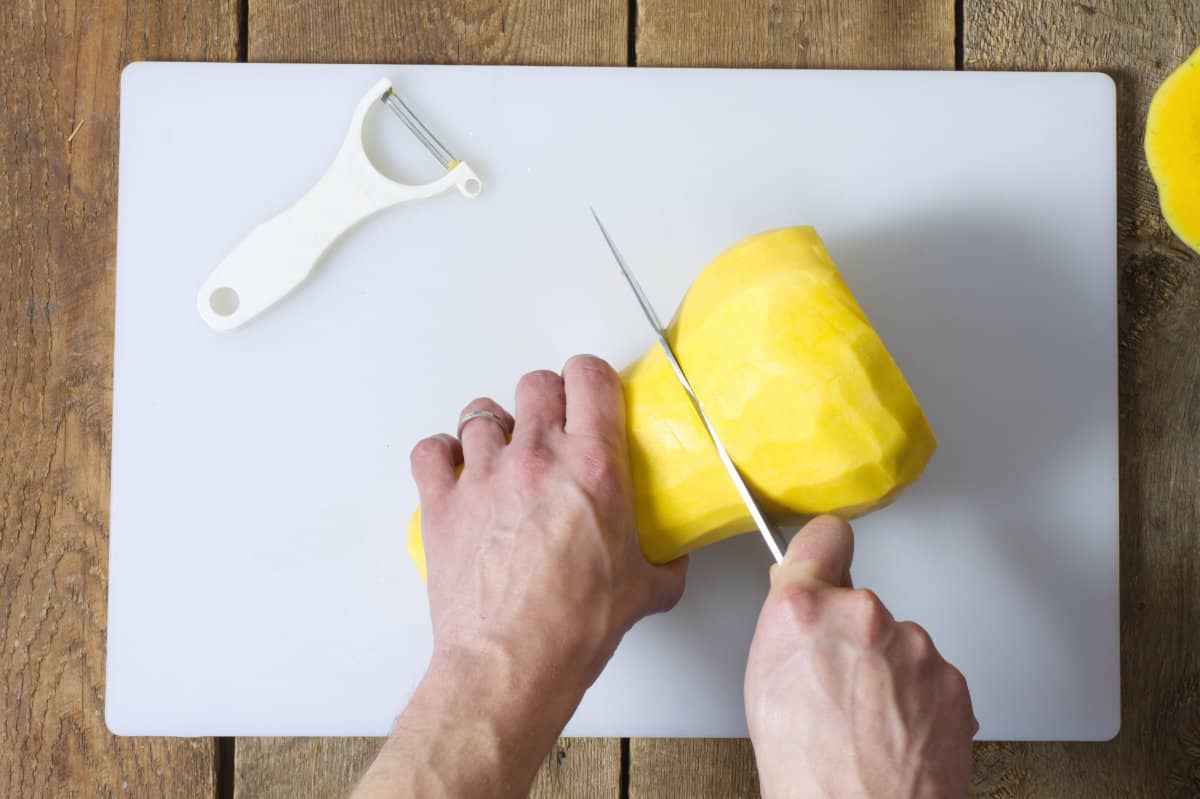
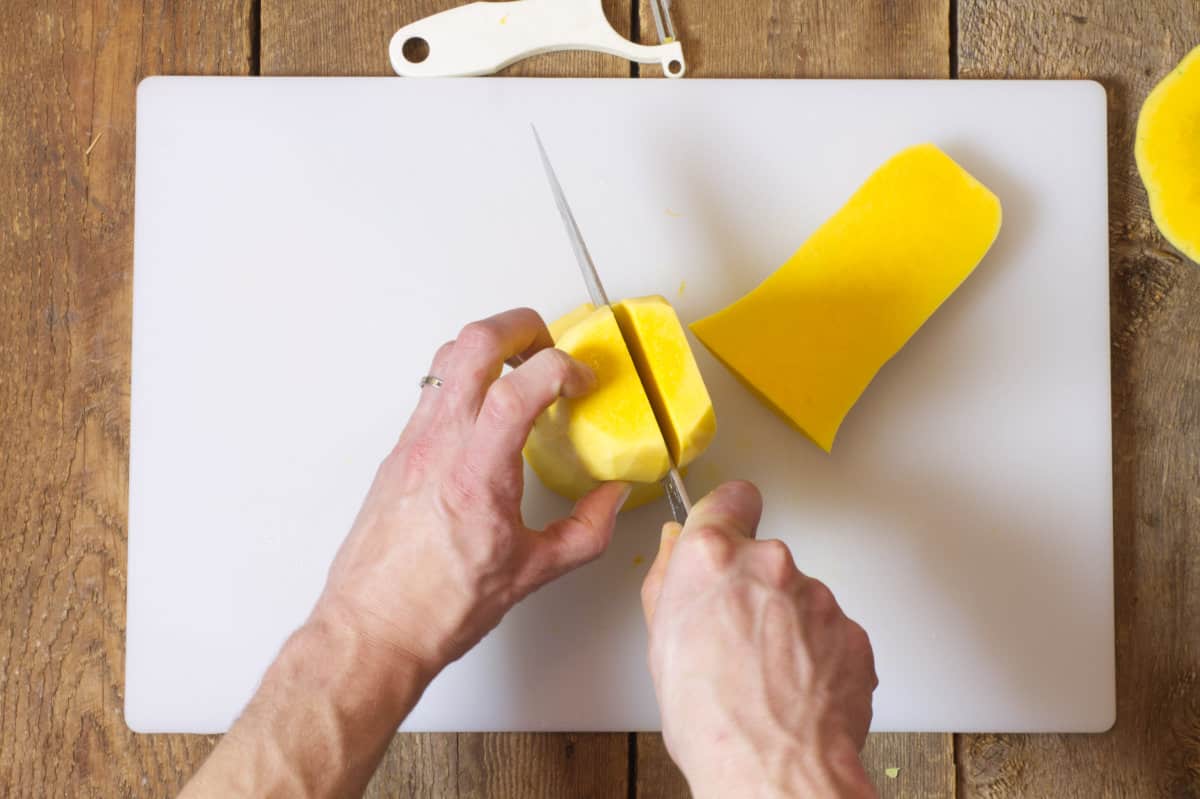
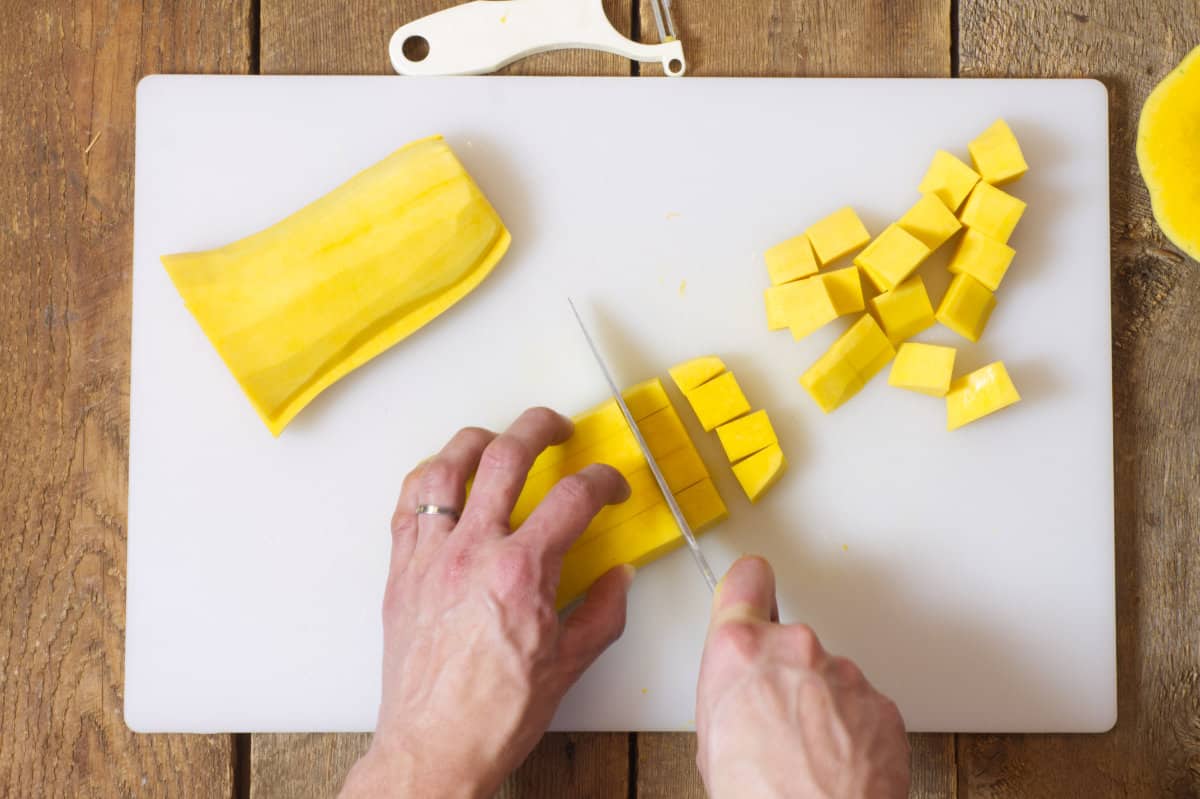
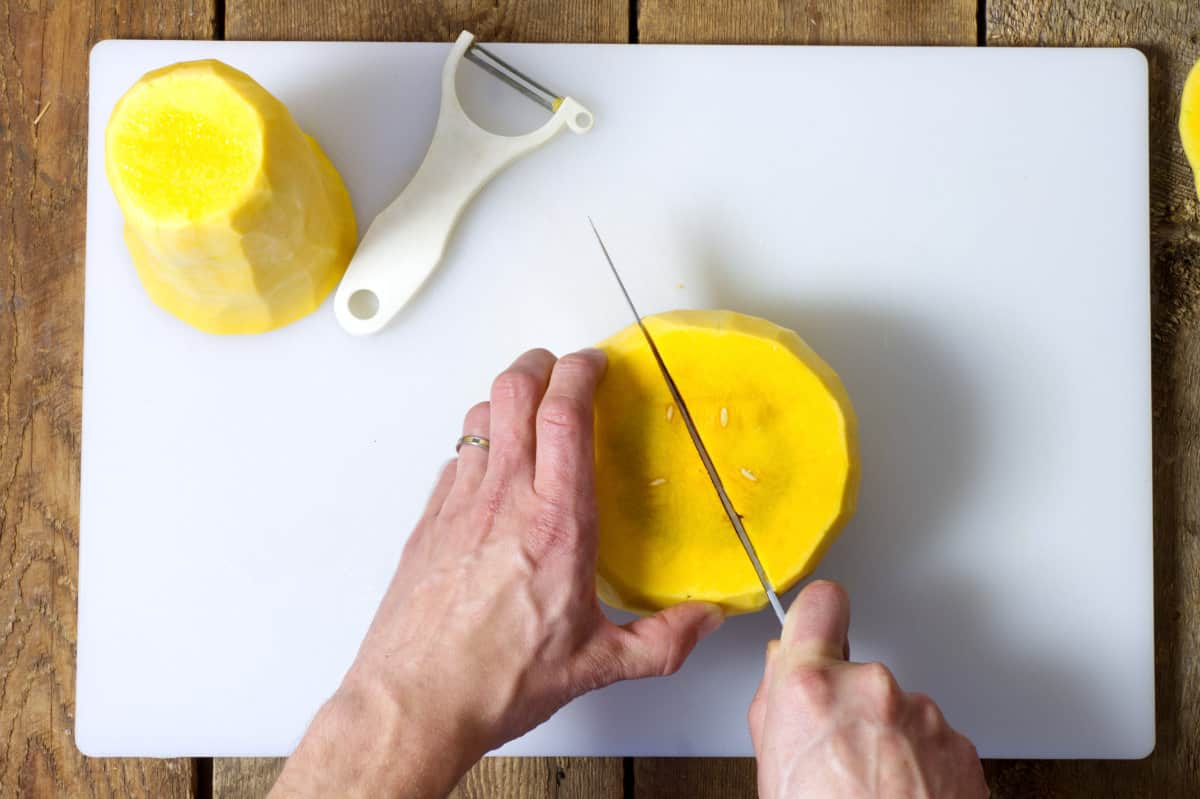
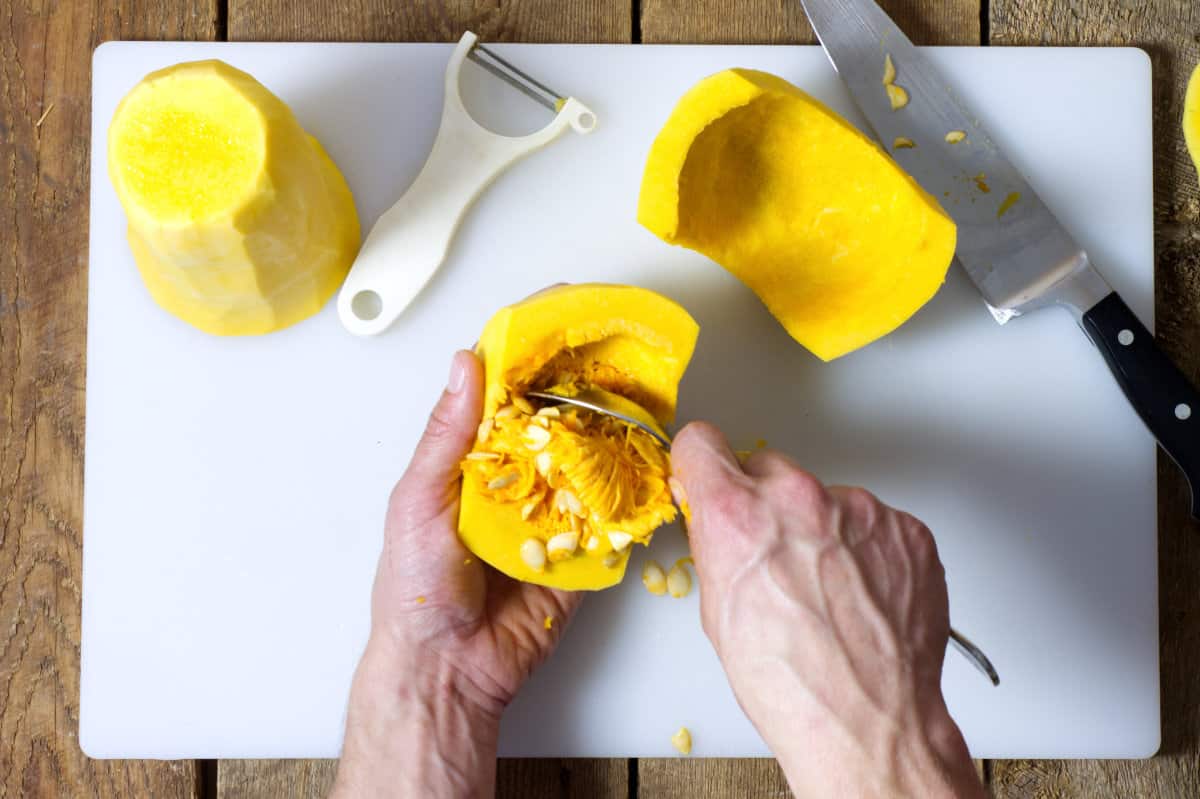
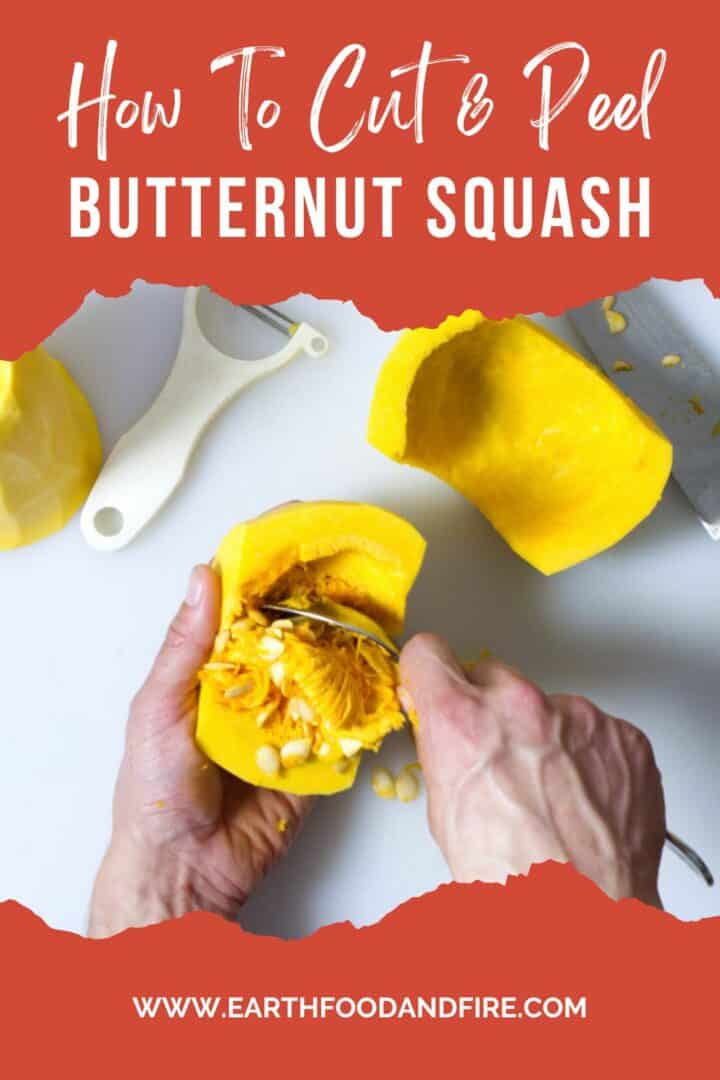
4. Next cut the 'bulb' end of the squash containing the seeds in half. Use a spoon or small scoop to remove the seeds. Cut the hollowed out squash into chunks or strips as you please.

Softening the squash before peeling
If you so choose, you can soften the skin of the squash before peeling it. Poke holes in the skin of the squash with a fork or small pairing knife, and then microwave the whole squash for 2 minutes.
Let it cool, and then continue peeling the skin as detailed above.
How to store butternut squash
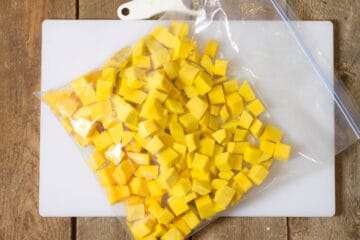
If you end up cutting up more squash then you need, or simply want to do some recipe prep ahead of time, cut butternut squash will last for three to four days if stored in an airtight container or re-sealable bag.
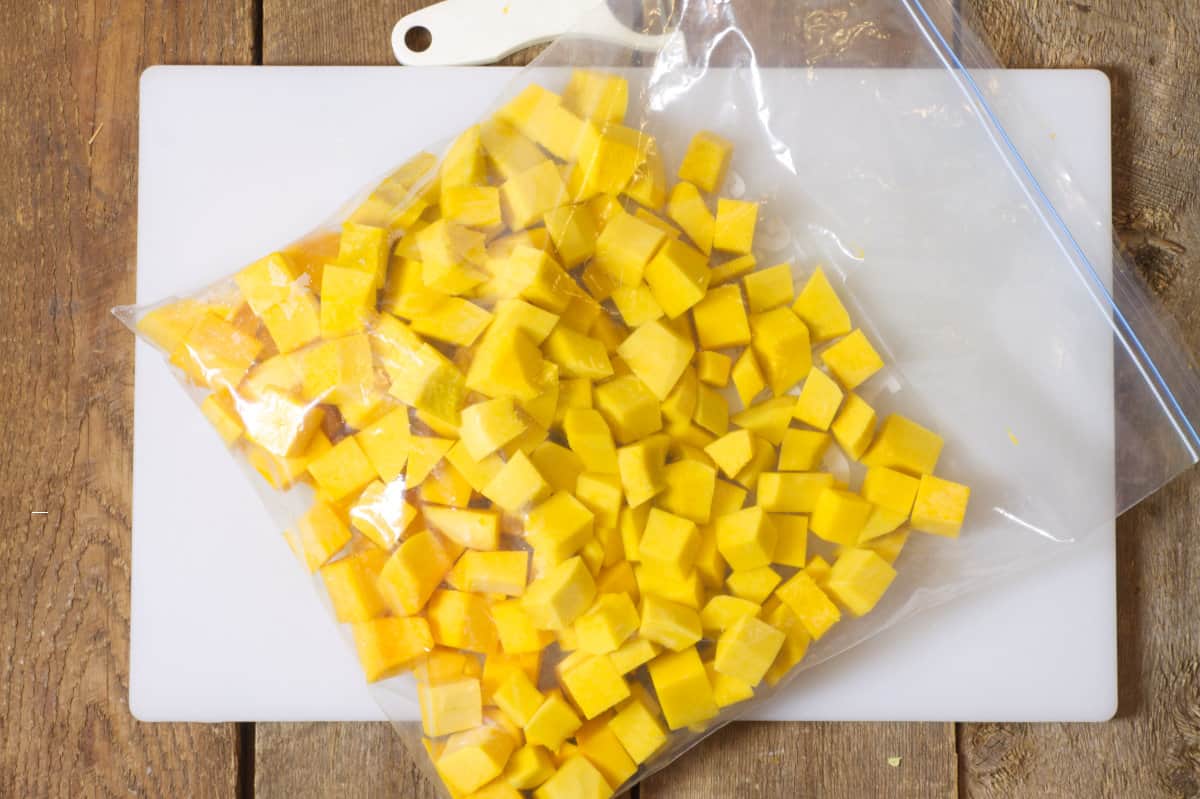
You can even freeze chopped up butternut squash, though it does become soft and losses some water once thawed. This isn't an issue if you plan on making a soup for example.
Butternut squash recipes
Now that you know how to cut up your squash, use it in some of our favorite recipes!
- Curried Butternut Squash Cream Soup
- More recipes coming soon!
Grow your own butternut squash
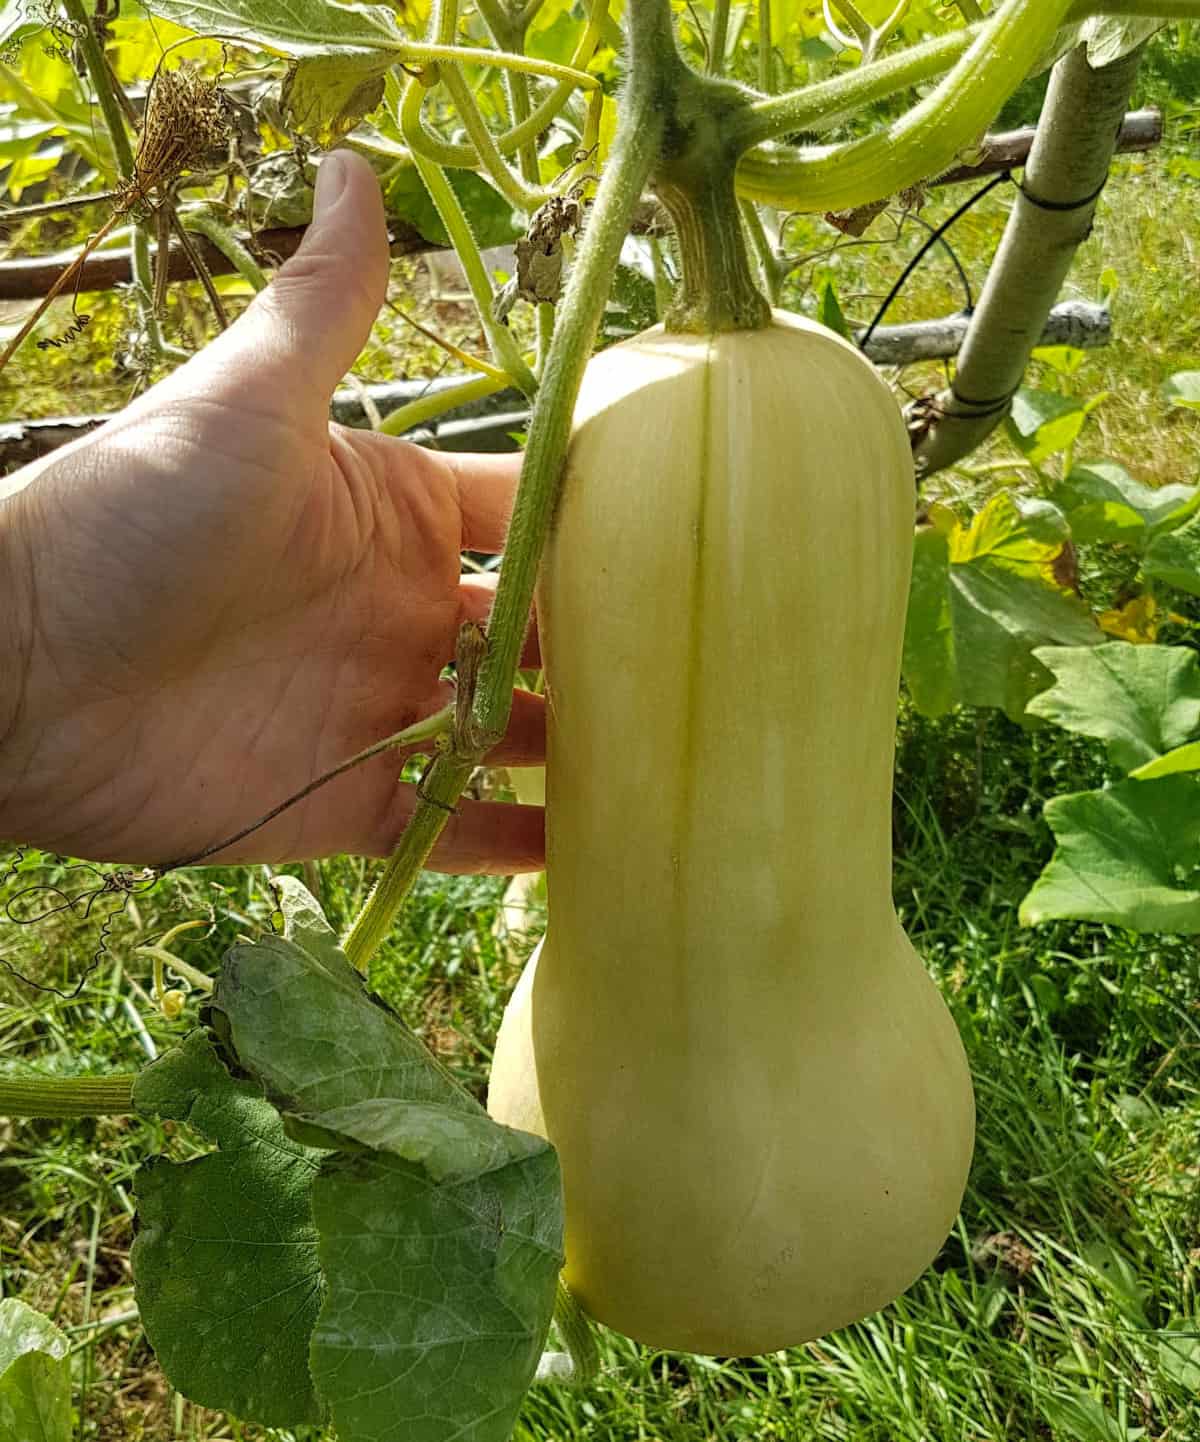
Did you know you can grow your own butternut squash!? If you have a vegetable garden or backyard space available, growing a few squash yourself isn't all that hard!
Learn how in our guide to growing butternut squash at home!
This post contains affiliate links for which we may be compensated if a purchase is made through the links provided at no extra cost to you. For more information, please read our affiliate disclosure.
Recipe
How To Cut & Peel Butternut Squash
Equipment
Ingredients
- 1 Whole Butternut Squash
Instructions
- Begin by cutting off about a quarter of an inch from the bottom and top of the squash. This will give you a nice stable base to work from and will stop the squash from rolling around as you continue to cut and peel it.
- After the top and bottom have been removed, use your vegetable peeler to carefully remove the tough outer skin. If you have really good knife skills this can also be done with a sharp chefs knife.
- Once the squash has been peeled cut the top half of the squash from the bottom 'bulb' section. This top piece is solid squash and does not contain any seeds. It can easily cut into different cuts like strips, cubes, a julienne, or whatever you like.
- Next cut the bottom 'bulb' end of the squash containing the seeds in half. Then use a spoon or small scoop to remove the seeds.
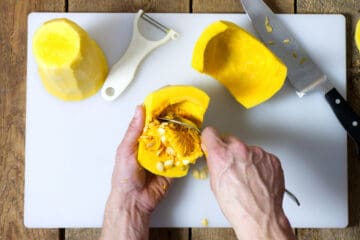
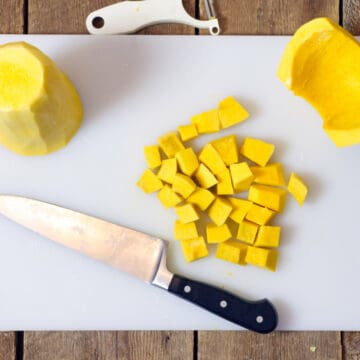
- Cut the now peeled and hollowed out squash into chunks or strips as you please. Larger ½ - 1 inch chunks are great for roasting, or making soup, but the size and shape are entirely up to you!
- Once the squash is cut up, use it as directed in your recipe. You can also store the cut up squash in the fridge for up to three days in a large re-sealable bag. The squash can also be frozen.
Notes
- If you so choose, you can soften the skin of the squash before peeling it. Poke holes in the skin of the squash with a fork or small pairing knife, and then microwave the whole squash for 2 minutes. Let it cool, and then continue peeling the skin.
- If you end up cutting up more squash then you need, or simply want to do some recipe prep ahead of time, cut squash will last for three to four days if stored in an airtight container or bag.
Nutrition
Nutrition info is auto-generated. This information is an estimate; if you are on a special diet, please use your own calculations.
Did you find this guide useful?? Comment & Rate it below, then tag me on Facebook & Instagram: @earthfoodandfire . For more DIY gardening tips & from scratch recipes follow me on Instagram & Pinterest

David
I have a old, really cheap, ice cream scoop that has a sharp edge to the scoop and it's by far the best thing we have to scoop out squash and pumpkin
Chef Markus Mueller
I agree! A metal spoon or scoop with a 'sharp' and not rounded lip works wonderfully!