Chives are probably one of the easiest herbs you can grow in your garden. A staple for any home cook, learning how to grow chives in your home garden provides a cheap, low maintenance perennial, that add fresh onion flavor to soups, salads, egg dishes, sandwiches and more.
You can completely neglect your chives, and they will probably still come back year after year. This makes them the ideal 'starter' plant for anyone wanting to start a small herb garden or become a competent gardener.
Some of the links in this post lead to affiliate sites through which Earth, Food, and Fire may earn a small commission should you make a purchase. For more info check the Affiliate Disclaimer. All advice, and opinions are based on observations from my own garden.
Planting Chives For Your Garden
Chives are easily started from seed indoors, or direct sown in the garden once the soil can be worked.
If you have a friend or neighbour that grows chives, ask if you can split their plant and dig up half of it. Chives need to be split every few years to stay productive and avoid excessive spreading. As such this provides an easy way to plant an already established chive plant. - Chef Markus Mueller
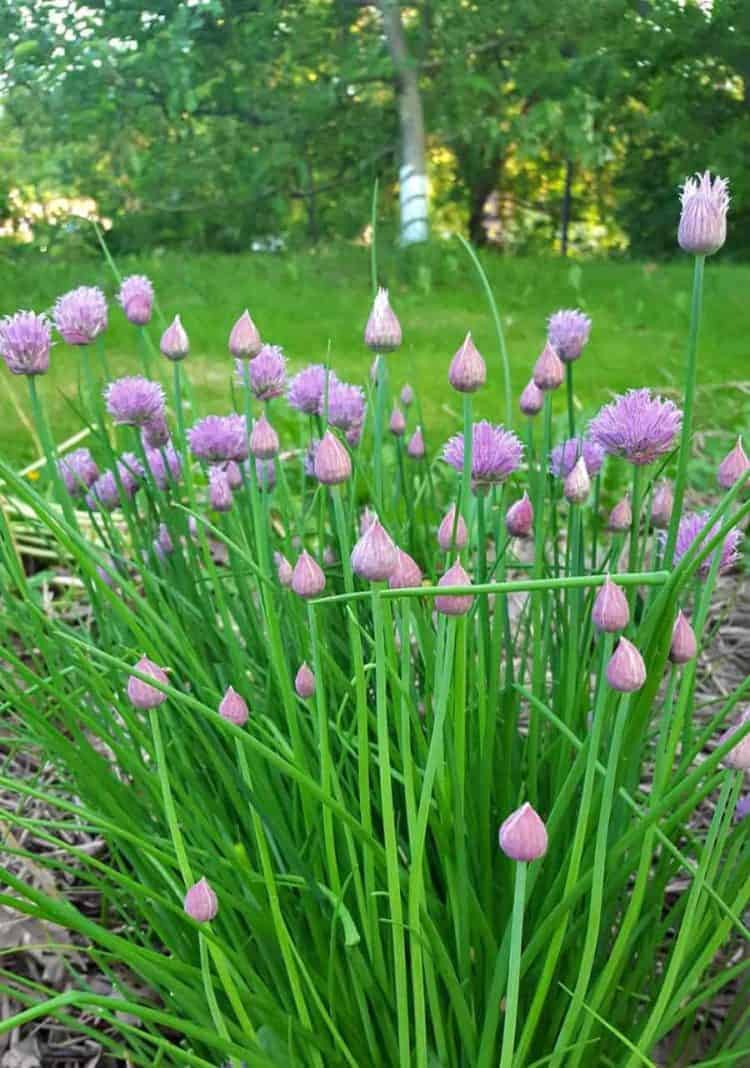
Locate the chives in a spot that receives at least 4 to 6 hours of sunlight a day. Partial sunlight is ok, but the more sunlight the chives receive the faster they will grow. They will also bloom more vigorously with more sun exposure. Pick a spot that's well draining and not to rocky. I have my chives planted at the corners of my vegetable garden, as well as randomly throughout my flower beds!
Starting Chives From Seed
You can start chives from seed indoors or sow the seeds directly in the garden. Regardless of if you are starting chives from seed or splitting an older plant (more on that below), you'll want to grow the chives in a fairly rich and well-draining soil. Make sure to mix in some compost or a bit of granular fertilizer to help the roots establish quickly. They prefer a ph of 6 to 7. Purchase Chive Seeds Here
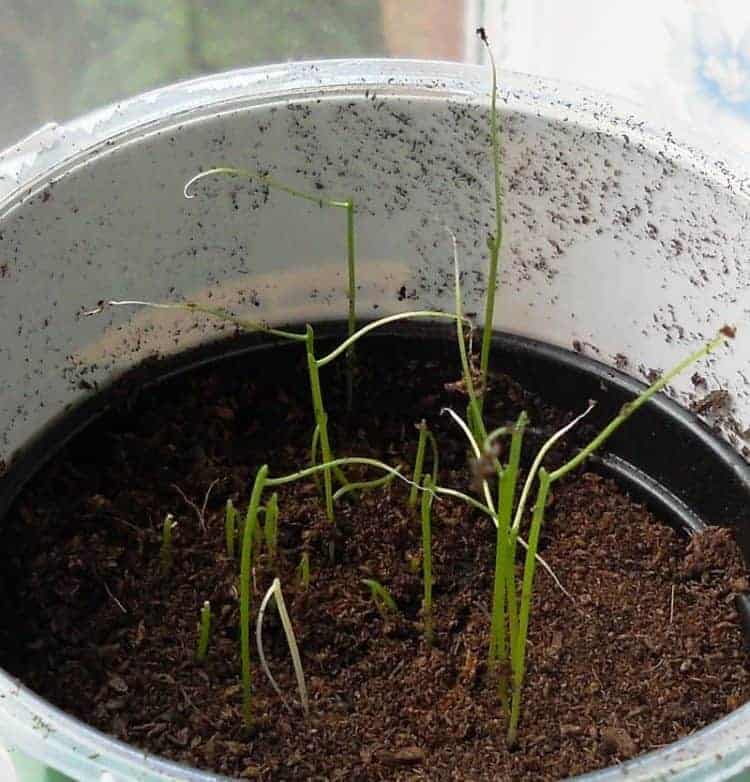
Chive seeds usually take 5 to 6 days to sprout, and will look like small green spikes. At first chive seedlings look quite sparse and you may wonder how you will ever harvest a decent amount. If provided with plenty of sunlight though they will quickly flourish and fill into a bushy plant.
If you started chive seeds in pots wait for the plant to fill out a little (about four weeks) before transplanting into the garden. At this early stage the individual roots are still fairly delicate and need a chance to establish before being moved.
Splitting and Transplanting a Mature Chive Plant
An easier route then starting chives from seed, is to split and transplant a mature chive plant into your garden.
Large chive plants are actually a collection of small chive bulbs and need to be split every few years to encourage new growth. This also makes room for new 'shoots' to grow and will encourage faster growth.
Knowing When To Split Chives
- Very large and mature chive plants will often have dead grassy looking clumps, and this is a good sign the plant needs to be split.
- Mature chive plants are generally 10-12 inches tall and have a spread of 12 inches. Anything larger should be split and replanted.
Once you've identified that your choice plant needs to be split follow these simple steps.
- With a spade simply 'cut' the plant in half and dig it out, leaving as much of the root ball in tact as possible.
- Fill in the 'hole' you made with garden soil. The half of the chive plant still in the ground will quickly regrow and fill in this space.
- The split half you removed can now be broken into several smaller clusters and either re-poted into pots or moved to other sections of your garden (or a neighbors garden).
It's best to split and re-plant chives in late Summer / early Fall as dividing the plant can temporarily stunt its quick growing habit, and result in a smaller harvest .
If split in the early Fall the plant will have a quick spurt of new shoots emerging. Try not to harvest these new shoots, as it gives the chives a chance to re-establish before winter and ensures plenty of fresh chives come spring.
Caring For & Harvesting Chives Throughout The Year
Spring
- Spring time is the best time to start chive seeds indoors. Start the seeds 4 weeks before the last frost to give them a head start before setting into the garden.
- Chives grow fairly quick as long as they are given plenty of light (either artificial, or natural) and will do well even if kept indoors in pots. Wait for them to reach six inches before transplanting and harvesting.
Summer
- In summer it's important to keep your chives watered as the Summer heat can easily dry them out. The easiest way to provide constant moisture is to mulch around the base of the chives to reduce evaporation from the soil. This also reduces weeds.
- Chives start to flower in late Spring/early Summer, and the blossoms are edible if you choose to pick the flower heads. They make a great addition to salad, flavored oils, and vinegar's.
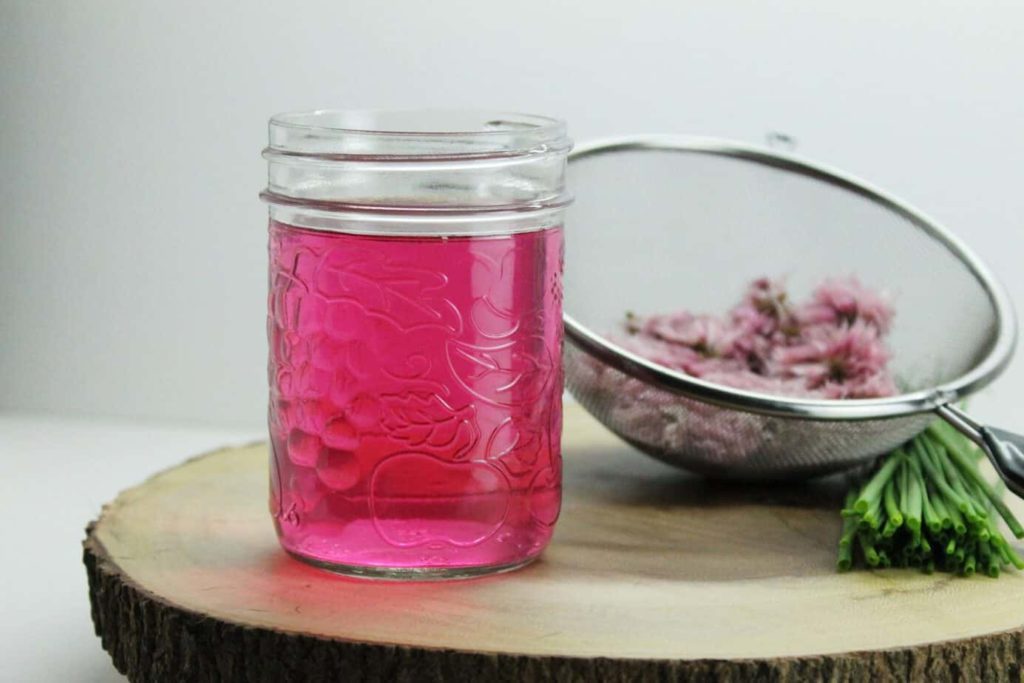
- You can leave a few chive blossoms on the plant and let them mature to harvest your own seeds. The flower head will eventually dry out, and you'll see little black seeds which can be shaken into a baggy and stored.
Fall & Winter
- Chives don't require any special care in the Fall or Winter. While chives are some what cold tolerant, they will die back after the first hard frost of the year. They will start to become dormant and die back.
- The plant will look pretty miserable but fear not, the bulbs are well protected underground. Chives are hardy in zones 3-9, and can with stand a cold winter quite well. Chives will start to poke through the soil again in Spring once temperatures warm up and are usually one of the first signs of life in the Spring garden.
Harvesting Fresh Chives
Harvest chives semi-regularly to encourage new growth. If growing chives in a windowsill herb garden, let the chives grow to at least six inches before harvesting, and take no more then one third of the plant.
When harvesting chives select a clump from the outside of the plant and cut the chives with a sharp knife or shears, to with-in one inch from the base. Bunch the chives together and store the chives in the fridge wrapped in paper towel to prevent them from drying out.
Chives may be dried but loose their fresh flavor. They are best used fresh or preserved in oil.
Interested In Growing More Herbs Yourself?
Comment below if you have or are thinking about growing fresh chives in your garden! If you do, take a picture and tag me on Facebook & Instagram: @earthfoodandfire .

Comments
No Comments