Peas are another cool weather crop that we can plant in early spring. With some planning, you can have a second late-season harvest.
Types Of Peas
Peas have various growth patterns. They can be large, trailing, and bush varieties. Vining peas will require fencing. The height information of the particular pea you are growing can be found on the seed package. Bush varieties will ripen faster than vining plants.
English Peas - Also known as Shelling peas are the traditional peas that grow nice plump peas in pods that are not edible.
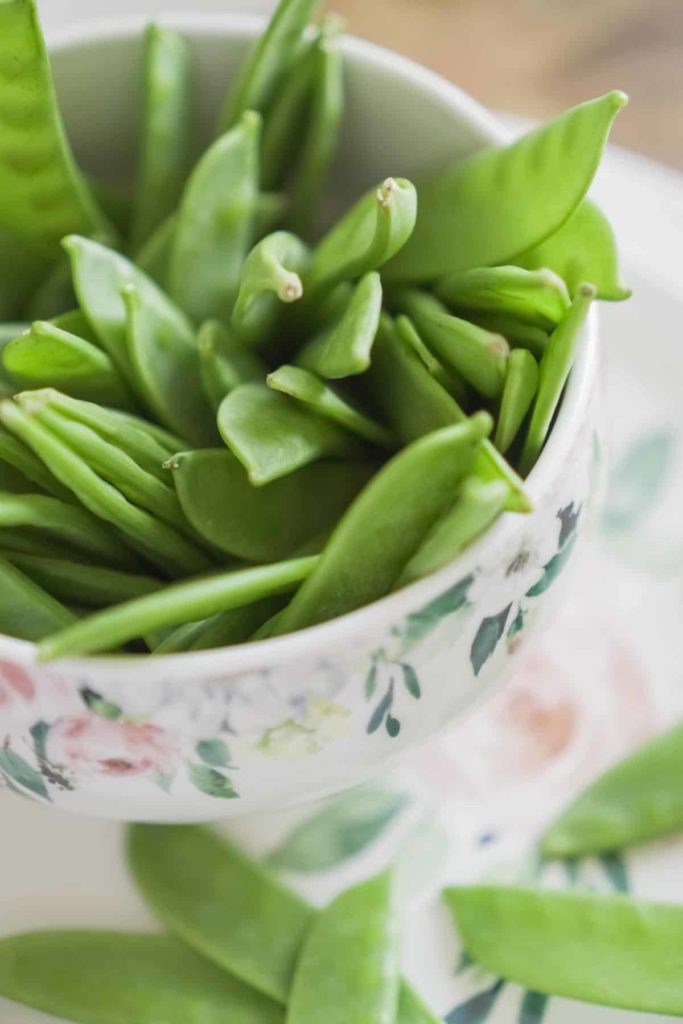
Sugar Snap Peas - Sugar Snap peas are a cross between English and Snow peas. The peas plump up and fill out the pods like an English pea but the pods are edible like those of snow peas.
Snow Peas - These are flat pea pods you see in many Asian dishes. The pods are harvested at full length with premature peas and the pods are edible.
Peas Are a Legume
Peas like all legumes naturally fix atmospheric nitrogen in the soil. These soil nurturing plants add much-needed nitrogen back into the soil. They have the ability to build nitrogen in the soil through nodules that develop on their roots.
It is important to use crop rotation practices with peas. They need to be planted in a different spot every year and there should be a 4 year span between planting in the same location.
When Can I Plant Peas?
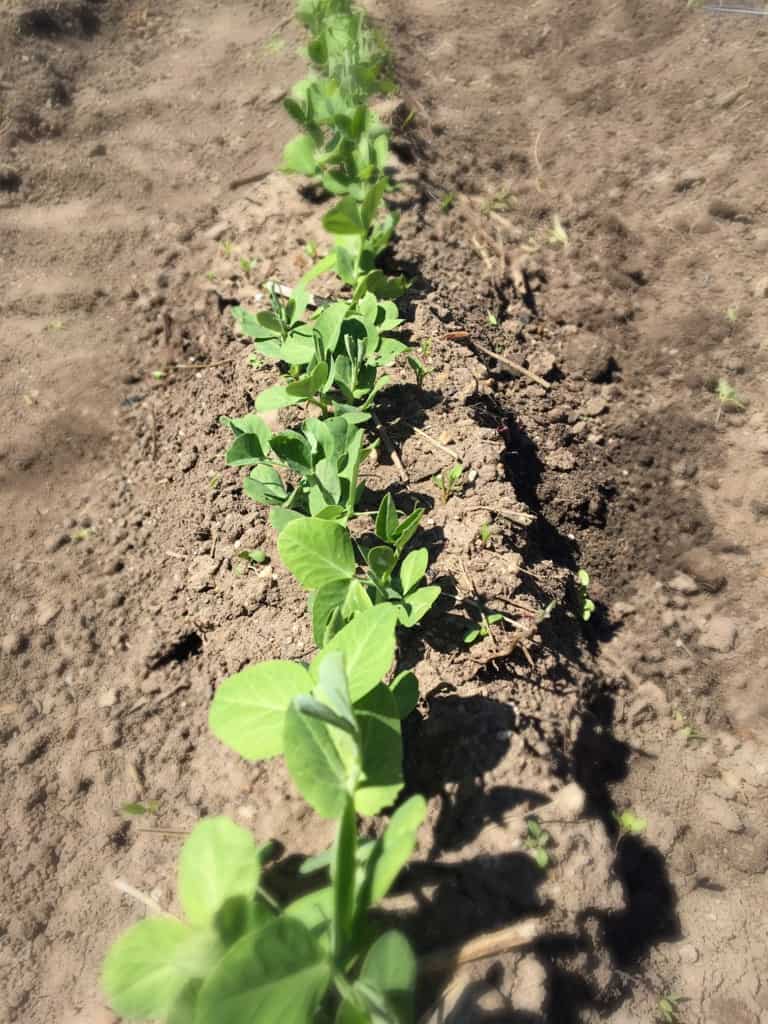
Peas do their best when planted as soon as the soil can be worked. You can plant as early as 4 weeks before the last frost in your area. They will be okay if there is any snowfall after planting. Peas can be planted as early as March in some locations of the country. If March is too early to work the soil in your area you can safely plant in April.
Work the soil well and add any amendments you normally use, such as peat moss and compost. Peas do not require any fertilizer during the growing season so the addition of compost before planting will feed them for the first part of the season. In fact if given too much nitrogen the plants will focus on growing vines and not the flowers or pods.
Once the hot days of summer start to end, plan for a second harvest. Look at planting so the crop finishes before your first expected fall frost.
Where Can I Plant Peas?
It is good to plant peas in the mid to back sections of the garden. Because of the fencing required for many varieties and the option of a second fall planting you want to select a spot that does not shade the shorter vegetables in the fall.
Pick a sunny location that has good drainage. If the soil is compact or if drainage is a concern, add some sand, peat moss and compost. Aim for a spot that gets 6 to 8 hours of light a day. Raised gardens are also a good option for growing peas. The soil is warmer so peas will germinate faster.
Fencing Is Required
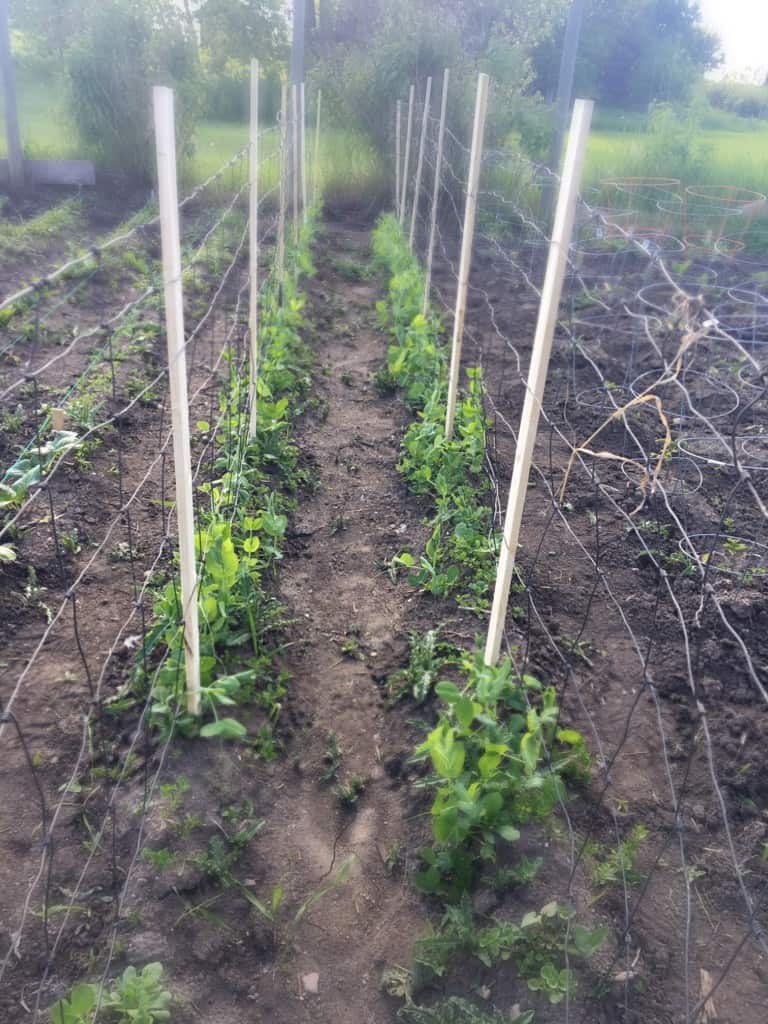
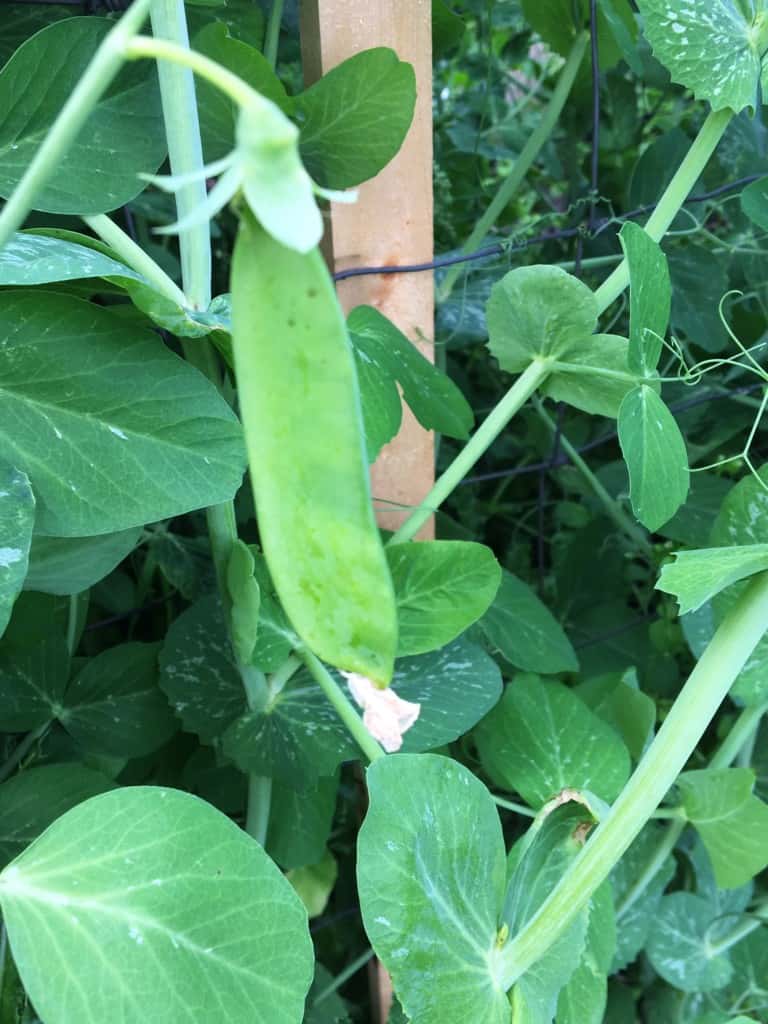
Peas take a bit of work in the beginning but you will benefit from putting in the fencing required to support the peas. If fencing is not supplied the pea shoots will grow into a tangled unruly mass. The nature of vining peas is to cling onto a fence with tendrils to support the weight of the pods.
Simple chicken wire and meter-long stakes work well and can be used for many years. Leave them standing in the garden over winter and move to the new location in the spring.
Alternately, lattice panels can be made inexpensively and can be easily moved around the garden. Stained a beautiful color, lattice panels make an instant, attractive element in the garden.
How To Plant Peas
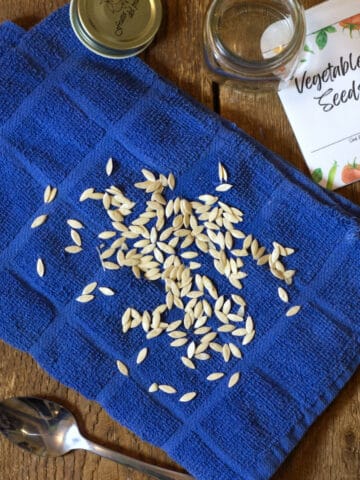
Soak your peas for 24 hours in water before planting. This helps speed up germination.
Plant seeds at a depth of 1 inch in rows that are at least 2 feet apart. Be sure to give enough room between the fencing to have enough room to harvest. Space the peas a few centimeters apart.
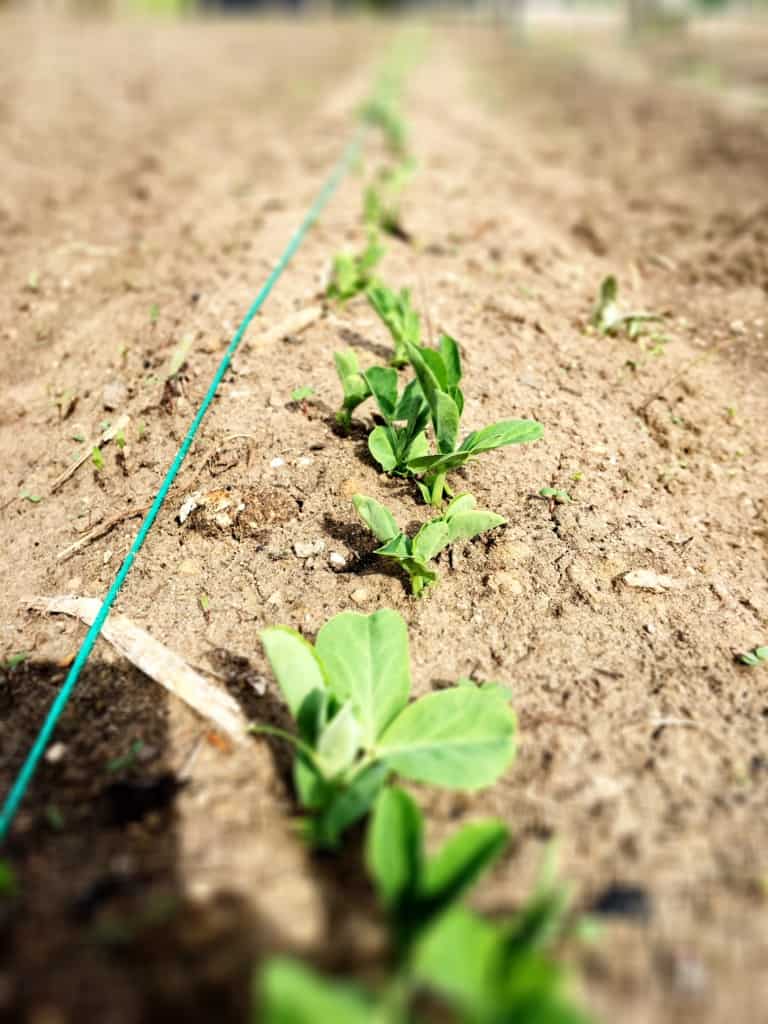
Using garden twine assures you are planting in straight rows if you are installing fencing after the peas sprout. I prefer to plant the peas and allow them to grow for 2 - 3 weeks before installing the fence. If the plant grows quickly be sure to tuck them into the fencing. In a few short days you will see tendrils wrapping themselves around the fencing.
If your fencing is in place, create a small channel along the base of the fence to plant the peas. Cover with soil and water lightly.
You may notice the peas rise to the surface after watering or a rain, just gently push the pea back into the soil with your finger.
Caring For Peas
As the pea vines grow you can tuck them into the fencing if they start to stretch. Water as needed and mulch if that is a practice you follow.
Harvesting Peas
When the English and Sugar Snap pea pods have started to get plump they are ready for harvest. They can turn from beautifully sweet to bitter if left too long on the plants. Most peas are ready to harvest between 50 - 70 days.
Snow peas can be harvested once the pods are full length. They are grown specifically for the pods and are harvested before the peas fill out.
English and Sugar Snap peas are enjoyed best when the pods are full but not to the point where they are hard. If the pods are hard, light green or wrinkled they will be too bitter to be eaten fresh. Pick the pods, shell the peas and allow them to completely dry. You can store them in a mason jar and use them in soups.
Use both hands when harvesting any peas so as to not damage the vines. Pulling with one hand can easily pull the vine from the soil, if this happens it is no longer viable. Pea shoot roots are very shallow so it only takes a slight tug to unearth them.
Hold the plant with one hand and pull gently on the pod to remove.
Storing Peas
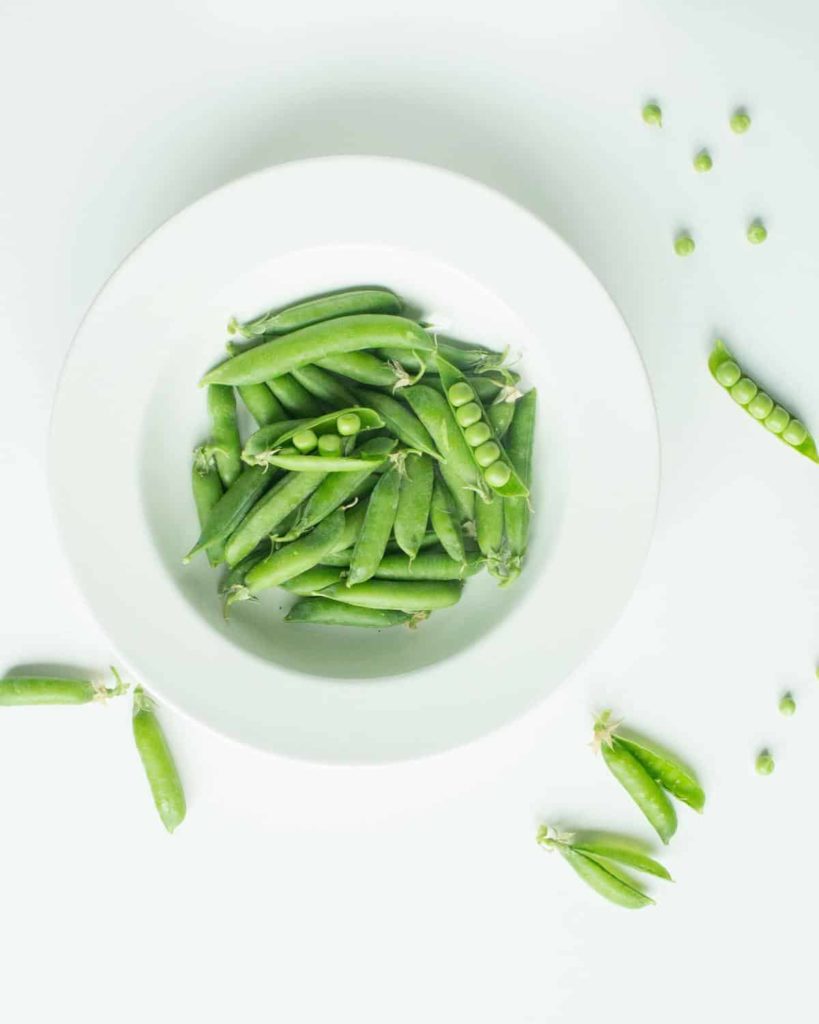
Peas are best enjoyed fresh. They can be store in the fridge for up to a week, either in the shells or shelled.
Freezing Peas
To freeze fresh peas, blanch for 90 seconds in boiling water then immerse into ice water. Strain peas and allow to dry on sheets of paper towel. Dry completely before freezing.
To ready snap and snow peas for freezing, blanch pods in boiling water for 2 minutes then plunge into ice water to stop the cooking process. Dry on a paper towel completely before freezing.
Vacuum sealed bags work wonderfully for freezing peas.
Did you find this guide useful?? Comment & Rate it below, then tag me on Facebook. For more DIY gardening tips & homecoming from scratch recipes follow me on Facebook & Pinterest

Comments
No Comments