Learning how to grow sprouts at home provides a healthy (and cheap) addition to spring salads, sandwiches, wraps, and even stir-fries. It's also a great learning opportunity for kids of all ages!
Most people have heard about growing various kinds of sprouts at home. Sprouts are usually grown in mason jars or seed trays under grow lights. Growing your own sprouts at home is a fairly simple and cheap thing to do.
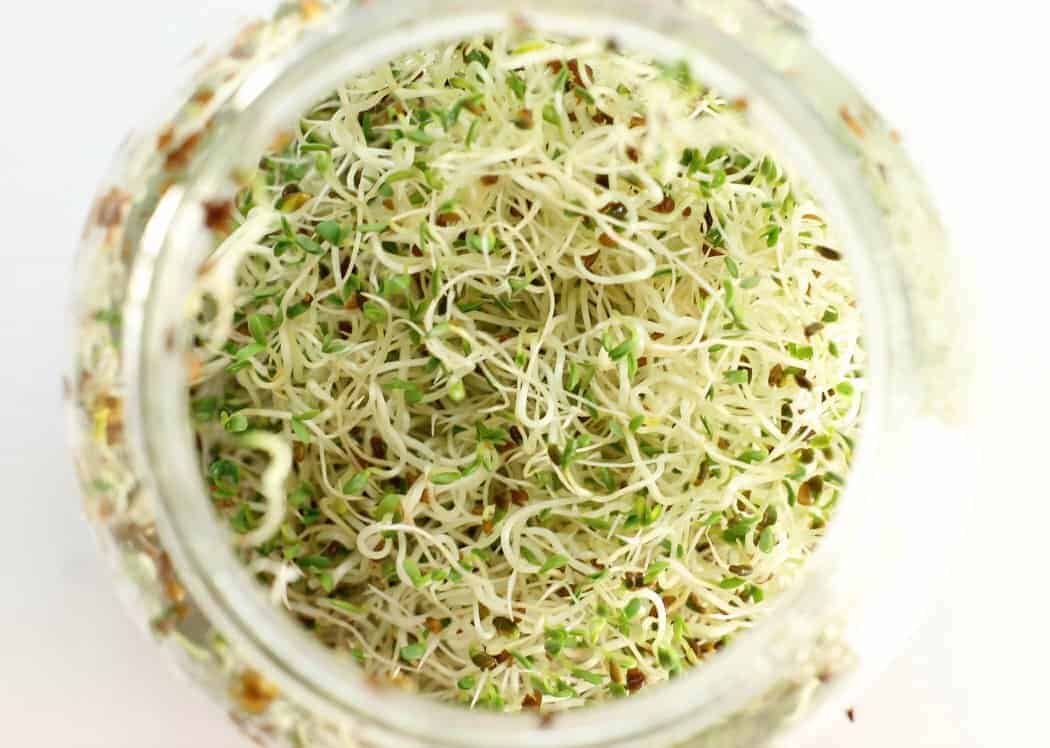
Table of Contents
I was recently given some alfalfa seeds to use in my garden, and I thought, why not show you how to grow sprouts at home? This same method works for sprouting beans, nuts, and other grains and pulses as well.
While sprouts grown from most legumes and grains are not considered paleo, you can easily incorporate vegetable sprouts such as broccoli, radish, or celery sprouts into a paleo diet.
Are there health benefits to eating sprouts?
Adding sprouted seeds and other nuts and grains into your diet is a great way of getting an extra health boost. Sprouted seeds are a great natural source of various vitamins and minerals.
Packed with vitamin C, vitamin K, and Calcium, among others, they provide a simple and cheap way of adding extra nutrients to your diet, which you may not be getting otherwise. Sprouted seeds also have a very high amount of fiber and are packed with antioxidants and enzymes to help your digestion.
Are sprouts safe to eat?
While sprouts do contain various health benefits, there are a few precautions that must be taken to prevent getting sick from them.
Because sprouted seeds, nuts, and grains usually produce a thick tangle of moist roots and shoots, they provide a wonderful breeding ground for bacteria and other microorganisms. Some of these can be harmful to you, such as Salmonella or E.Coli.
Most seeds meant for sprouting (and that are sold for that purpose) will receive extra cleaning and disinfection by the producer to ensure a lower risk of infection by pathogens. If you grow your own produce, though, you can easily save your own seeds for sprouts as well.
A few simple steps can be followed to help reduce your chances of getting sick from eating homegrown sprouts:
- Cooking sprouts helps kill bad bacteria. Bean sprouts are a great addition to stir-fries!
- Mixing your sprouts with anti-microbial elements such as vinegar, garlic, and salt (in vinaigrettes and salads) can also help reduce the chance of bacteria in the consumed sprouts.
- Rinse your sprouts before eating. When sprouting your seeds at home, rinse the sprouts properly every day and let the water fully drain out. This helps wash away any bacteria that may have started to grow. It will also help your sprouts stay fresher!
How To Grow Sprouts At Home
Learning how to grow sprouts at home is very simple and is no harder than starting seeds indoors for your vegetable garden. The only real difference is that the seeds sprouted for use as "sprouts" won't be sown into the soil and are not allowed to grow past their "infant" stage. In other words, you only grow them until they fully develop their first two leaves.
Seeds meant for sprouting are usually marked for this purpose and can include broccoli, alfalfa, beans, and chia seeds. Virtually any edible bean, grain, and even pulses such as lentils can be sprouted, though. Redawna over at Nutmeg Disrupted uses lentil sprouts on her sandwiches and burgers!
Seed varieties sold for sprouting generally sprout very quickly (within a day or two,) unlike most vegetable seeds which take up to two weeks to germinate. In this how to grow sprouts guide, I'll be using Alfalfa seeds.
Step-By-Step Instructions
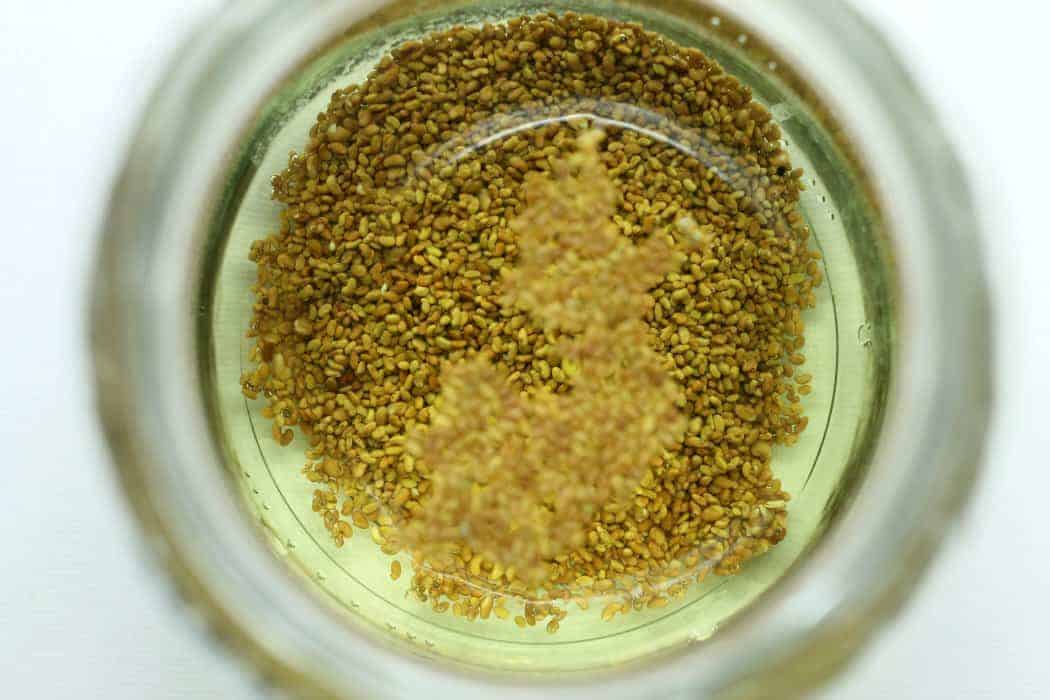
- Soak your seeds in a glass jar of fresh water for 2 to 4 hours (Mason Jars work great for this). The longer, the better.
- After soaking the seeds, drain the water off and make sure to rinse the seeds really well.
- Return the seeds to the glass jar and cover the top of the jar using some cheesecloth and a rubber band or string.
- Set the jar with moist seeds in a dark back corner of your kitchen counter, and forget about them for a day.
- Once a day, come back and fill the jar with fresh water to rinse the seeds. You can strain the water off through the cheesecloth or use a mesh strainer as you did the first time. Place the seeds back in a dark spot.
- After 3 or 4 days you will see the seeds have developed quite a tangle of roots and may even start to see some green as the first few sprouts start to develop leaves.
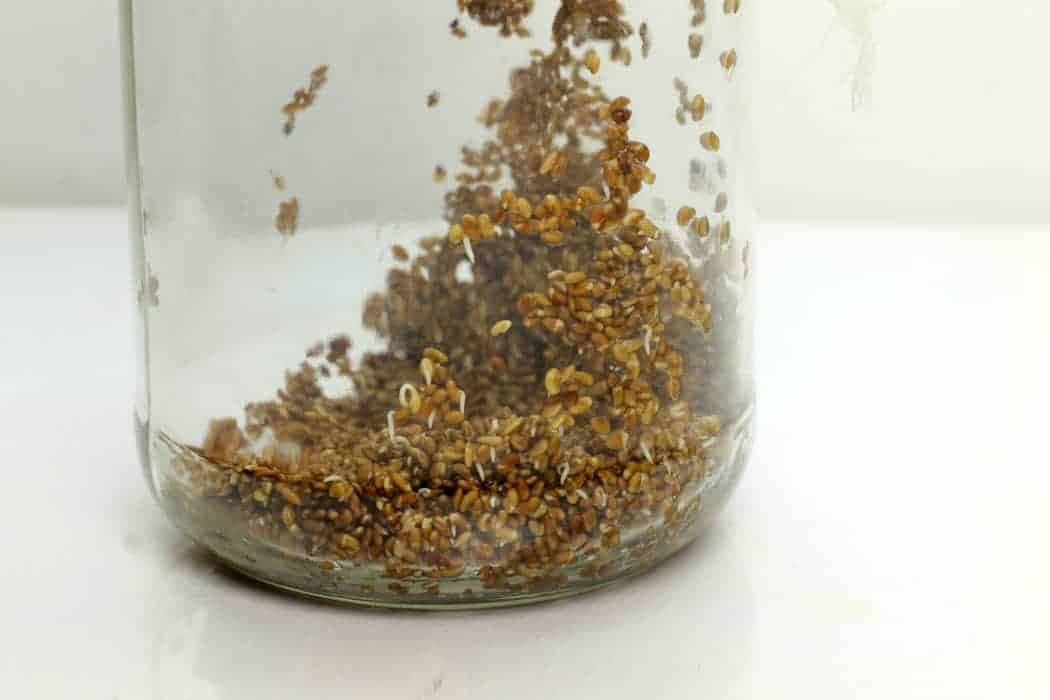
Kids love watching this process, so it's a great idea to get them involved! You can even turn rinsing the seeds daily into a "job" for them which will keep them involved. Learning how to grow sprouts is hands-on class on how seeds grow.
Seed Sprouting Tips
- Initially soaking the seeds in Step 1 helps loosen any dirt and bacteria that may be mixed in with the seeds. It also allows the seeds to absorb some water, which they will use to germinate. The water in the jar will most likely turn a yellowish, brown color.
- To make things as easy as possible when straining the soaked seeds simply dump the mason jar with the water and seeds into a mesh strainer and then run fresh water over the seeds.
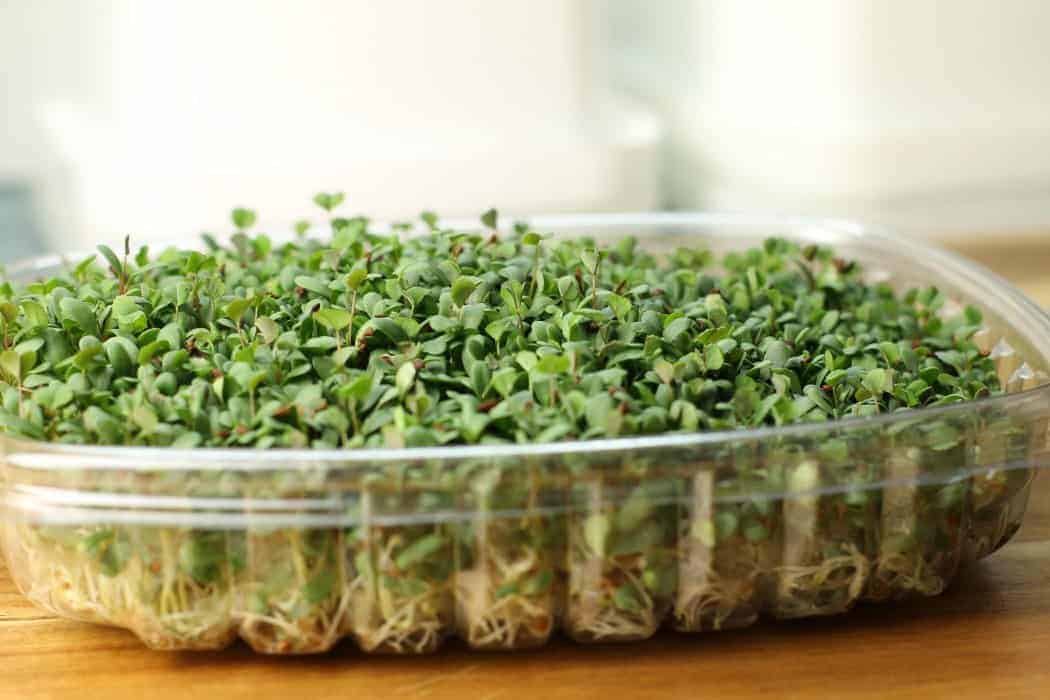
- For a cool visual effect, you can take some of the moistened seeds and spread them flat on a seed tray or a plastic lid with holes in it. A clam-shell lid from store-bought salad mixes works well for this! If you keep the seeds moist and rinse them every day, they will sprout just like in the jar and grow a small forest of greens straight up!
Keep rinsing the sprouts once a day. To encourage green color and faster growth, you can now set the jar on a windowsill to enjoy a little sunshine and 'green' them up. The sprouts are now ready to eat!
Again, just make sure to rinse them really well before eating to ensure freshness! If you grow the sprouts in a tray, you can give them a haircut and get perfect-sized "mini greens" for use in garnishes or in salads and other dishes!
Recipe Ideas - Using Sprouted Seeds Everyday
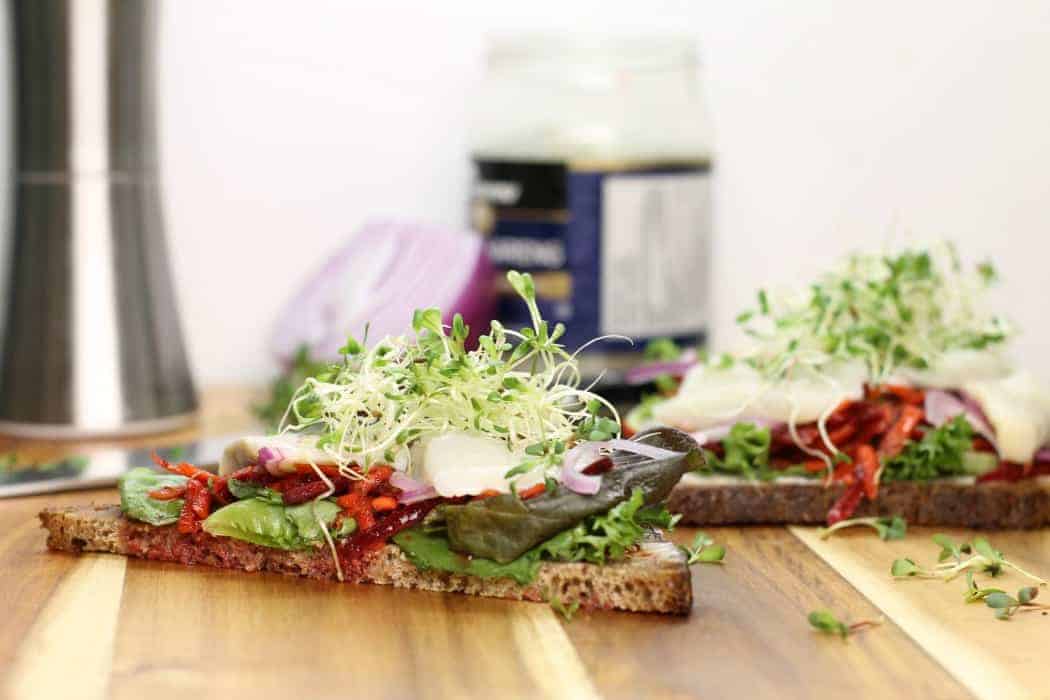
There are endless options for using sprouts, and you can eat them three meals a day! Try them on a burger, flatbread, or sandwich. I added them to this German-inspired Sandwich for lunch!
You could also add them to any salad, like this Greek Salad from The Foodolic.
Sprouts also make delicious and visually appealing garnishes and can add that extra pop of color and texture. This Roasted Garlic & Butternut Squash Soup from Eye Candy Popper really looks fantastic with some Cilantro sprouts as a garnish.

However, if you decide to use sprouts and other sprouted beans, grains, or seeds, they are a simple way of packing your diet with nutrition!
Make sure you’re following me on Facebook, and Pinterest for weekly cooking tips, tricks, and new recipes, and to stay up to date with everything going on here at Earth, Food, and Fire!
This post contains affiliate links for which we may be compensated if a purchase is made through the links provided at no extra cost to you. For more information, please read our affiliate disclosure.

Sean@Diversivore
I used to buy sprouts semi-regularly but I got tired of the cost and the safety concerns. I do miss eating them though - and you've made me realize that I need to give this a solid shot. Alfalfa in particular looks so easy and so tasty! I've had sprouted lentils before and they're amazing too. I'd love to try fenugreek too. I guess the possibilities are pretty diverse really! Thanks for posting this!
Markus Mueller
They are expensive if bought in store! As long as you rinse the sprouts ecery day if you grow them at home you should be OK! My next Sprout to try is flax!
Hilary
Wow, you've definitely persuaded me to give this a try! I've never sprouted my own seeds, but heard from friends that it's finicky (some of them got mold?!) but given your process, I don't see why not! That's for the inspiration 🙂
Markus Mueller
If you rinse the sprouts/seeds under fresh running water you shouldn't get any mold. Once you want to eat them simply pop in the fridge to stall any growth.