A good, high-quality stock is one of cookings worst kept secrets, and one of the simplest things to make. A staple of French cooking, stock, whether it's the chicken stock, beef (or veal) stock, fish stock, or vegetable stock, is one of the most underutilized ingredients in todays home kitchens.
Most home cooks will use canned broth or the dried concentrate powder. These products, while convenient, are often very salty and lack many of the health-boosting benefits a good homemade stock has.
Besides being useful in the kitchen, making your own chicken stock or any other kind of stock, is a great way to reduce food waste and use all parts of the animal. Yes, it can take several hours to properly make a stock start to finish, but it is mostly hands off and it is well worth the extra effort.
This post contains affiliate links for which we may be compensated if a purchase is made through the links provided at no extra cost to you. For more information, please read our affiliate disclosure.
Health Benefits of Chicken Stock
Besides being extremely versatile in the kitchen, a good stock also offers numerous health benefits. Minerals, vitamins, natural gelatin, and proteins are all present in stocks.
These all help in the formation of healthy skin cells, aid with proper digestion, the formation of cartilage in joints, and general well-being through the boosting of your immune system. There is a reason your mother fed you chicken broth/soup when you were sick as a child!
Stock vs Broth
While stock and broth are often referred to as the same thing, there are a few small differences between the two. A good stock is made from the raw or roasted bones, of animals such as beef, chicken, or fish with vegetables and other seasonings.
Broth, is made from simmering mostly meat, instead of bones with other ingredients such as vegetables, herbs and spices.
Bone broth on the other hand, which seems to be an up and coming "trendy" item in the healthy eating community has been around for centuries and is made by simmering bones and very small amounts of meat for extremely long periods of time. Something in the range of 24-30 hours.
My Basic Chicken Stock Recipe
All three types of broth or stock have their specific uses in the kitchen and I hope to eventually cover all of these. For today, let's concentrate only on this chicken stock recipe since, chicken bones are the most readily available type of bone to most people. You may find making your own stock can even help you save money in the long run!
To make chicken stock you will at the very least need at least one or two chicken carcases, and some basic vegetables like onions, carrots, and celery. The easiest way to get a small collection of chicken bones is to simply stop buying pre-fabricated cuts of chicken!
It is much more expensive to buy every part of the chicken separately since you are also paying for the labor involved in taking the chicken apart.
Butchering a whole chicken yourself will save you money, not just because you are buying the chicken in bulk, but because you can use all the parts of the chicken to create a larger amount of items (including the stock!).

Roasting The Bones
Once you have enough bones saved up and want to make some stock, thaw the bones if they were frozen, and then roast them in the oven at 375F (190C) until they are a nice golden brown.
You don't really need to roast the bones if you don't want to, but it will create a richer and deeper flavour in the stock. When you roast the bones first, you end up making what is called a "brown chicken stock". If you decide to leave the bones raw, you end up with a "white chicken stock".
If you do leave the bones raw, you can boil them in a pot, started with cold water before starting your stock. This is called blanching the bones and helps draw out impurities and result in a clearer end product.
Sauté The Mirepoix
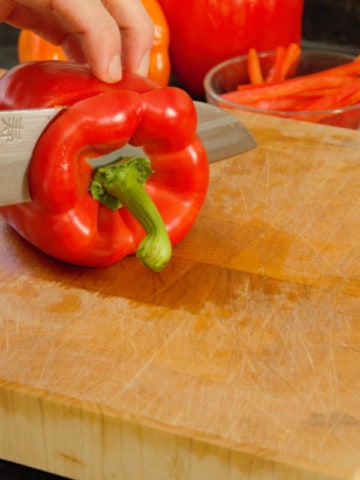
While the bones are in the oven roasting, rough chop all your celery, onions and carrots. This combination of vegetables is called a Mirepoix in French Cuisine. A Mirepoix traditionally consists of 2 parts white onion, 1 part celery, and 1 part carrot.

Most professionally trained chefs will be taught to roast the vegetables along with the bones in the oven. I have found that this often results in a more bitter flavored stock and I prefer to sauté them right in the pot that I will be cooking the stock in.
I personally add 1 clove of garlic, a few peppercorns a couple bay leaves and any parsley stems I may have to the vegetable mix. If you have made a classic stock before you will notice I leave out the traditional tomato paste that is added to most stocks. Instead of tomato paste, I add 1 tablespoon of apple cider vinegar per liter of cold water in the stock. The acid helps draw out nutrients in the bones and you will not taste it in the end product.
Adding Cold Water
Add your roasted bones to the pot with the now softened vegetables. At home, I use a 5L pot to make my stock in. Fill the pot with COLD water (use filtered if your tap water is chlorinated) until you cover the bones with at least 2 inches of liquid. Add your vinegar or tomato paste at this point.
It is very important to start the stock in cold water and not hot water as this helps remove impurities from the bones.

These impurities will rise to the top and form a scummy foam that will need to be skimmed off during the first half hour of the simmering process. Note that while most stock recipes say to bring the stock to a boil and then reduce to a simmer, I can say from personal experience that if you ever let your stock boil at all, it will not turn out very clear.
Simmer for 4 to 6 hours
The hardest part is done now! You simply let the stock simmer at a low bubble for 4-6 hours. Whether you simmer for the full six hours or just four depends on how much liquid you have in your pot.

Always bring the stock up to a simmering heat slowly and leave it at a simmer and never stir the pot! I turn the stove dial to medium low and leave it for the entire process in this position. You want to see the liquid slightly bubbling in the middle, but never fully boil.
Taste the chicken stock at the four-hour mark and see if it has a nice rich flavor. It should almost coat your mouth with a rich sticky feeling. This is the gelatin that was extracted from the bones during the whole process. once you cool the stock completely don't be surprised if your stock is almost jelly like. This is a sign of a good strong stock.
Strain The Chicken Stock
Now all you need to do is strain this delicious liquid from the bones! If you pour it out of the pot (as I did in this case), your stock will be cloudy. It is best to use a ladle and slowly ladle out the stock from the pot, disturbing the bones as little as possible.

If you have one, use a chinois (affiliate link) to strain your stock. This will ensure that you don't have any little bits of meat or vegetable in your liquid. Cool the stock in the fridge or in an ice bath uncovered. The fat will solidify at the top once the stock is completely cooled, which you can skim off and throw away.

Storing & Using The Stock
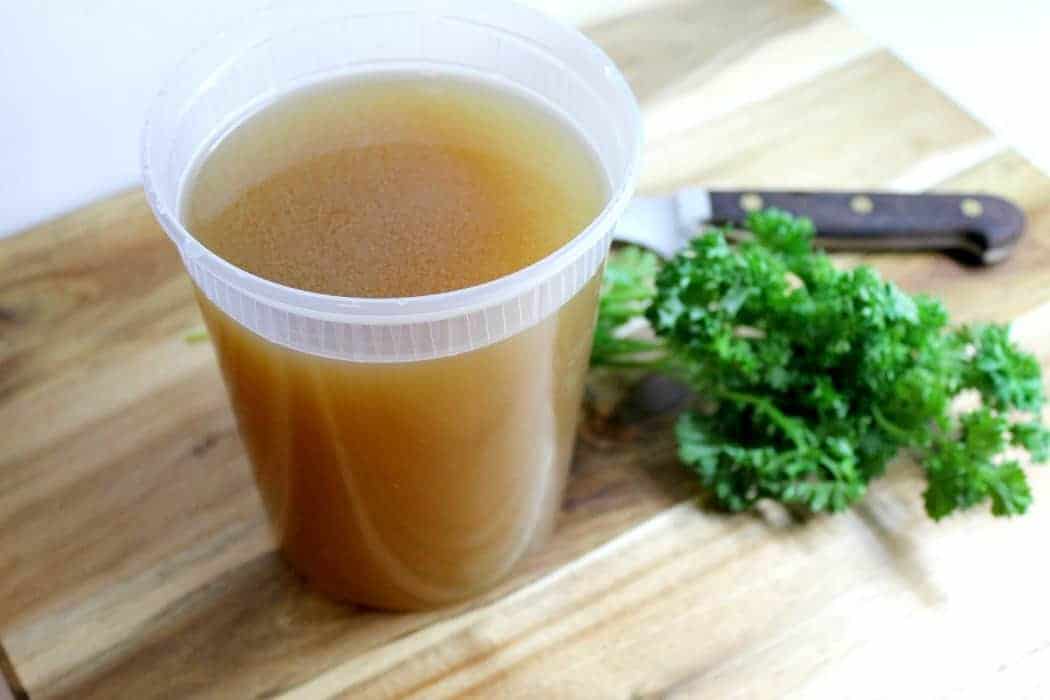
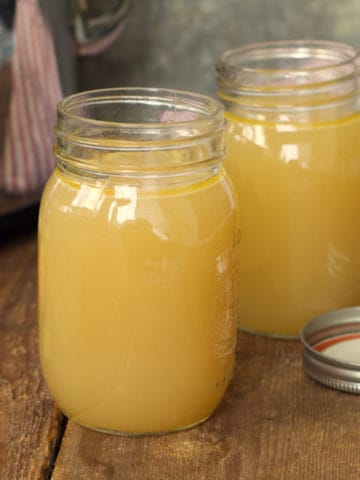
The finished chicken stock can then be frozen in ice cube trays for easy use later in sauces, or frozen in batches and then thawed out for later use. The stock base makes a great base for soups, such as in my Butternut Squash Soup, Potato Bacon Corn Chowder, or even this basic Tomato Sauce Recipe!
Let me know how your stock turns out and what you made with it! You can follow me on Facebook , Twitter , Instagram, and Pinterest to share your pictures with me! Happy cooking!
Recipe
Making Chicken Stock From Scratch
Ingredients
- 3 lb Chicken bones Roughly 2 whole carcases
- 4 whole white onions rough chopped
- 2 whole carrots rough chopped
- 2 individual stalks celery rough chopped
- 1 clove garlic.
- 5 litres COLD water
- 2.5 tablespoon apple cider vinegar or 2 tablespoon tomato paste
- 5 each peppercorns
- 2 each bay leaves
Optional
- Leftover parsley stems
Instructions
- Roast the chicken bones in your oven at 375F until dark golden brown.
- While the bones are roasting, rough chop your vegetables and saute them in the Stock Pot you will be using. Once the bones are roasted add them to this pot.
- Add your peppercorns, bay leaves and optional parsley stems.
- Cover the bones with the 5L of cold water and add your tomato paste or vinegar. Bring the pot to a simmer, but do not boil. Keep the heat on medium-low. Skim of any foam that may rise to the surface.
- Simmer the chicken stock at a slow bubble for 4-6 hours or until the stock has a strong chicken flavour and does not taste watery.
- Strain the stock from the bones and cool completely.
- Skim any solidified fat solids, and use the stock as you desire in soups or sauces.
Notes
Nutrition
Nutrition info is auto-generated. This information is an estimate; if you are on a special diet, please use your own calculations.

Elizabeth
A good quality homemade stock can totally transform a recipe, and I love how you make yours! Yum! Thank you for sharing with the No Waste Food Challenge!
Markus Mueller
It's a pleasure taking part! Reducing food waste is something more people need to learn about!
Dr. Kimberley @ HealthyLifeRedesign
Bone broth is such an amazing health food! I often encourage my patients to consume it daily, even if it's as simple as drinking it like they would a mug of tea. It's actually quite delicious and comforting to drink it that way! And as a bonus it's an amazing way to support digestive function and heal the gut.
Thanks for sharing your recipe. My patients are always eager for resources on how to make a good broth so I'll be sure to direct them to your post!
Markus Mueller
Thanks! I use it on an almost daily basis..even our dogs get some mixed in with their food every day!
Ulrike Mueller
Hello Markus,
I am making chicken stock/broth for so many years , but this was very interesting to read. I never knew that there is a difference between stock and broth. And also never knew that you can make "brown" and "white" stock. But it makes complete sense. Thank you for the info!
Ulrike
[email protected]
Your welcome! Stock is simply a more refined version of broth with a 'cleaner' flavor allowed it to be used in a wide variety of ways. How does your recipe differ from this one?