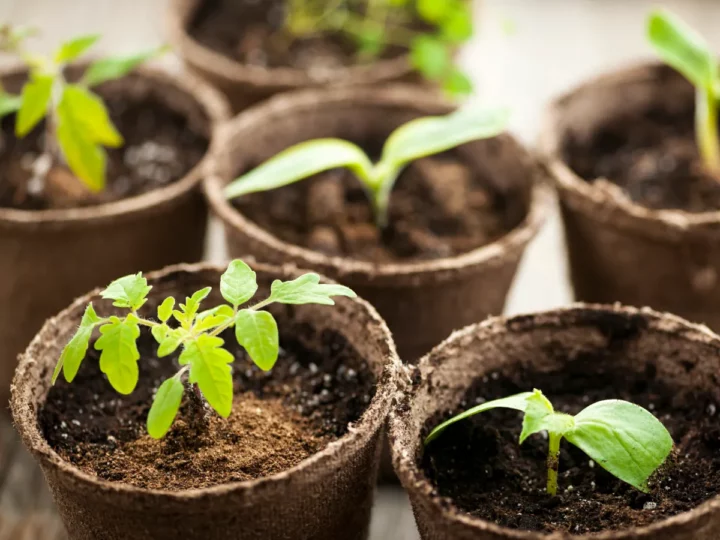
It's that time of year again when gardeners around the country are starting to think about starting seeds indoors. Personally, I'm itching to get seeds going by this time of year, but as past years have taught me, it's better to wait and be patient then to start your seeds too early.
They just end up weak and leggy, keel over, and then die. Last year I had to start seeds twice! I just wasn't patient and had first started them indoors at the end of February, way too early for Atlantic Canada unless you have a greenhouse or serious grow light set up!
Some of the links in this post lead to affiliate sites through which Earth, Food, and Fire may earn a small commission should you make a purchase. For more info check the Affiliate Disclaimer. All advice and opinions are based on observations from my own garden.
Table of Contents
When To Start Seeds Indoors
Starting seeds too early is a problem every gardener wants to avoid. Regardless of if you're a beginner gardener or not, starting your vegetable seeds too early can cause a few problems down the road. The main problems are:
- If the seedlings don't get enough sunlight from a window or other sources such as a to grow light, they will become 'leggy'. This basically means they are stretching for the light, and you will see the seedlings become quite tall but with weak, thin stems, and sparse leaves.
- If your plants do receive enough light, you may end up with larger plants then you may have room for indoors! This is usually more of a problem when using supplemental lighting, and while it may not seem like an issue, having the plants grow too large before transplanting them into the garden outdoors, can hinder or reduce your harvest.
- The longer your seedlings are indoors, the less exposed they are to the 'elements', resulting in weaker less productive plants. All plants become stronger and more resistant to pests and disease by being exposed to wind, rain, and sunshine. This is why we harden off seedlings before transplanting, to get them used to the outdoors. The longer they are indoors and are deprived of their natural habitat, the harder it will be for them to get used to an 'outdoor garden'.
To avoid these issues it is best to start most vegetable (and even flower) seeds six weeks before the last frost in your region. This is kind of the 'rule of thumb' most gardeners follow, though you can play around with that time frame depending on how fast specific seeds will germinate and sprout.
Have a look on the back of your seed packets for estimated germination dates, and when you should start the seeds.
Not sure when the last frost in your area is? The Farmers Almanac has a handy frost date calculator that will give you an estimate based on location!
- Chef Markus
You could start cold-hardy plant seeds even earlier (eight to nine weeks before the last frost) and transition the potted seedlings into a cold frame before eventually transplanting them into your garden.
Mother Earth News has a fantastic 'when to plant' smartphone app, which generates a 'seed starting calendar' based on your location! I use it every year and it's a great tool to have!
Some Supplies You'll Need To Start Seeds Indoors
Before you dive in and start this weekend project, it's a good idea to have everything you'll need on hand.
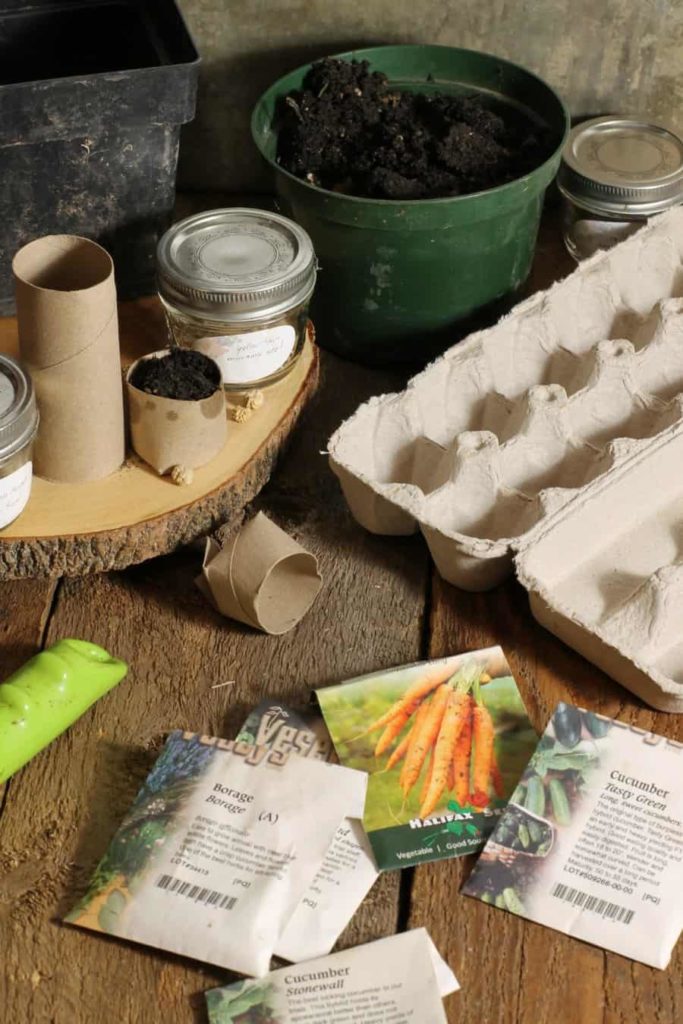
A few items you will absolutely need are:
- good quality potting soil
- small pots, plastic cups, or seed trays - old egg cartons make a great seed tray!
- a selection of seeds - plan your garden ahead of time, and have a list ready with what you plan to grow.
- water
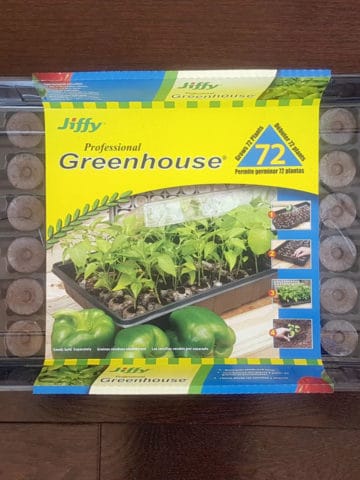
If you aren't gardening on a shoestring budget or simply wish to improve your chances of success, you could also consider using plastic growing trays, heat mats, and grow lights to help your little seedlings germinate and develop faster.
These are generally used by more advanced gardeners starting large quantities of seedlings indoors. If you want to learn more about them, the Laidback Gardener discusses some pros and cons of using heat mats, and if they are really needed to start seeds indoors.
Do You Really Need 'Good Potting Soil'?
Something I had always wondered when I first started gardening myself was whether or not 'good quality potting soil' was really all it's made out to be. Is it actually needed to successfully start seeds indoors, and grow potted plants? I quickly found out that yes, potting soil really does make a difference. It's not just regular garden soil but is instead a mix of peat moss, vermiculite, and composted bark, and usually has various minerals and nutrients already added in.
This makes potting soil a lot fluffier and not as dense as regular garden soil, it retains moisture much easier and provides a source of oxygen and nutrients making it easier for seeds to germinate.
Plant Your Seeds
Once you have everything ready to go, It's time to finally start your seeds indoors! Yay!
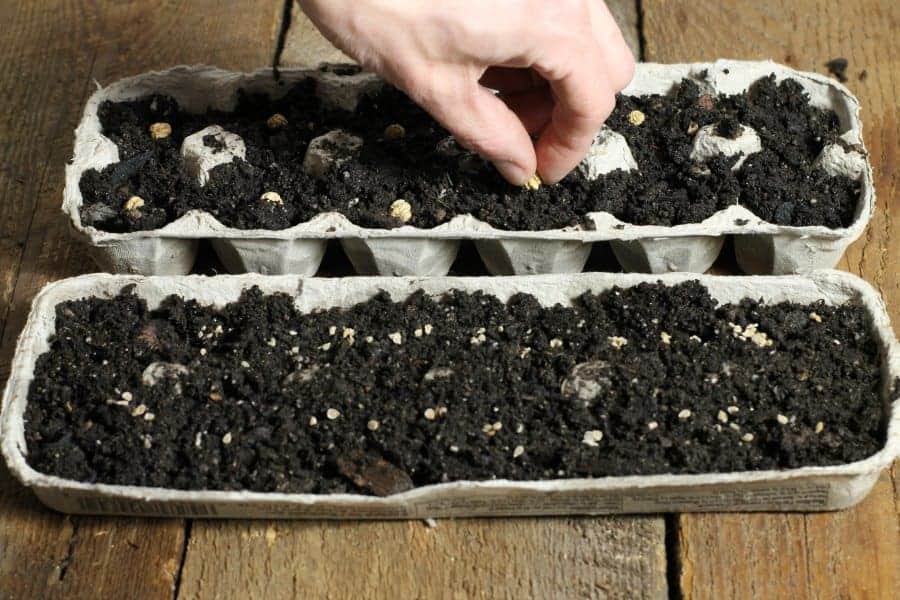
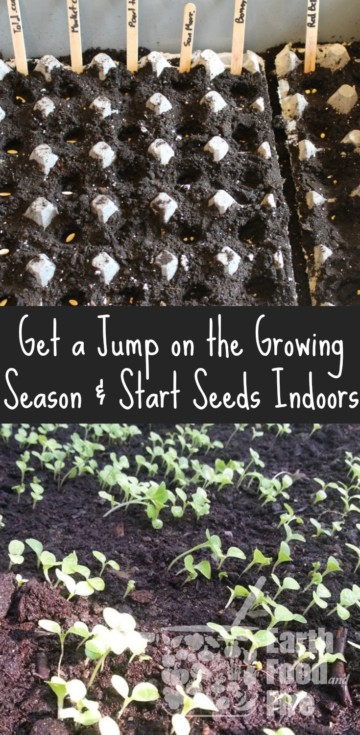
- Have all your seed trays, pots, or homemade containers laid out on a table and fill them to just below the rim with soil mix. Use a spray bottle to moisten the mix if it feels very dry. Sometimes stores will store the leftover soil from the previous year, during which time it has a tendency to dry out. If the soil you are using is nice and moist though, you will only need to spritz it with some water after you have planted the seeds.
- Plant the seeds according to the instructions on the seed packet. Choosing the largest seeds in the bunch will ensure you get the strongest, healthiest seedlings. Use your finger or a pencil to gently press the seed into the soil. Remember to plan ahead for some loss, and plant a few extra seedlings just in case!
- Spritz the seeds with some water, and then lightly cover them with a little more soil. Again follow the instructions on the seed packet for how 'deep' the seeds should be planted.
Place the pot or pots in a warm, dark location and forget about it for a few days. The warmer the spot the faster I have found my seeds to sprout. Between 50F (10C) and 70F (21C) is more than enough warmth for most vegetable seeds.
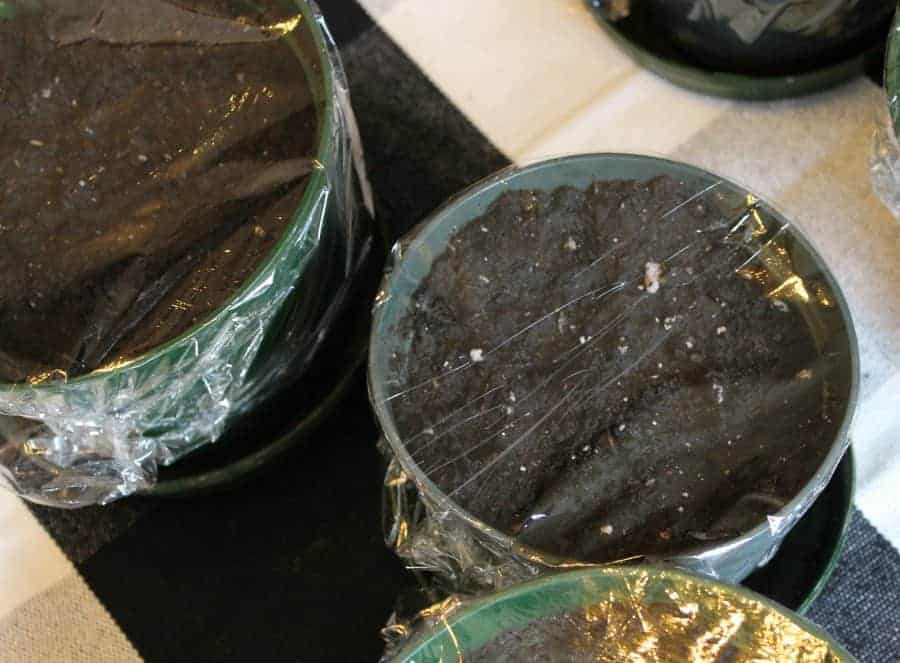
Most seeds will take up to a week to sprout but some can take up to 10 to 14 days. I usually check my pots within 4 or 5 days. If you keep your home warm, some seeds can sprout surprisingly fast. Once they do sprout you need to remove the plastic wrap and place the pot in a sunny location.
Sunlight vs Artificial Light
As I mentioned above, an issue many gardeners face at home is providing enough light to the newly sprouted seedlings. Keeping them warm usually isn't a problem, but sunlight through a window is usually not enough. These little seedlings are in a very fast growing stage and require a lot of light to stimulate photosynthesis and create new cells.
If at all possible place your sprouted seedlings in a south facing window. This will provide the strongest sunlight possible. If you are working without artificial light, you can 'trick' the seedlings by turning the pots a quarter turn every morning. This will ensure the seedlings grow straight and don't start to reach for the window.
For a few minutes every day consider turning a fan on with a very light breeze. This simulates wind, and will create stronger plant stems.
- Chef Markus
If you feel, your seedlings are struggling and starting to go leggy, consider investing in some artificial lighting. Nowadays, small scale indoor grow lights are relatively cheap, and you will find they are well worth the investment.
I personally use this Sunblaster mini greenhouse and grow light combo to start some of my seeds indoors.
Transplanting your seedlings
Once the temperature really starts to warm up during mid to end of May (sometimes sooner), you can start to harden off your little seedlings. They should be at least 6 to 8 inches tall by now with a good amount of fully developed leaves.
You'll want to make sure all danger of frost has passed, but if you checked your frost date, and started your seeds accordingly they should be just about ready to make the move outdoors.
Hardening Off
'Hardening off' simply refers to the process of getting your plants accustomed to the harsh conditions of the outside world.
All of a sudden there is wind, more moisture, temperature fluctuations, etc... You don't want to accidentally kill your transplants if nights are still too cold, or days are particularly hot. Sunlight outdoors has a different effect on plants than through a window or from a grow light. You have to ease them into the harsh outdoors.
Start by placing the seedlings outdoors for half an hour or so during a warm sunny day. Bring the plants back in and the next day leave them out for twice as long. Keep them in a sheltered location such as close to a house wall where the wind can't whip them around. Slowly keep increasing the amount of weather you expose the plants to until you can leave them out overnight. I usually take 3 or 4 days to harden my seedlings.
Once the seedlings are well adjusted to the outdoors, they can safely be transplanted into your vegetable garden or plot!
Make sure you’re following me on Facebook, and Pinterest for weekly cooking tips, tricks, new recipes, and gardening DIY!
Some of the links in this post lead to affiliate sites through which Earth, Food, and Fire may earn a small commission (at no increased cost to you) should you make a purchase. This allows us to stay online and keep creating awesome content! For more info check the Affiliate Disclaimer. All recipes and opinions are 100% my own.

Comments
No Comments